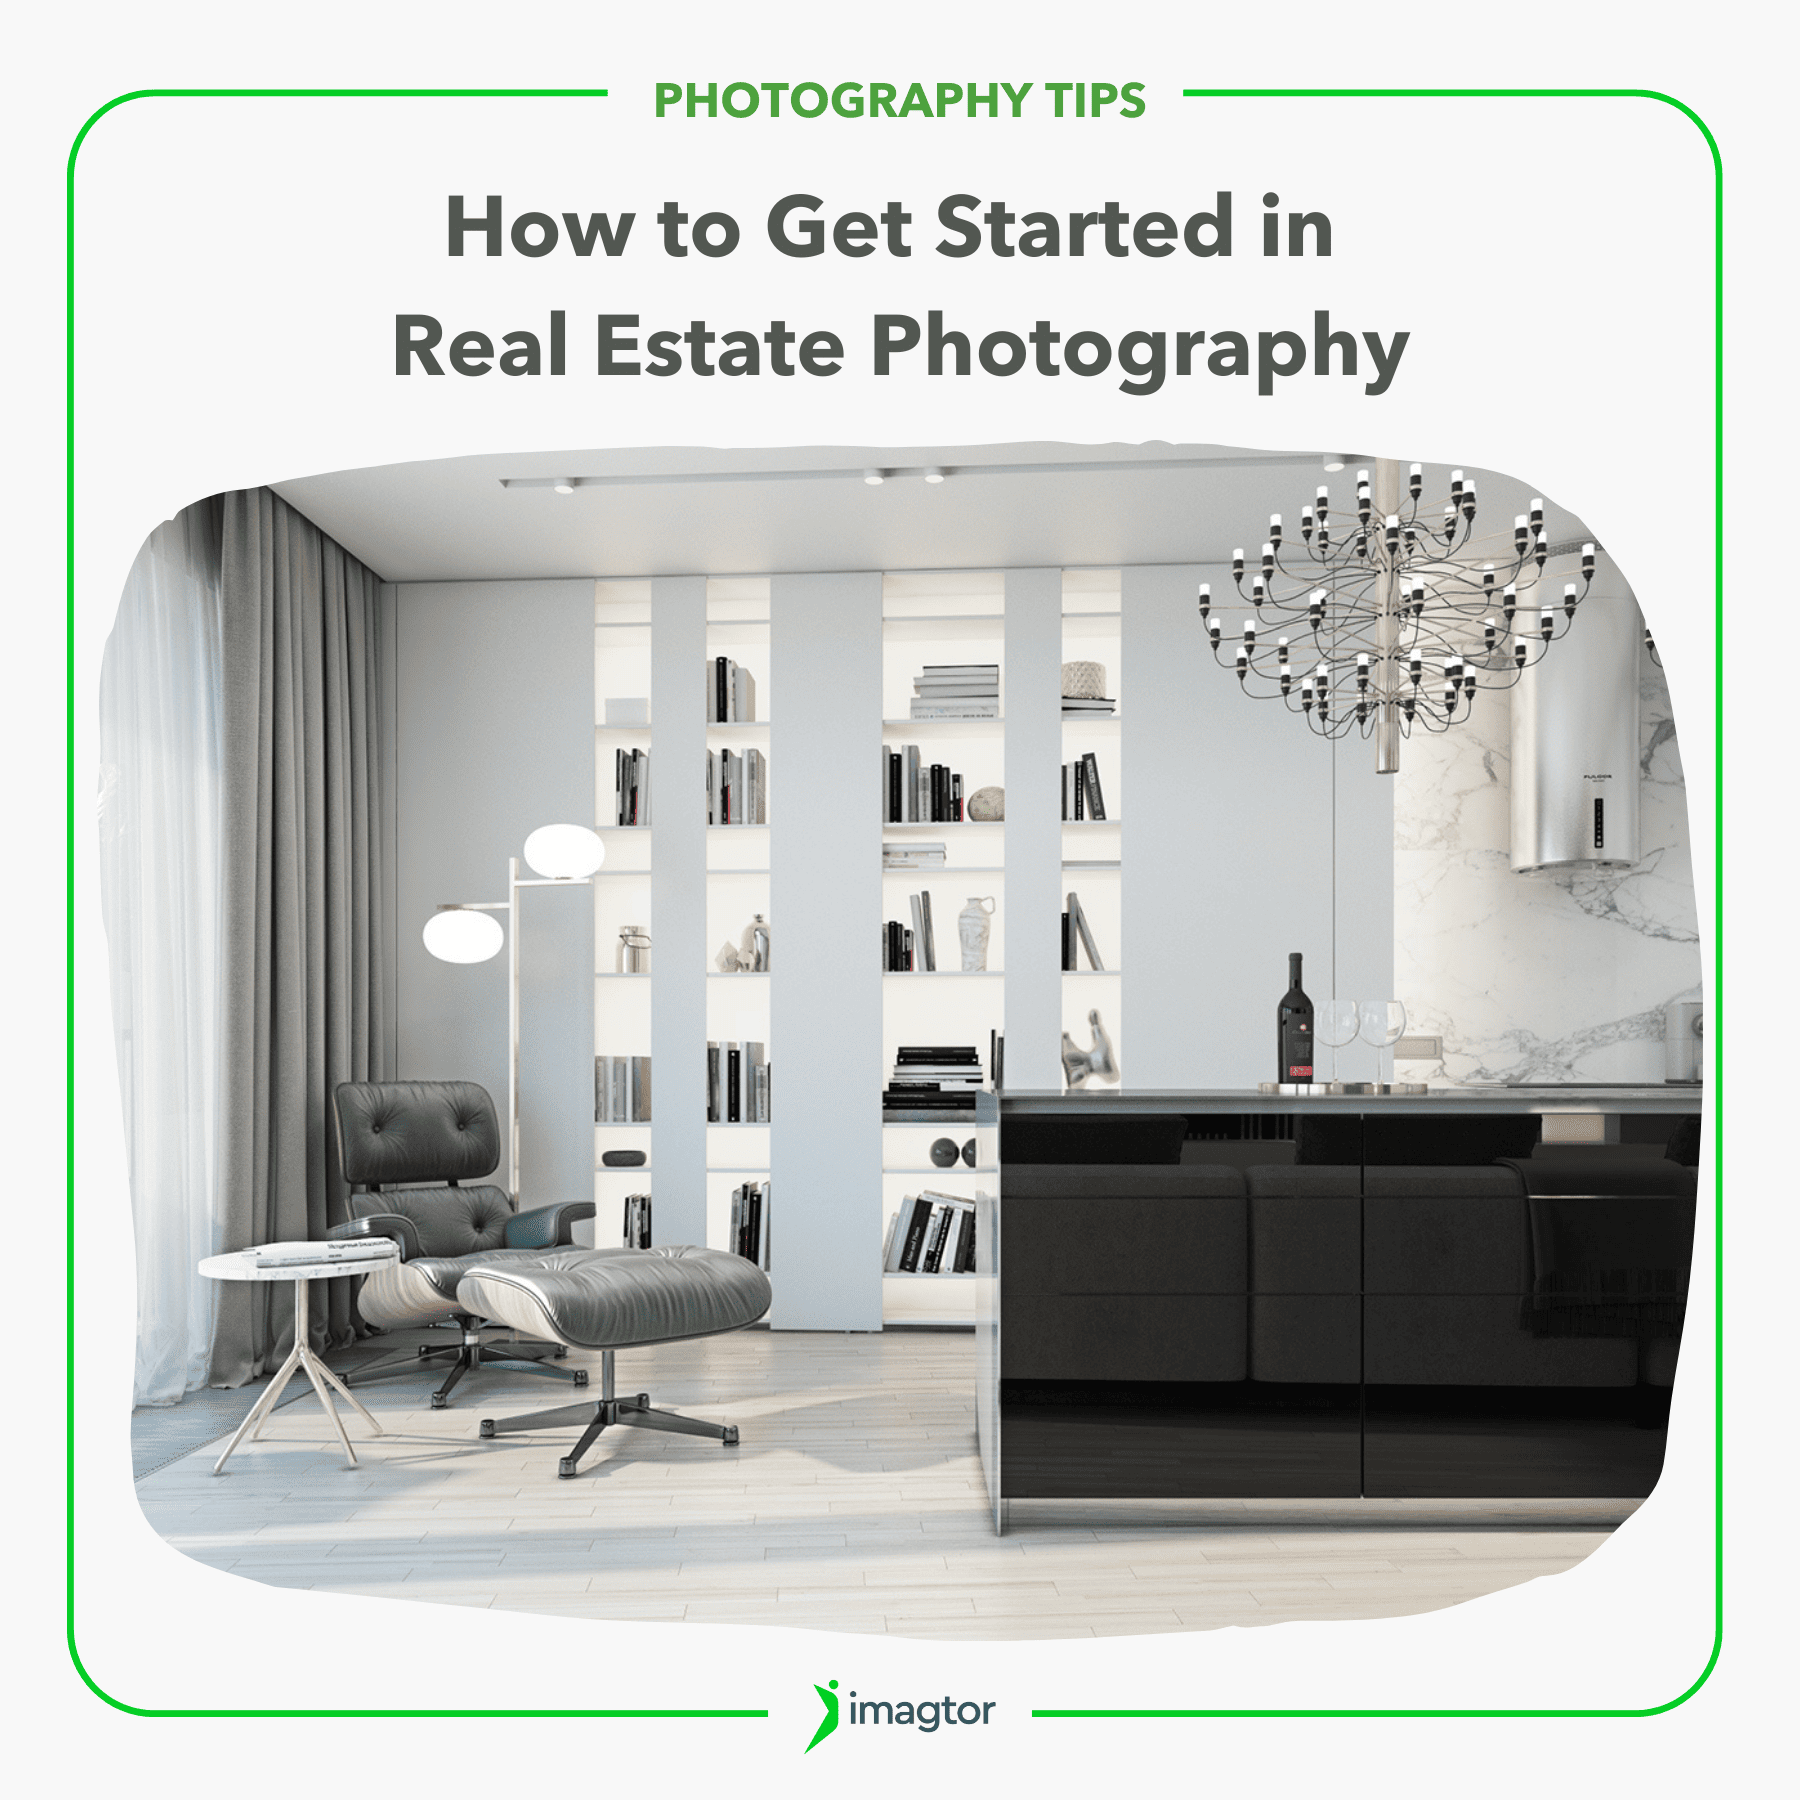
How to Get Started in Real Estate Photography

Real estate photography is one of the most accessible ways to enter property marketing with a camera. For beginners, it offers steady demand, clear expectations, and opportunities to grow skills over time. However, getting started in real estate photography requires more than owning a camera. Understanding the role, building good habits, and learning a simple workflow will help you move forward with confidence.
Understanding the Role of a Real Estate Photographer
A real estate photographer helps properties communicate clearly to potential buyers. While attractive images matter, accuracy and consistency are just as important. Agents rely on photographers to represent spaces honestly while highlighting their strengths.
In addition, real estate photography often involves working on tight schedules. Homes must be photographed quickly and delivered on time. Because of this, professionalism, communication, and reliability matter as much as technical skill.
As you begin, it helps to see real estate photography as a service business. Your goal is to support marketing needs while building trust with clients.
Basic Equipment You Need to Start
Getting started in real estate photography does not require expensive gear. However, a few essential tools will make learning easier and results more consistent.

- Camera with manual controls: Entry-level DSLR or mirrorless cameras work well. Manual settings help you control exposure in bright and low-light spaces.
- Wide-angle lens: A moderate wide-angle lens allows you to capture more of a room without heavy distortion. This keeps spaces looking realistic.
- Tripod: A sturdy tripod helps keep images sharp, especially indoors where light levels are lower.
- Spare batteries and memory cards: Extra power and storage prevent interruptions during shoots and help you stay professional.
- Basic cleaning tools: Lens cloths and simple cleaning supplies reduce dust spots and save editing time later.
>> Read more: Real Estate Videography: Cameras, Settings, and AI Tools
Learning Core Shooting Techniques
Strong technique helps real estate photography look professional, even with simple equipment. As a beginner, focusing on fundamentals makes the biggest difference.
- Keep vertical lines straight: Always pay attention to walls, doors, and windows. Straight verticals make rooms feel balanced and realistic, which is essential in real estate photography.
- Use a consistent camera height: Shooting from chest height often works well for interiors. This keeps images natural and avoids exaggerated ceilings or floors.
- Control exposure carefully: Interior scenes often include bright windows and darker corners. Adjust settings to avoid blown highlights while keeping rooms bright and inviting.
- Turn on interior lights: Using available lighting helps create warmth and balance. It also reduces harsh shadows and improves overall atmosphere.
- Choose angles that show flow: Shoot from corners or doorways to show how rooms connect. This helps viewers understand layout and movement through the space.
- Handle small spaces thoughtfully: Bathrooms and narrow rooms require careful framing. Step back when possible and avoid extreme angles that distort proportions.
- Check composition before every shot: Take a moment to scan the frame. Remove distractions, straighten objects, and ensure the scene looks clean and intentional.
- Take multiple frames when unsure: Slight changes in angle or exposure can make a big difference. Having options reduces stress during editing.
- Slow down and stay consistent: Rushing leads to mistakes. A steady, repeatable approach improves both image quality and confidence over time.
>> Read more: Composition & Lighting Mistakes in Real Estate Photography
>> Read more: Natural Light vs. Artificial Light in Real Estate Photography
Introduction to Real Estate Photo Editing
Editing is an essential part of real estate photography. Raw images often need adjustments to match how spaces look in person.
Begin with basic edits. These include correcting brightness, adjusting contrast, and balancing colors. Straightening vertical lines is also important, as leaning walls can distract viewers.
Popular editing software such as Adobe Lightroom helps beginners manage these adjustments efficiently. Presets can speed up work while keeping a consistent style.
At the same time, editing should remain realistic. Over-editing can reduce trust and lead to client dissatisfaction. The goal is clarity, not exaggeration.

Why AI Editing Alone Falls Short
AI editing tools can help with speed, but they are not reliable on their own for professional real estate photography.
- AI does not understand space, layout, or marketing intent.
- Automated edits often vary from image to image.
- Over-processing can reduce realism and buyer trust.
- Manual review is still required for quality control.
Because of these limits, AI works best as support, not as a complete solution.
Why Many Photographers Turn to Outsourcing
As workloads grow, editing becomes the most time-consuming part of the process. This is where outsourcing real estate photo editing becomes a practical next step.
Outsourcing allows photographers to:
- Maintain consistent quality without rushing
- Meet faster turnaround expectations
- Spend more time shooting and managing clients
Rather than replacing skill, outsourcing supports it. When handled by experienced editors, it helps photographers scale while keeping full control over style and standards. Many photographers outsource editing to Vietnam because it offers skilled real estate editors, consistent quality, and efficient turnaround at scale. Imagtor leverages this expertise with structured workflows that help photographers deliver reliable results faster without losing creative control.
>> Read more: Top 5 Real Estate Photo Editing Outsource Partners in Vietnam
Building a Simple and Efficient Workflow
A clear workflow helps beginners stay organized and avoid mistakes.

Before each shoot, confirm details with the client and prepare a simple checklist. During the shoot, follow a consistent order when photographing rooms. This reduces the chance of missing important spaces.
After the shoot, organize files carefully. Use clear folder names and image sequences. This makes editing and delivery smoother.
Finally, set realistic turnaround times. Delivering images on schedule builds trust and helps establish professional habits early.
Creating a Portfolio and Finding Your First Clients
A strong portfolio helps you attract your first clients, even as a beginner.
You can start by photographing your own home, friends’ properties, or sample listings with permission. Focus on quality rather than quantity. A small set of clean, well-edited images is enough to demonstrate potential.
When approaching agents, keep communication simple and professional. Introduce yourself, share your portfolio, and explain how your service helps their listings.
Setting clear expectations from the beginning avoids misunderstandings and builds confidence on both sides.
>> Read more: How to Build a Photography Portfolio That Wins Real Estate Clients
Pricing Basics and Business Considerations

Pricing in real estate photography varies by market and experience. As a beginner, research local rates and start with reasonable pricing that reflects your skill level.
Be clear about what your price includes. This may involve the number of images, delivery time, and revision limits. Clear terms protect your time and reduce confusion.
In addition, understand usage rights. Most real estate photography is licensed for marketing purposes, not full ownership. Learning these basics early helps you grow professionally.
>> Read more: Pricing Guide for Real Estate Photography
Growing Skills and Scaling Over Time
As you gain experience, improvement comes naturally. Reviewing feedback and comparing your work to industry standards helps refine your style.
Over time, you may add services such as floor plans or aerial photography. These additions increase value and support broader marketing needs.
Eventually, many photographers consider outsourcing real estate photo editing. This allows more time for shooting, client communication, and business growth. Outsourcing becomes especially useful as workload increases.
>> Read more: Top 7 Skills to Master as Real Estate Photographers
Getting Started with Confidence
Starting in real estate photography is a process, not a race. Focus on learning fundamentals, staying consistent, and building reliable habits. With patience and practice, skills improve and opportunities follow.
By treating real estate photography as both a craft and a service, beginners can build a strong foundation for long-term success.
As your workload grows, editing can quickly take up valuable time. Imagtor supports real estate photographers with professional photo editing designed for consistency, speed, and realistic results. Start with a FREE TRIAL + 10% DISCOUNT and focus more on shooting, learning, and growing your business.
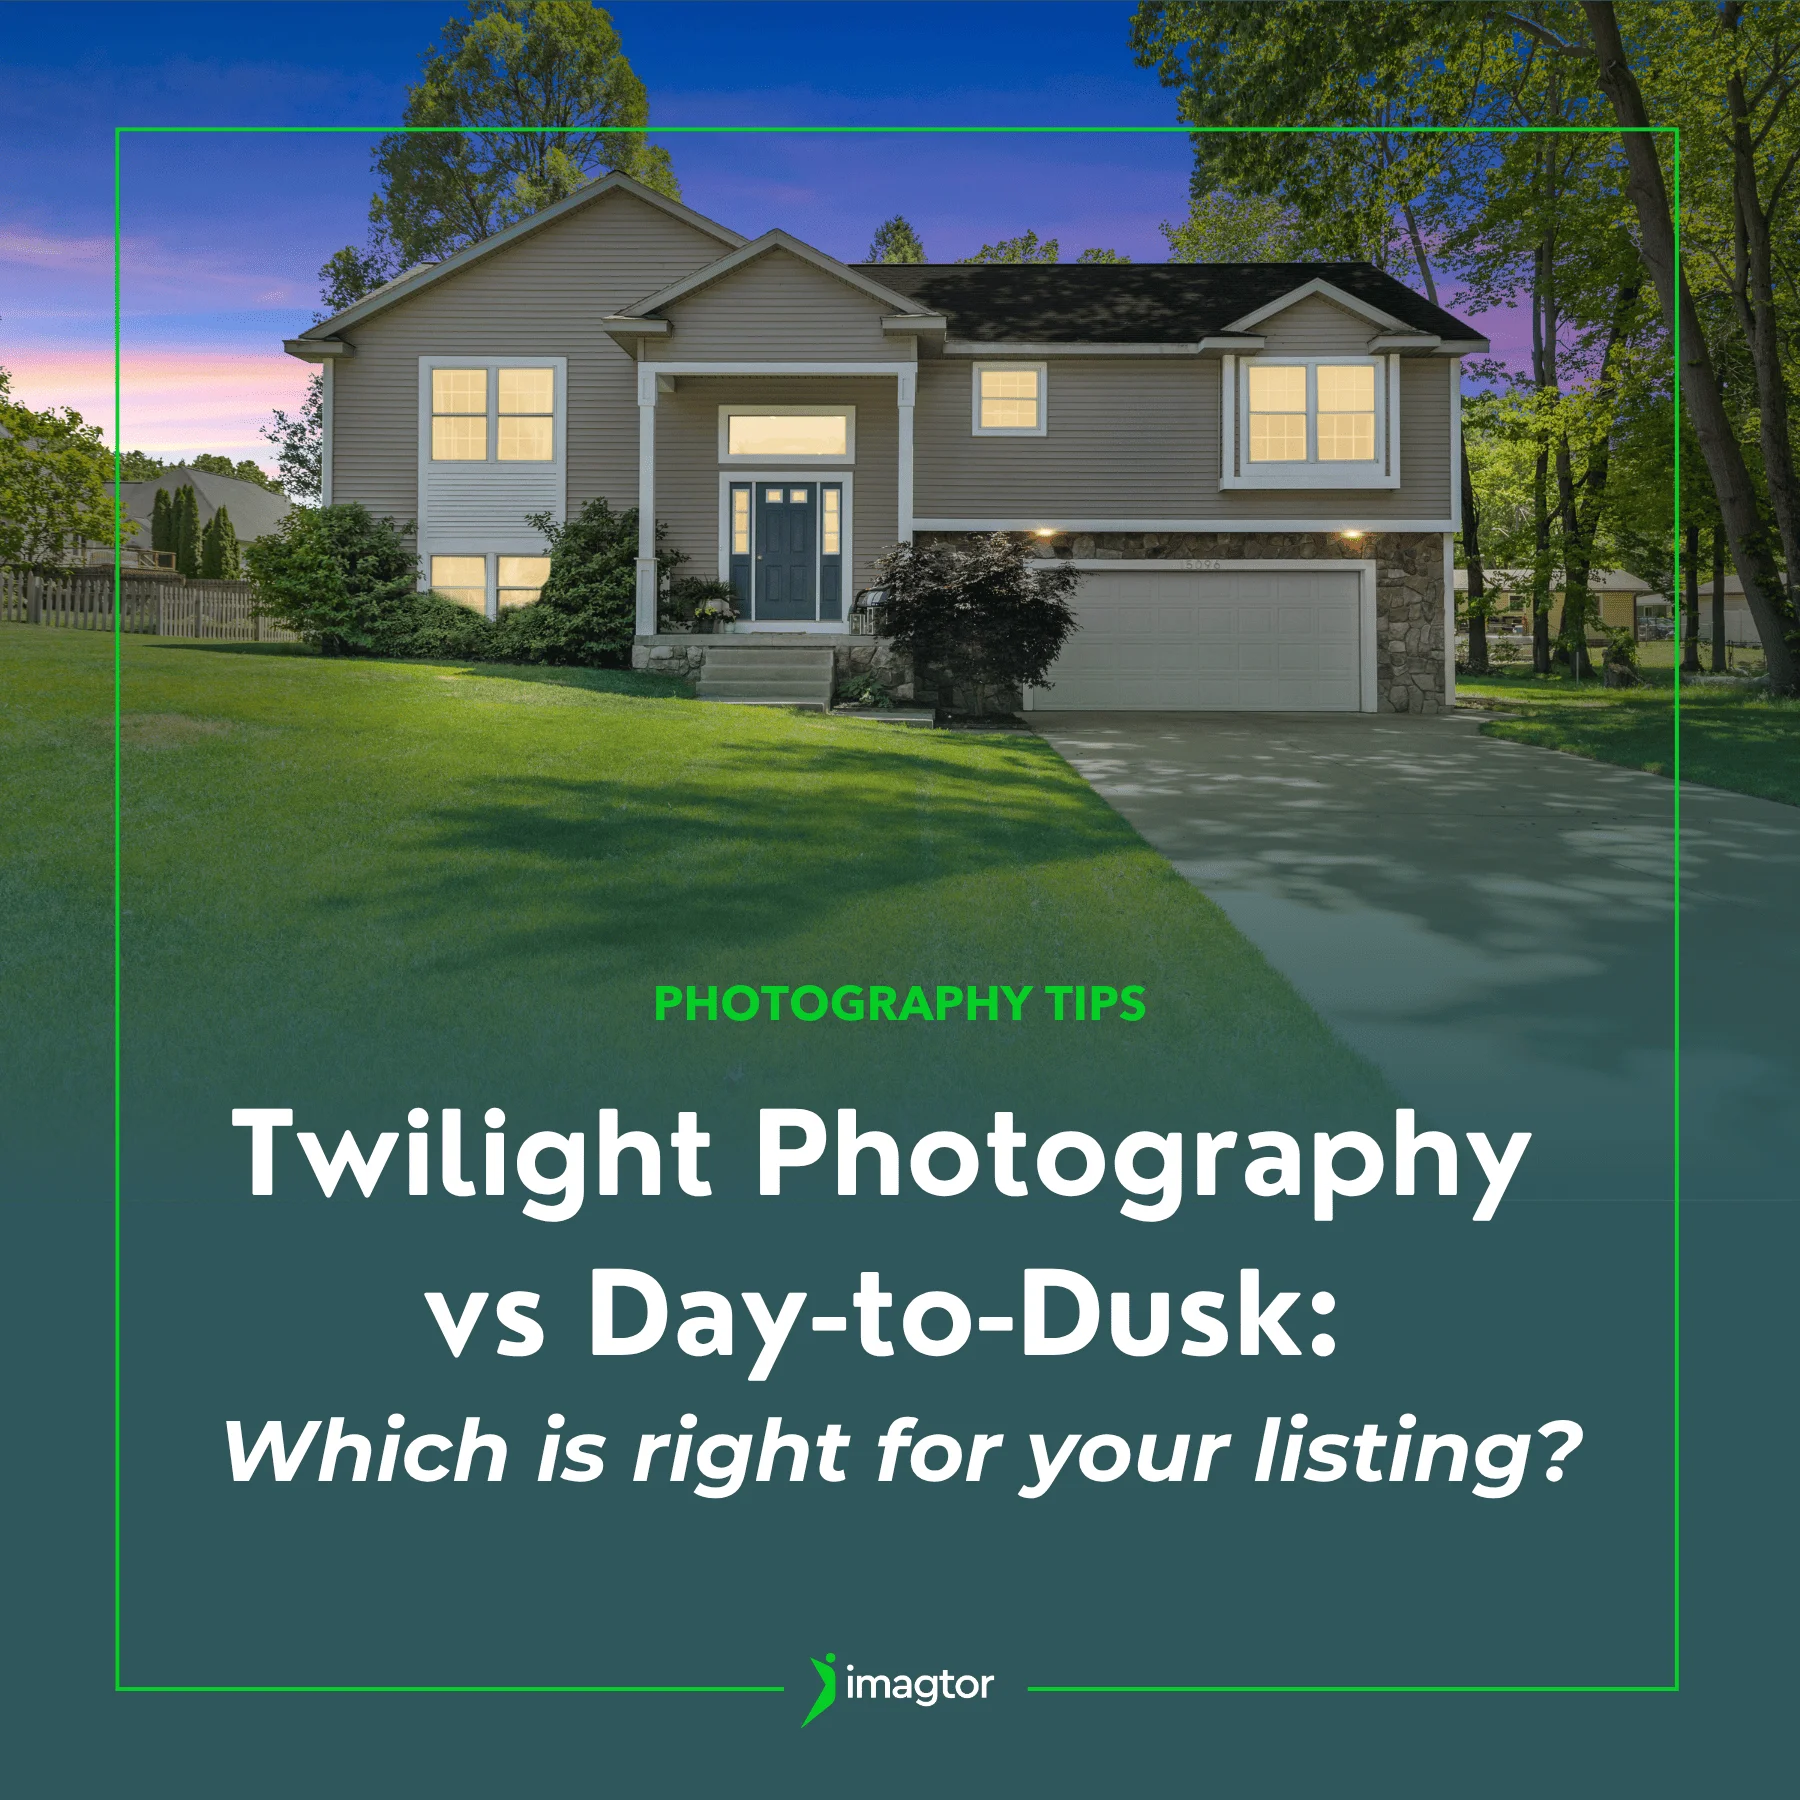
Twilight photography and day-to-dusk editing are two of the most popular ways to create striking exterior shots for property listings. Both approaches can produce beautiful results, but they work very differently and suit different situations. Knowing which one fits the property, the timeline, and your client’s goals can save you time and help you deliver …
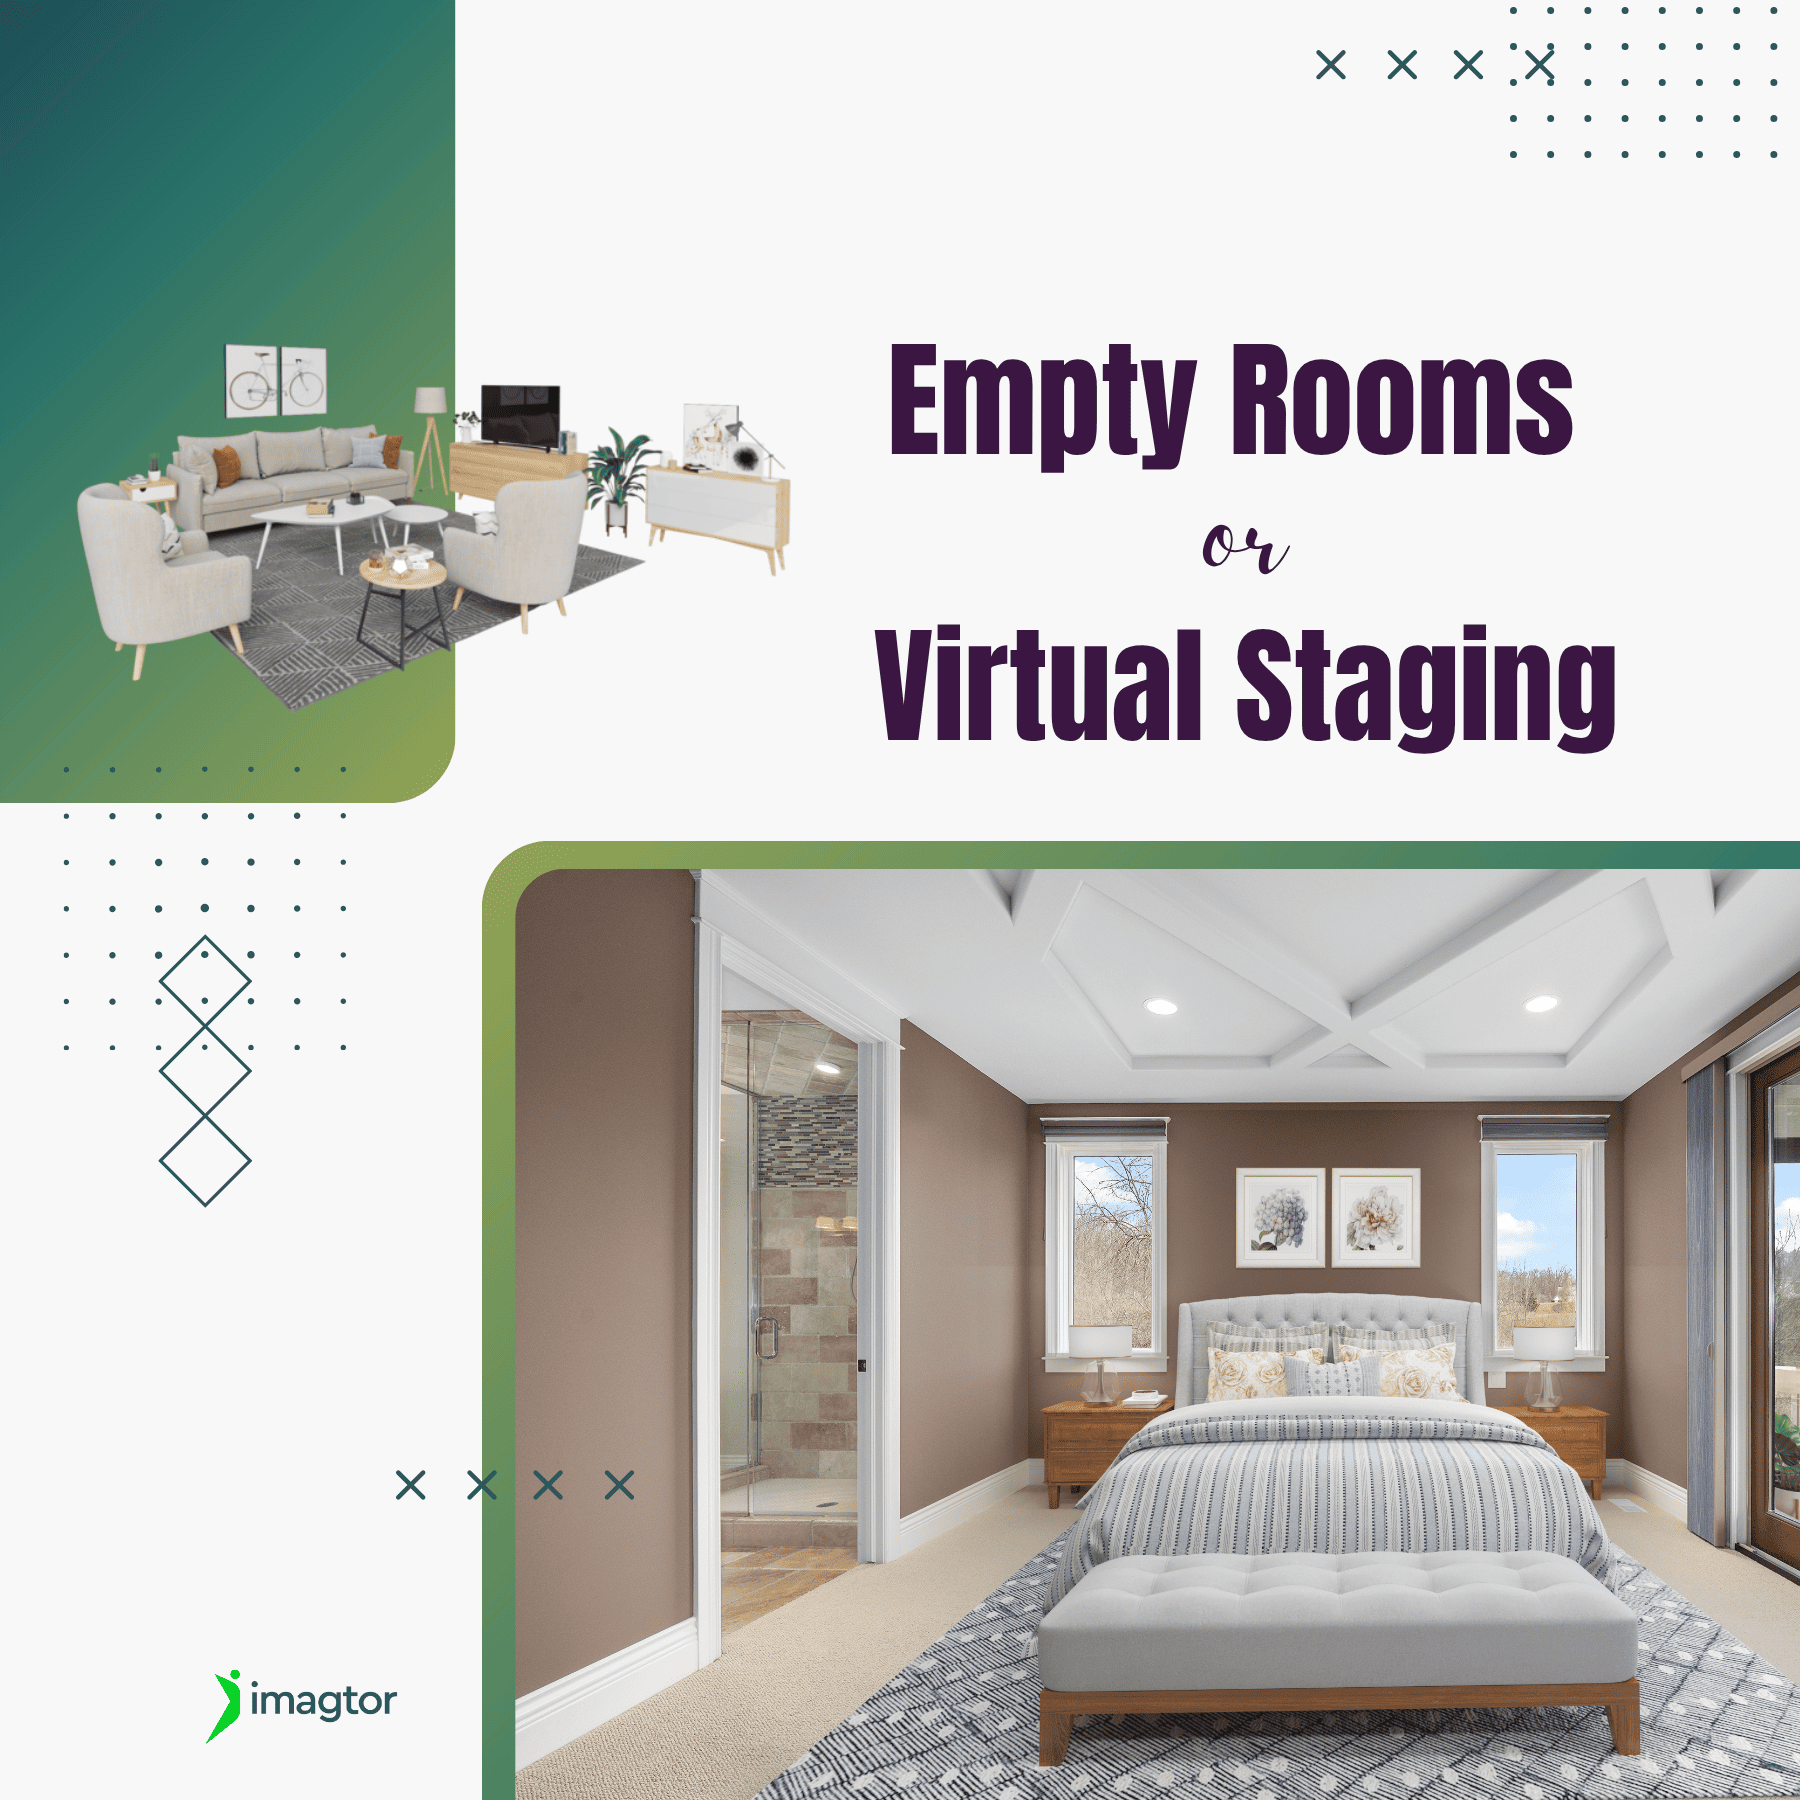
Virtual staging has become one of the most practical tools in property marketing, helping vacant spaces feel warmer and easier for buyers to connect with. But empty room photos still have their place. Knowing when to use each approach can make a real difference to how a listing performs. Why empty rooms can be challenging …