

Camera movements are one of the most important factors in real estate videography. The way the camera moves through a property shapes how buyers understand the layout, feel the space, and decide whether to enquire.
This guide covers the most effective camera movements for real estate videography, when to use each one, and the mistakes that make footage look unprofessional.
Why camera movements matter in real estate videography
A static video fails to show how a property flows. Camera movement bridges that gap. It shows room size, connects spaces, and draws attention to the features that justify the asking price.
According to the National Association of Realtors, listings with video generate over four times more enquiries than listings without it. But only if the footage is good.
Poor camera work actively works against a property. If buyers notice the camera more than the home, something is wrong.
The push-in movement
A push-in is when the camera moves slowly toward a subject. It draws the viewer’s attention to a specific feature and signals that something is worth looking at.
It works well on:
- Kitchen islands and custom cabinetry
- Fireplaces and feature walls
- Luxury bathroom fittings
- Outdoor entertaining areas
A push of around 0.5 to 1 metre over 4 to 6 seconds usually feels natural on screen. Moving faster than that feels rushed and distracts from the feature itself.
The pull-back movement
A pull-back starts close to a detail and slowly moves away to reveal the full space.
This is one of the best ways to make a room feel larger. Start tight on a kitchen countertop, then pull back to reveal the whole open-plan area. The viewer gets the detail and the scale in one shot.
Always check what appears in the background as the camera pulls back. Clutter in the frame can undermine an otherwise strong shot.
The side-to-side slide
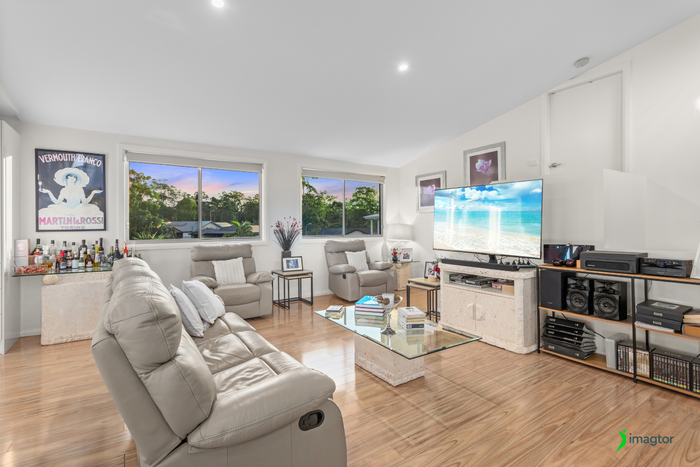
The slide moves the camera horizontally while keeping the subject in focus. It adds depth and dimension that a static shot cannot replicate.
Slides work especially well for:
- Long kitchen countertops and islands
- Built-in cabinetry and shelving
- Dining areas and living rooms
A slider rail or a gimbal makes this much easier to control. Handheld slides often introduce unwanted vertical drift. Aim for a consistent horizontal path and a pace of 5 to 8 seconds across the frame.
The walkthrough movement
The walkthrough is the most important of all camera movements for real estate video. It gives buyers the closest experience to physically walking through the home.
It works well for:
- Open-plan homes where flow is a selling point
- Luxury properties where the experience of moving through the space matters
- Apartments and townhouses where showing the layout is more useful than showing rooms in isolation
Film at roughly half your natural walking speed. If viewers cannot look around the room while moving through it, the shot is too fast.
Plan your route before filming. Knowing where you will turn, pause, and transition helps avoid corrections that make footage feel unsteady.
The orbit movement
An orbit moves the camera around a subject in a circular path while keeping that subject centred in the frame.
Good subjects for orbit shots:
- Kitchen islands
- Freestanding bathtubs
- Outdoor fire pits
- Swimming pools
Orbit shots need enough clear space to move cleanly around the subject. In a small kitchen, a slide or pull-back usually works better.
Use them sparingly. One or two per video is enough.
The reveal shot
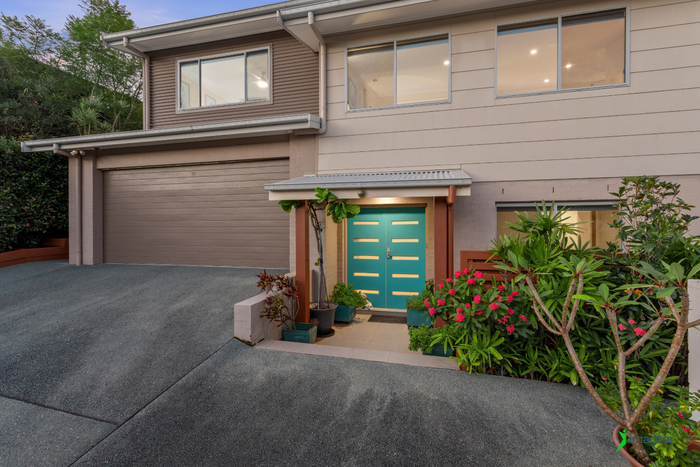
A reveal shot starts behind a wall, door frame, or piece of furniture, then gradually uncovers the space beyond it.
Examples that work well:
- Entering a living room through an archway
- Moving from a hallway into an open-plan area
- Showing an outdoor space from just inside the doorway
- Revealing a view from behind a glass panel
Reveal shots mimic the experience of discovering a space for the first time. That sense of discovery is what makes high-end property videos feel different from average ones.
Using drone camera movements effectively
Drone footage has become standard for larger homes, rural properties, and listings with significant outdoor areas or views. Listings with aerial photography sell an average of 68% faster than those without.
The most effective drone camera movements:
- Slow fly-in: Approaching the property from a distance to reveal the facade
- Pull-away: Rising while pulling back to show the home in its surroundings
- Rising shot: Ascending from just above roof level to show the lot and nearby amenities
- Overview pass: A steady side-pass showing the full roofline and outdoor features
Move slowly. A pace of 3 to 5 metres per second at low altitude tends to look cinematic.
Check local regulations before flying. In Australia, CASA sets the rules for drone use near residential areas. In the US, the FAA governs commercial drone operations.
Equipment that helps create smoother camera movements
Good technique matters most, but the right gear makes consistency easier across shoots.
Gimbals
A 3-axis gimbal removes unwanted shake during handheld camera movements. The DJI RS 4 and RS 4 Mini are popular choices among real estate videographers. The RS 4 Mini suits lighter setups and tighter spaces like hallways and bathrooms.
Sliders
Sliders give you precise, repeatable horizontal movement. Motorized sliders allow extremely slow, smooth passes that are hard to replicate by hand.
Tripods
Tripods are useful for establishing shots and wide static frames. A fluid head tripod gives you smoother pan and tilt when needed.hen filming property details.
>> Read more: Real Estate Videography: Cameras, Settings, and AI Tools
Common camera movement mistakes in real estate videos
These are the issues that come up most often in real estate video:
- Moving too fast (the most common problem by far).
- Unbalanced gimbal causing subtle shake throughout the shot.
- Mixing too many different camera movements in one room.
- Turning corners too quickly in hallways and doorways.
- Filming without a shot plan, which leads to corrections and missed angles.
- Overusing drone footage when two or three aerial shots would be enough.
If buyers notice the camera rather than the property, the camera movements are working against you.
Combining camera movements with editing
Strong footage still needs good editing to reach its potential.
Editing helps by:
- Trimming the start and end of each shot so only the cleanest part is visible
- Matching cuts to music for a more cohesive feel
- Using colour grading to unify shots taken under different lighting
- Removing clips that repeat the same angle without adding new information
A complete property video for a 4-bedroom home typically runs 2 to 3 minutes. That is enough time to cover each key space without losing the viewer’s attention.
If editing is taking time away from shooting, Imagtor handles professional real estate video editing with fast turnaround.
>> Read more: Top-Rated Drones for Aerial Real Estate Photos and Videos
Choosing the right camera movements for every property
The best camera movements are the simplest ones done well. Push-ins, pull-backs, slides, walkthroughs, orbits, and reveal shots each serve a clear purpose. The skill is knowing which camera movements fit the space and executing them at the right pace.
When the movement feels invisible, the property becomes the focus. That is exactly where the buyer’s attention should be.
Great property videos need more than good footage. Imagtor helps real estate photographers and videographers enhance their visuals with professional editing and fast turnaround. Start with a FREE TRIAL and get a 10% BULK DISCOUNT on your first order.
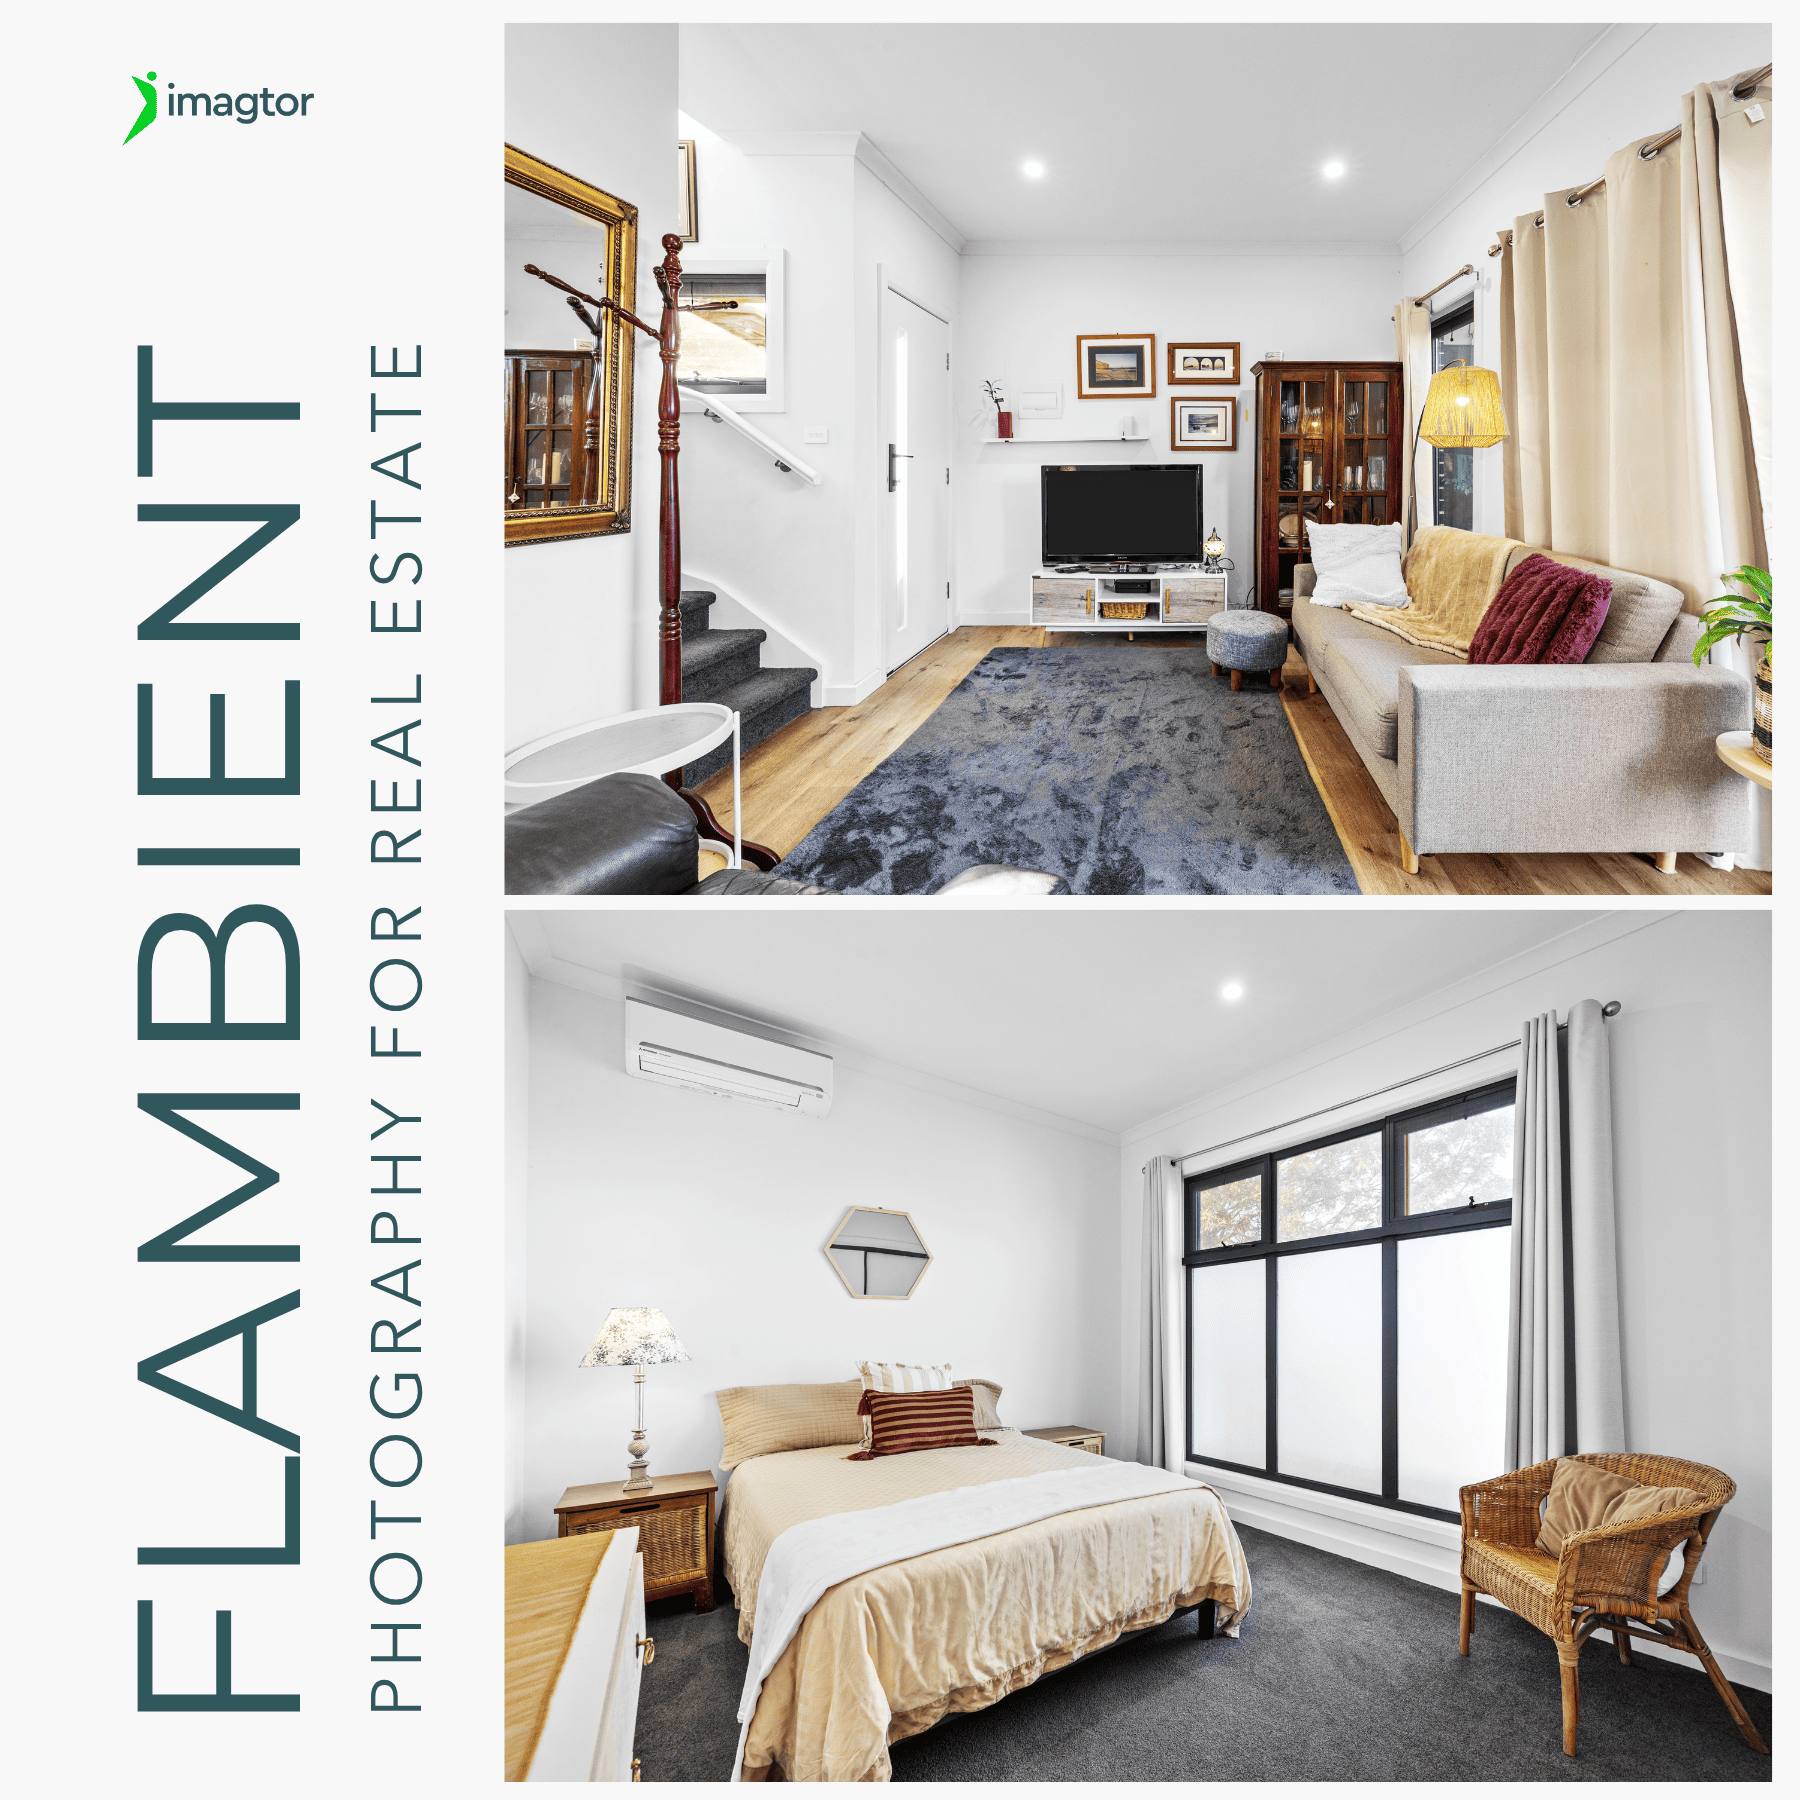
Flambient photography has become the go-to lighting technique for serious real estate photographers in 2026. It combines the natural light range of HDR with the color accuracy of flash, producing interior images that look clean, warm, and genuinely believable without the over-processed look that heavy HDR editing creates. This guide covers what flambient photography actually …
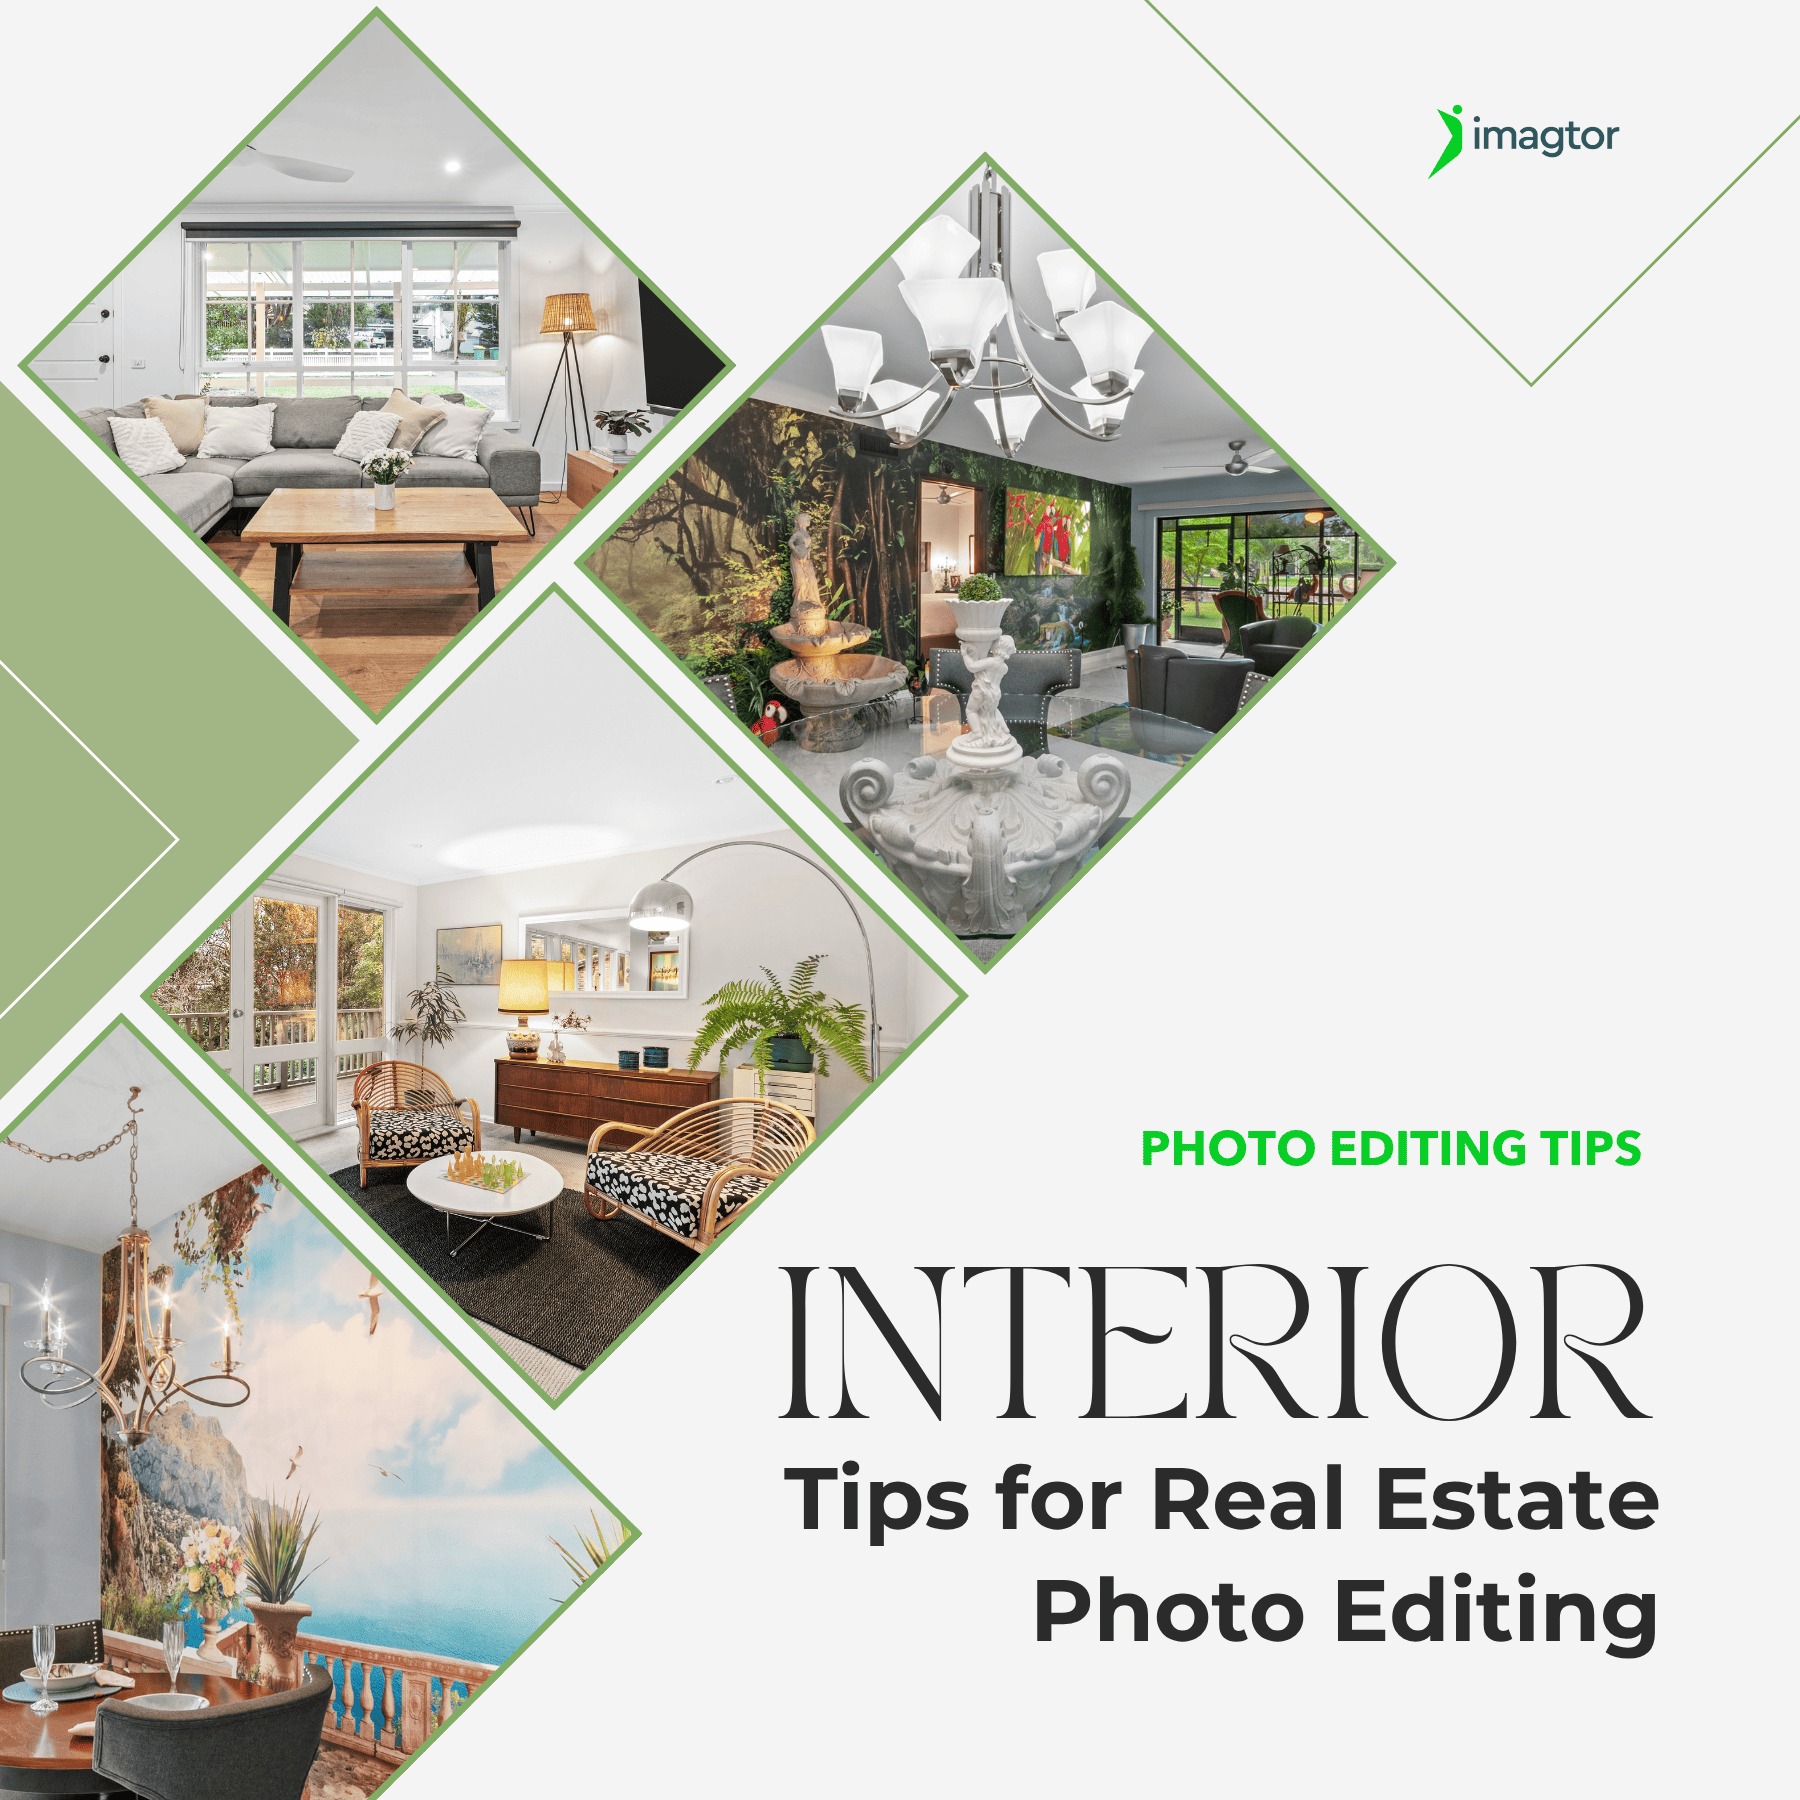
Interior real estate photo editing is where most of the work happens after a shoot. Getting exposure, color, and detail right across a full gallery is what separates listings that actually get clicks from ones that get skipped past. This guide covers the core techniques professionals use, in the order they actually matter, so every …