
How to photograph low ceiling rooms without looking cramped


Low ceiling rooms are one of those spaces that can trip up even experienced real estate photographers. Get the angle wrong, pick the wrong lens, or shoot too wide, and the room ends up looking boxed-in and uncomfortable, even when the space is perfectly livable in person.
The good news is that most of the fix happens before you edit. This post covers the camera angles, lens choices, lighting approaches, and editing adjustments that help low ceiling rooms photograph well.
Why low ceiling rooms are harder to shoot than they look
Most real estate photography techniques are built around standard ceiling heights. Shoot wide, go bright, keep the camera low. In a room with a 9-foot ceiling, that works fine.
Low ceiling rooms punish those same habits. Wide lens exaggerates vertical compression. Camera tilted even slightly upward makes ceiling lines converge and the room look more closed in than it is. Bright overhead light bounced off a low ceiling flattens everything.
The challenge is not the room itself. It is that the standard playbook makes low ceilings look worse, not better.
The camera height that actually helps
Camera height is the single biggest variable when shooting low ceiling rooms. The standard real estate recommendation puts the camera between 4 and 5 feet. For low ceilings, stay at the lower end of that range, around 4 to 4.5 feet, and make sure the camera is perfectly level.
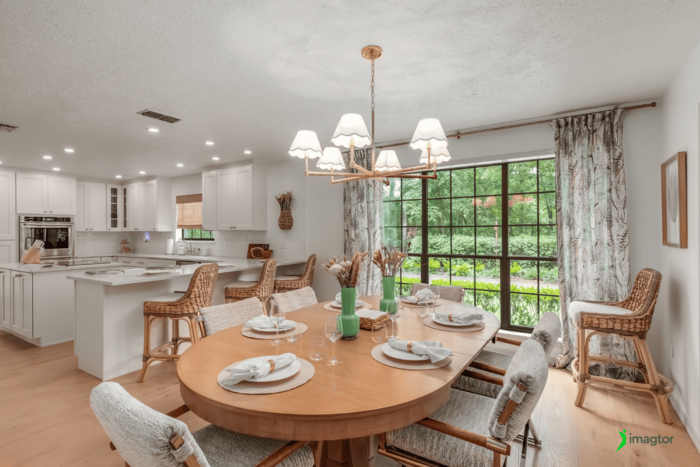
Tilting the lens upward even a few degrees causes ceiling lines to converge toward the center of the frame. That convergence is what makes a room look compressed. Keep the camera level, let the ceiling lines run parallel to the top of the frame, and the room reads as taller than it is.
It also helps to position further back in the room rather than closer to the wall. Getting at least 3 feet from walls and 18 inches from interior corners gives the lens room to work without exaggerating the perspective.
Choosing the right lens for low ceiling rooms
The working range for real estate interiors is 16 to 24mm on a full-frame camera. For low ceiling rooms specifically, stay toward the longer end of that range.
A 14 or 16mm lens captures more of the room, but the increased field of view amplifies vertical distortion. In a low-ceiling space, that distortion makes the ceiling look even closer. A 20 to 24mm lens pulls back enough to show the room clearly while keeping vertical lines more natural.
For photographers who want more control, a tilt-shift lens removes converging verticals entirely by shifting the optical axis rather than tilting the camera. It is a more specialized investment, but it solves the low ceiling problem at the source rather than in post.
Whatever lens you use, avoid placing important elements at the edges of the frame. Wide lenses stretch and distort toward the corners, and a low ceiling sitting at the top edge of a wide shot will look worse for it.
Composition tricks that work in low ceiling rooms
When a ceiling is low, the goal is to draw the eye along the room horizontally rather than upward. Leading lines are your main tool here.
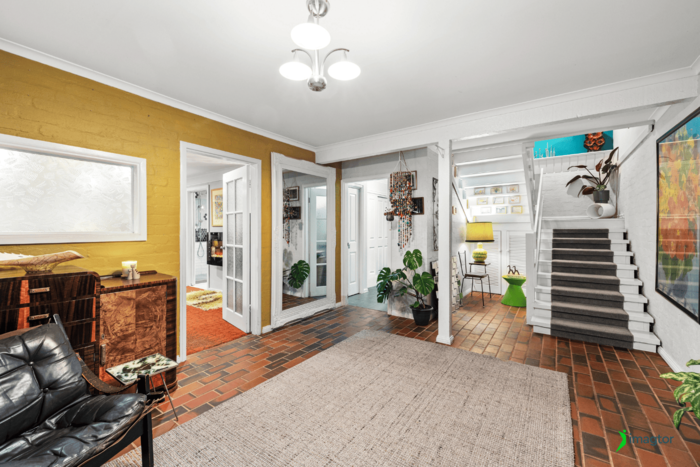
Baseboards, countertops, floor tiles, and long furniture pieces all create horizontal lines that move the viewer’s eye through the space. Position the camera in a corner for living rooms and bedrooms, so those lines extend diagonally into the frame and create depth. For kitchens and narrow spaces, a center-wall position works better.
Keep windows in the frame where possible. A window pulls natural light into the shot and gives the eye somewhere to travel toward, which reduces how much attention lands on the ceiling. Place windows near the rule-of-thirds lines rather than dead center for a more natural composition.
>> See more: Property photography composition mistakes that shrink rooms
Lighting low ceiling rooms without flattening them
Bounce flash is a standard real estate lighting technique, but low ceiling rooms make it harder. Pointing a flash directly at a low ceiling creates a flat, overexposed look and draws attention to the very thing you are trying to minimize.
Instead, angle lights toward the walls. Wall-bounced light wraps more naturally around the room and avoids the hotspot a low ceiling creates. Combine that with natural light from windows for a more balanced result.
For rooms with mixed lighting, HDR bracketing gives more control in post over how different light sources blend. It also reduces the need to push exposure in editing, which can make low ceilings look harsher than they are.
What to fix when editing low ceiling rooms
Good editing starts with what was done on location, but there is still meaningful work to do in post for low ceiling rooms.
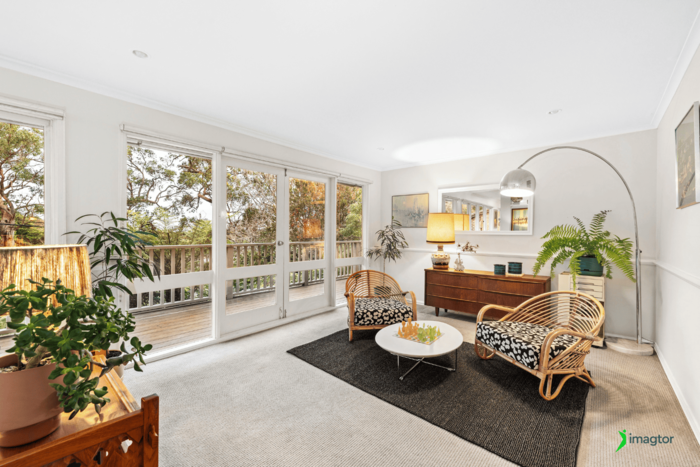
Correct barrel distortion first. Wide lenses bow straight lines outward, and that bowing is more noticeable in rooms where ceiling and floor lines are close together in the frame. After distortion correction, straighten any converging verticals and level the floor and ceiling lines so they run parallel to the frame edges.
Crop carefully. Wide lenses stretch the edges of the frame, and cropping into those edges removes the distortion that otherwise pulls corners apart. For low ceiling rooms, a tighter crop that removes the stretched upper corners often makes the space read better.
For properties with several low ceiling rooms, consistent editing across the batch matters. Rooms that look different from each other in brightness or color create a disjointed gallery, and buyers notice.
How Imagtor helps with tricky interior edits
Photographers shooting older homes, converted spaces, or city apartments often run into low ceiling rooms across a full property. Each image needs distortion correction, vertical straightening, and exposure balancing, and doing that consistently across a batch adds real time to every job.
Imagtor handles that post-production work as part of a standard editing turnaround. Consistent corrections across a full gallery, object removal, and exposure balancing mean photographers can shoot more and spend less time fixing the tricky rooms in post.
>> See more: How to do interior real estate photo editing right
Questions photographers ask
What is the best camera height for low ceiling rooms?
Keep the camera between 4 and 4.5 feet and make sure it is perfectly level. Avoid tilting upward even slightly, as this makes ceiling lines converge and the room look more compressed than it is.
Should I use an ultra-wide lens to make low ceiling rooms look bigger?
Not always. Going too wide increases vertical distortion, which can make low ceilings look worse. A 20 to 24mm lens on full frame usually gives better results for low-ceiling spaces than a 14 or 16mm.
Can editing fix a badly shot low ceiling room?
Editing can correct distortion and straighten verticals, but it cannot fix a poor camera position. Getting the angle and height right on location saves considerable time in post.
Does lighting affect how low ceilings look in photos?
Yes. Bouncing flash off a low ceiling creates a flat, overlit look that draws attention to it. Angle your lights toward walls and combine with natural light for a more balanced result.
Editing interior shots from tricky spaces takes more time per image. Let Imagtor handle it. Try our editing service with a FREE TRIAL and get a 10% BULK DISCOUNT on your first batch.
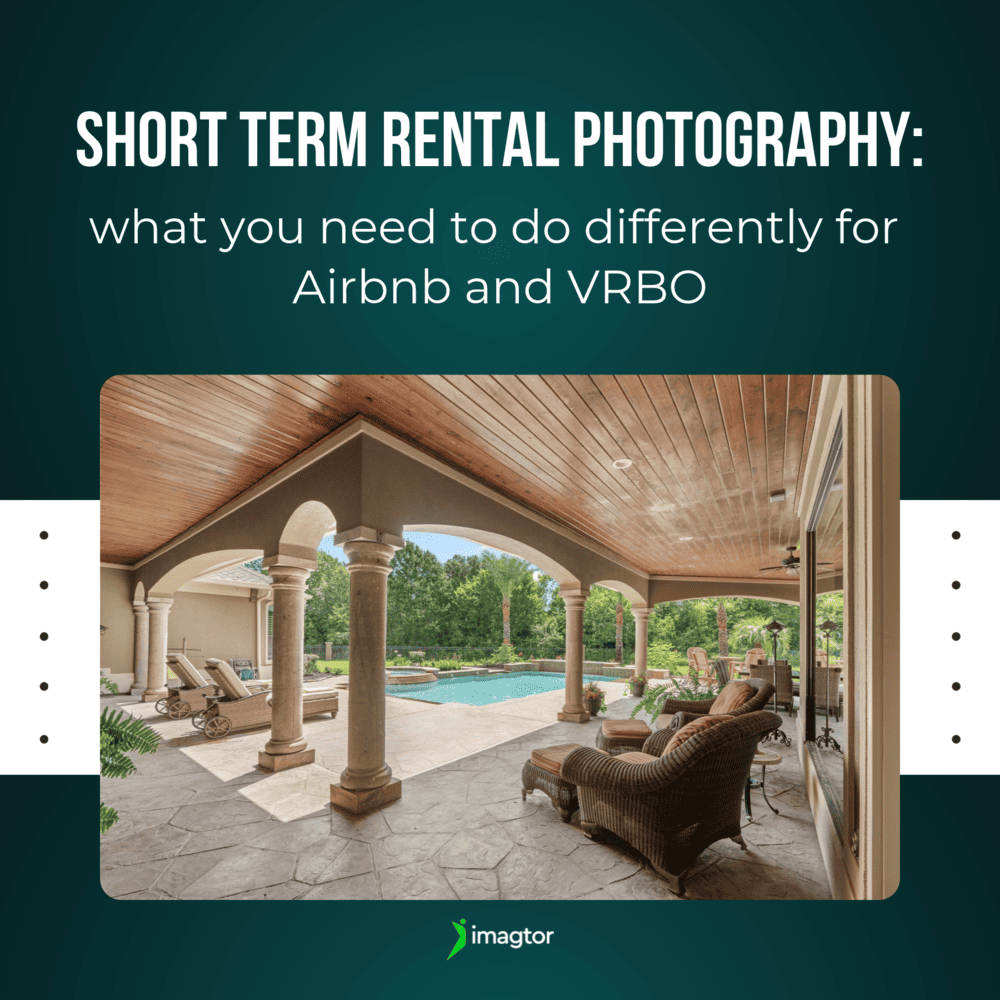
Short-term rental photography is not the same job as a standard real estate shoot, even when the property looks similar on paper. The goal is different, the staging is different, and so is what makes a photo actually work for a listing. Airbnb and VRBO guests scroll through dozens of options before they book. What …

Agents ask for a listing tour video more often than any other video format, but the request usually just comes in as “a property video” with no further detail. What they actually need and what they think they are asking for are not always the same thing. Understanding whether a job calls for a listing …