
Real estate photography is a cornerstone of property marketing. High-quality images can influence buyers’ decisions, attract more attention online, and even help sell homes faster. Yet, even experienced real estate photographers sometimes make avoidable mistakes. Small errors in composition and lighting can reduce the impact of your work, making properties look less appealing than they truly are.
This guide explores the most common mistakes in real estate photography and shows you practical steps to fix them. By addressing these issues, you’ll be able to deliver polished, professional photos that stand out in today’s competitive property market.
1. Incorrect Vertical and Horizontal Lines
The Problem:
Crooked or converging lines make a room look distorted and unprofessional. In real estate photography, where accuracy and realism matter, tilted walls or skewed windows can distract buyers.
Why It Happens:
- Shooting at an incorrect angle
- Wide-angle distortion
- Poor perspective choice
How to Fix It:
- Use a tripod and keep your camera level. Position at 4–5 feet for most interiors.
- Apply lens correction in Lightroom or Photoshop. Tilt-shift lenses are another option.
- Turn on in-camera grids to keep everything aligned before pressing the shutter.
Straight lines create trust. They make a space feel realistic, which is crucial in property marketing.
2. Poorly Balanced Exposure
The Problem:
Overexposed windows or underexposed interiors are common issues. Buyers want to see both the inside and outside clearly, but poor exposure makes rooms look uninviting.
Why It Happens:
- High contrast between natural light and interiors
- Incorrect flash use
- Skipping exposure blending in post-processing
How to Fix It:
- Shoot in HDR and blend exposures for balanced light.
- Use bounced flash to fill shadows gently.
- Adjust manual settings (f/8–f/11, ISO 100–400) for more control.
Balanced exposure ensures buyers see every detail, making your photos both accurate and appealing.

3. Incorrect White Balance and Color Casts
The Problem:
Yellow, blue, or green tints make spaces look unattractive. A home that looks too “warm” or “cold” can turn buyers away.
Why It Happens:
- Mixed lighting sources (daylight, LED, tungsten)
- Auto white balance mistakes
- Lack of correction in post-production
How to Fix It:
- Set a custom white balance with a gray card or Kelvin scale.
- Correct color casts in Lightroom’s white balance panel.
- Avoid mixing multiple light types during shooting.
Accurate color is vital in real estate photography. It makes the home feel natural and trustworthy.
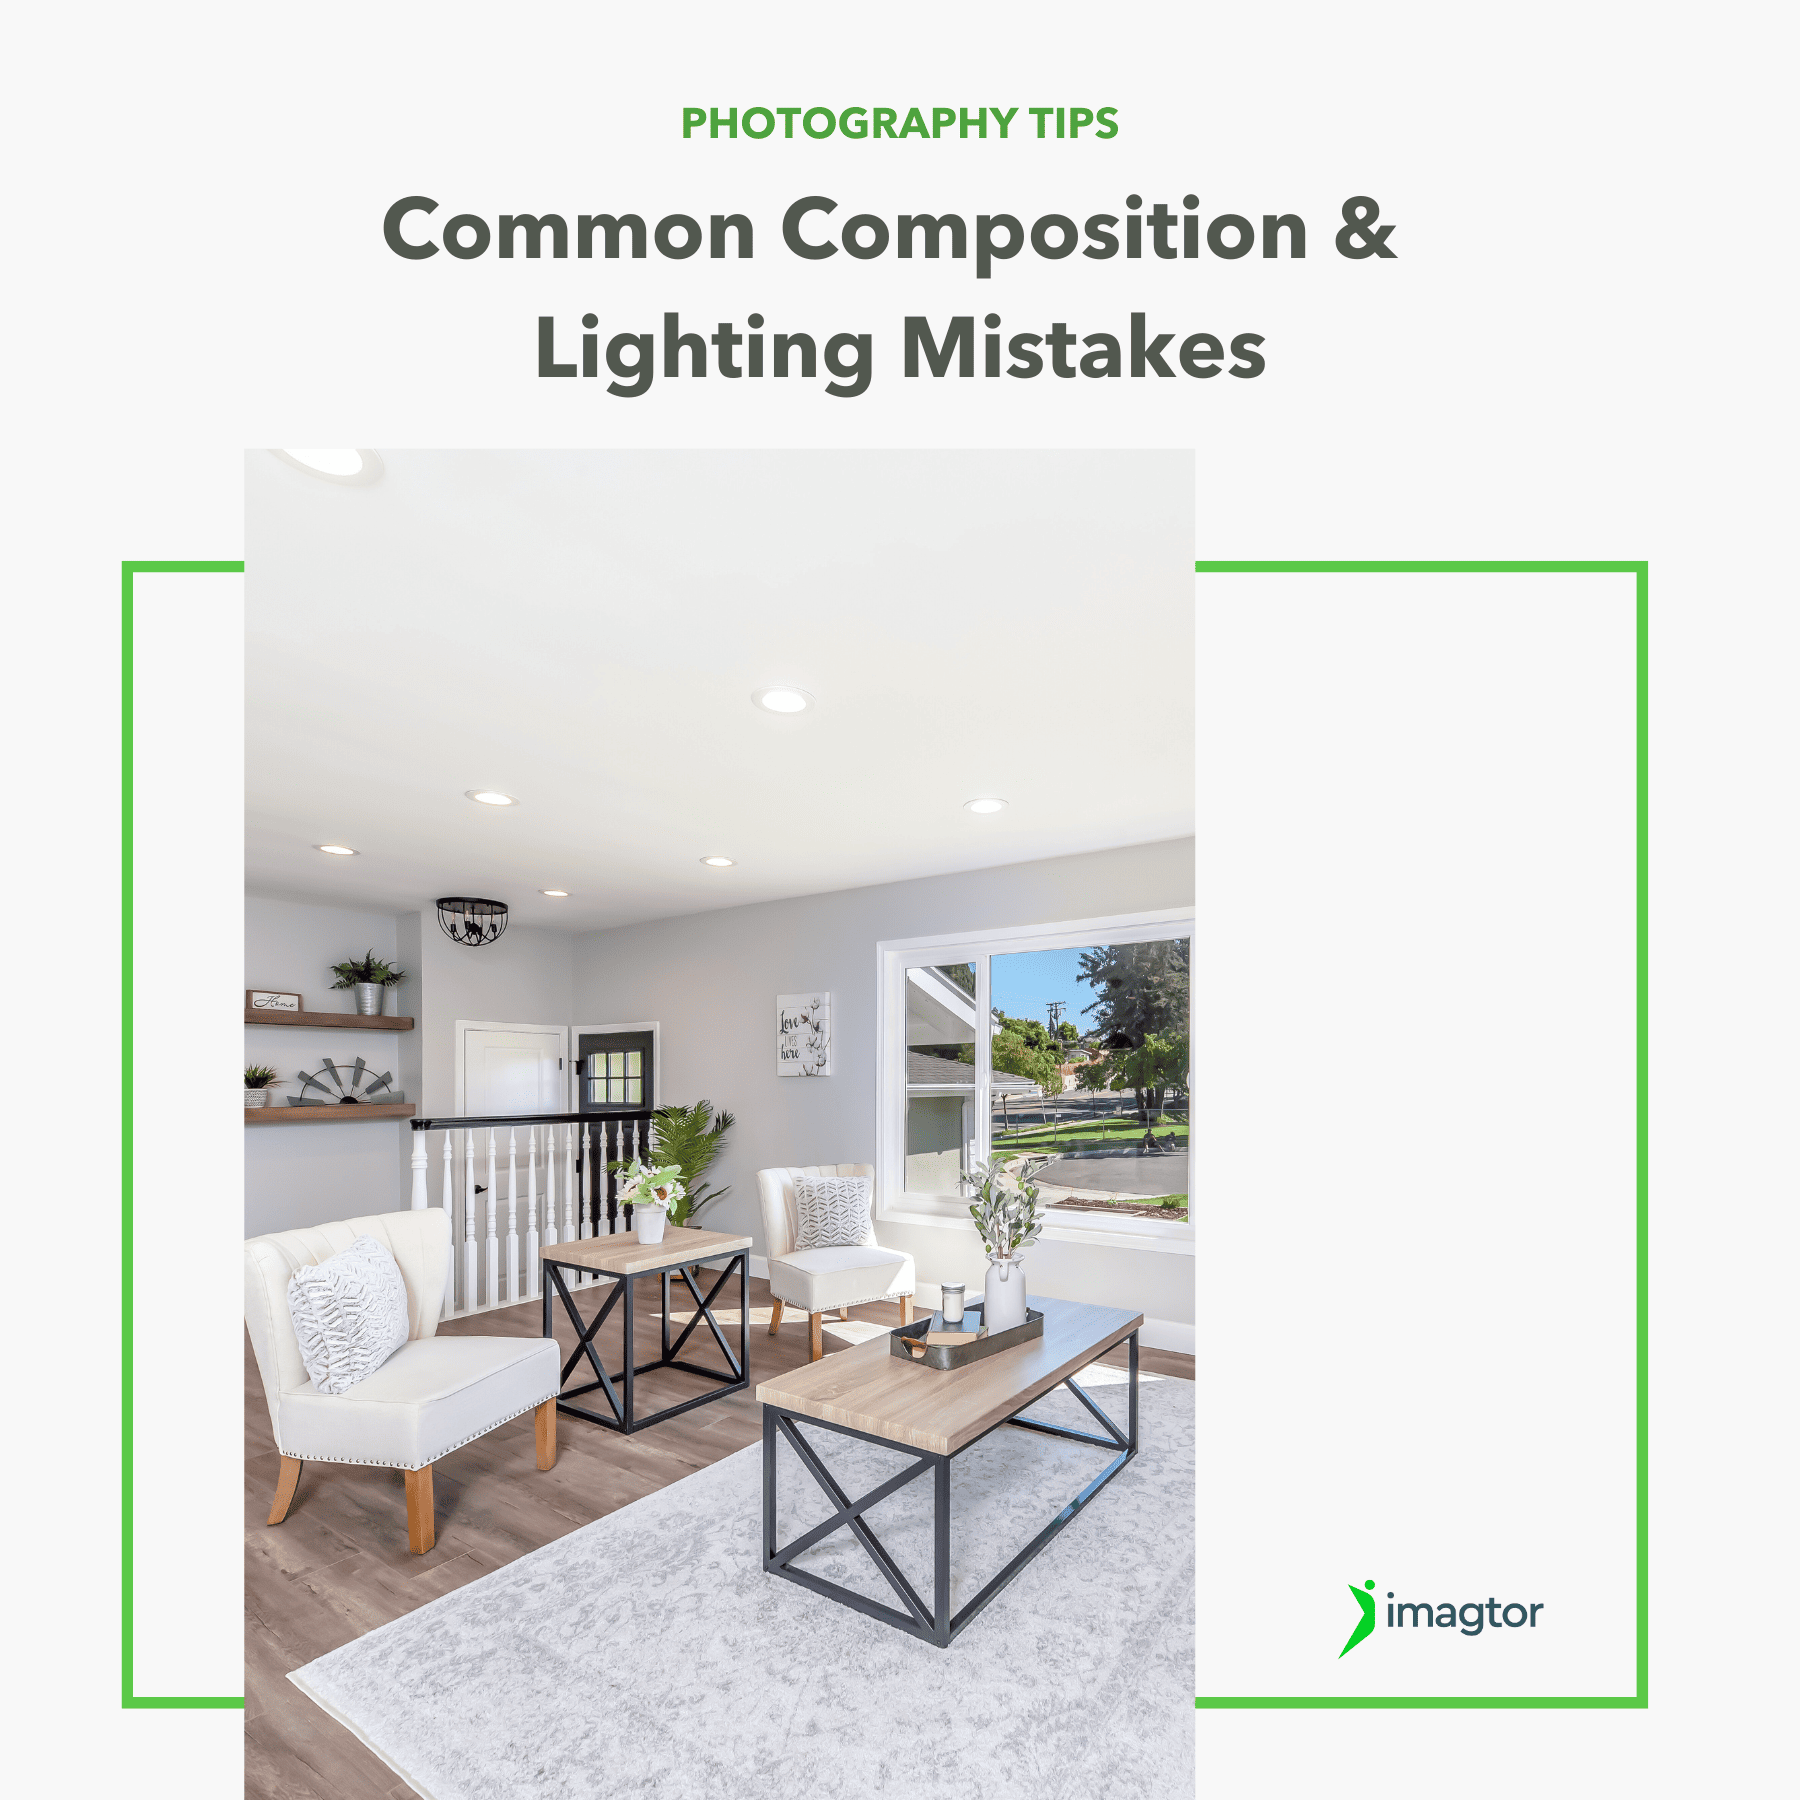
4. Poor Composition and Cluttered Frames
The Problem:
Messy frames and poor angles make homes look smaller or less attractive. Composition errors can distract buyers from the property’s true value.
Why It Happens:
- Forgetting to declutter before the shoot
- Cutting off key architectural features
- Overusing wide-angle shots that distort proportions
How to Fix It:
- Declutter rooms before shooting. Remove personal items and excess furniture.
- Follow the rule of thirds to balance images naturally.
- Use focal lengths between 16mm and 24mm on full-frame cameras.
Clean, thoughtful composition makes properties feel more inviting and spacious.
>>> Read more: Mastering Composition in Real Estate Photography
5. Incorrect Focus and Lack of Sharpness
The Problem:
Blurry or soft photos make listings look unprofessional. Buyers expect crisp, detailed visuals.
Why It Happens:
- Using too wide an aperture
- Handheld camera shake
- Autofocus errors in tricky lighting
How to Fix It:
- Stick to f/8–f/11 for sharpness across the frame.
- Use a tripod and remote shutter release.
- Switch to manual focus in low-light conditions.
Sharpness is non-negotiable in real estate photography. Every detail matters when showcasing a property.

6. Ignoring Natural Lighting Opportunities
The Problem:
Flat or dull lighting makes spaces feel lifeless. Real estate photography thrives on bright, welcoming visuals.
Why It Happens:
- Shooting at the wrong time of day
- Overusing artificial light
- Not maximizing natural windows or openings
How to Fix It:
- Schedule shoots in the morning or late afternoon for softer light.
- Open blinds and curtains to let natural light flood in.
- Use reflectors to bounce sunlight into darker corners.
Natural light enhances warmth and depth, making homes feel more inviting.
>>> Read more: Natural Light vs. Artificial Light in Real Estate Photography
7. Overediting and Unrealistic Enhancements
The Problem:
Overprocessed photos look fake. Buyers can spot excessive HDR, oversaturation, and unnatural sharpness instantly.
Why It Happens:
- Trying to compensate for poor shooting conditions
- Overuse of clarity and saturation sliders
- Aggressive filters in editing
How to Fix It:
- Keep edits subtle. Aim for natural enhancement, not transformation.
- Apply HDR blending carefully to avoid “glowing” effects.
- Always compare before-and-after shots to maintain realism.
Subtle editing ensures real estate photos inspire trust instead of suspicion.
Final Thoughts
Real estate photography is more than just pointing a camera at a room. It requires careful planning, attention to detail, and respect for natural composition and lighting. By avoiding these common mistakes, you’ll create images that highlight a property’s best features and inspire confidence in buyers.
Professional, well-edited photos not only help listings stand out online but also increase the chances of a faster sale.
Struggling with photo editing? At Imagtor, we help real estate photographers save time and deliver stunning results with expert editing services. Let us handle the post-production so you can focus on shooting and growing your business. Try our services today with a FREE trial and experience the difference professional editing can make.

Many photographers think they have to choose between HDR or flash. In reality, using HDR and flash together can give you cleaner images, better color, and more control over the final result. For many real estate photographers, combining both techniques has become a core part of a reliable workflow. Why photographers combine HDR and flash …
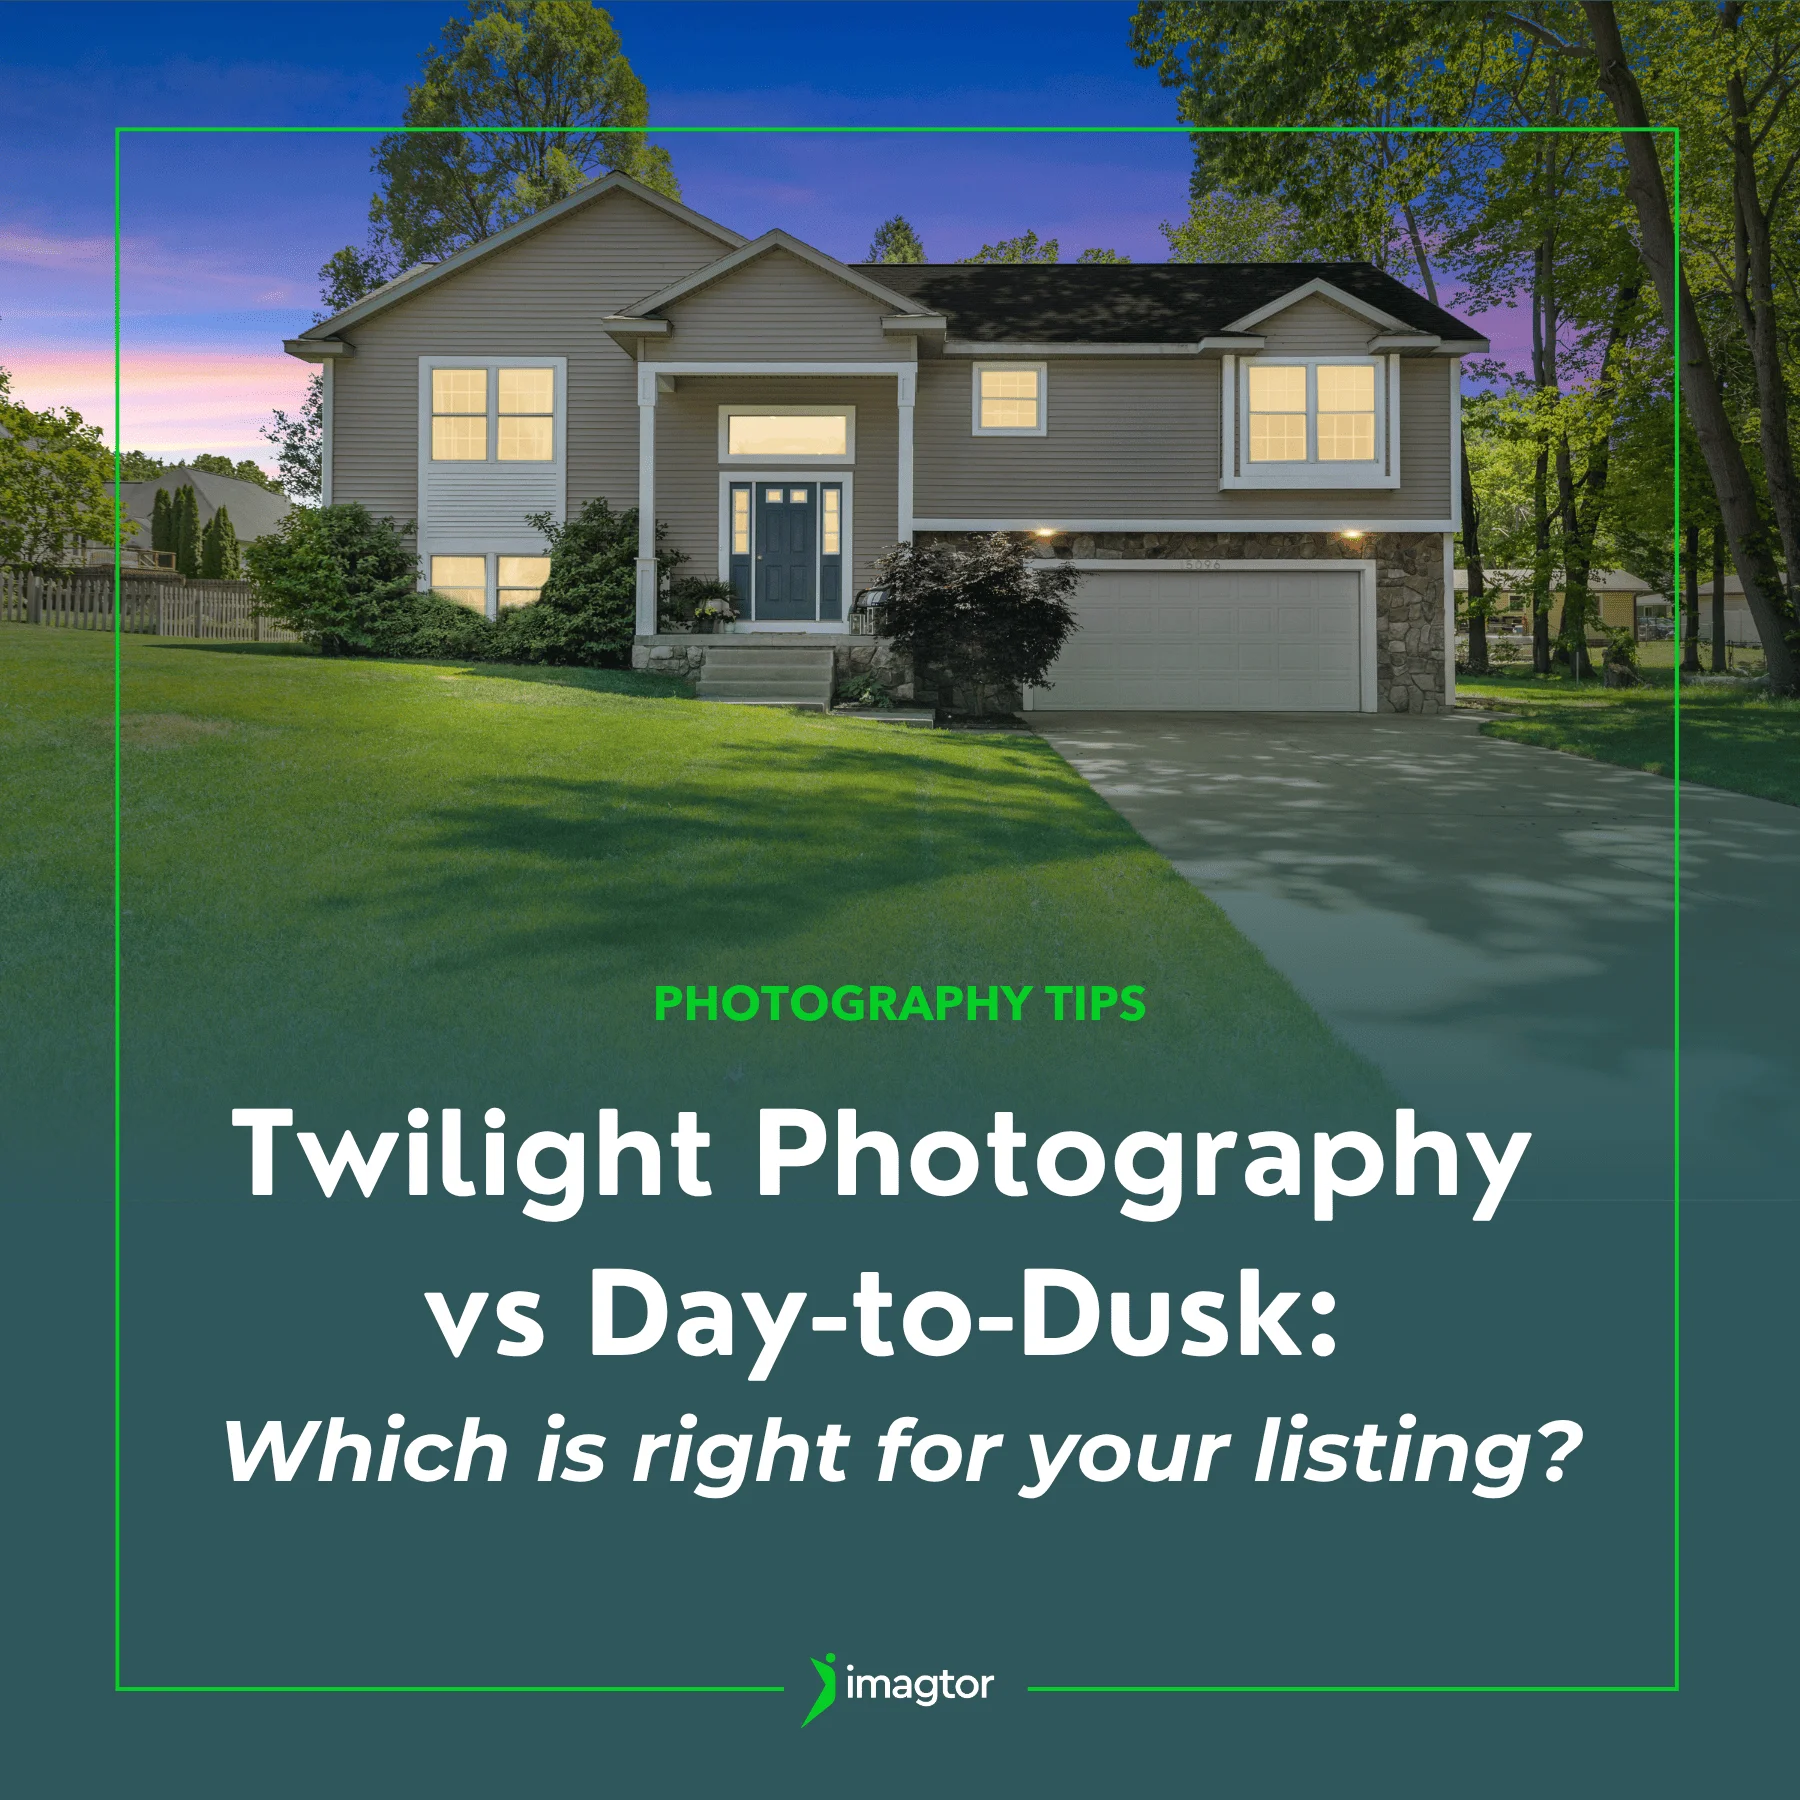
Twilight photography and day-to-dusk editing are two of the most popular ways to create striking exterior shots for property listings. Both approaches can produce beautiful results, but they work very differently and suit different situations. Knowing which one fits the property, the timeline, and your client’s goals can save you time and help you deliver …