Mastering Composition in Real Estate Photography

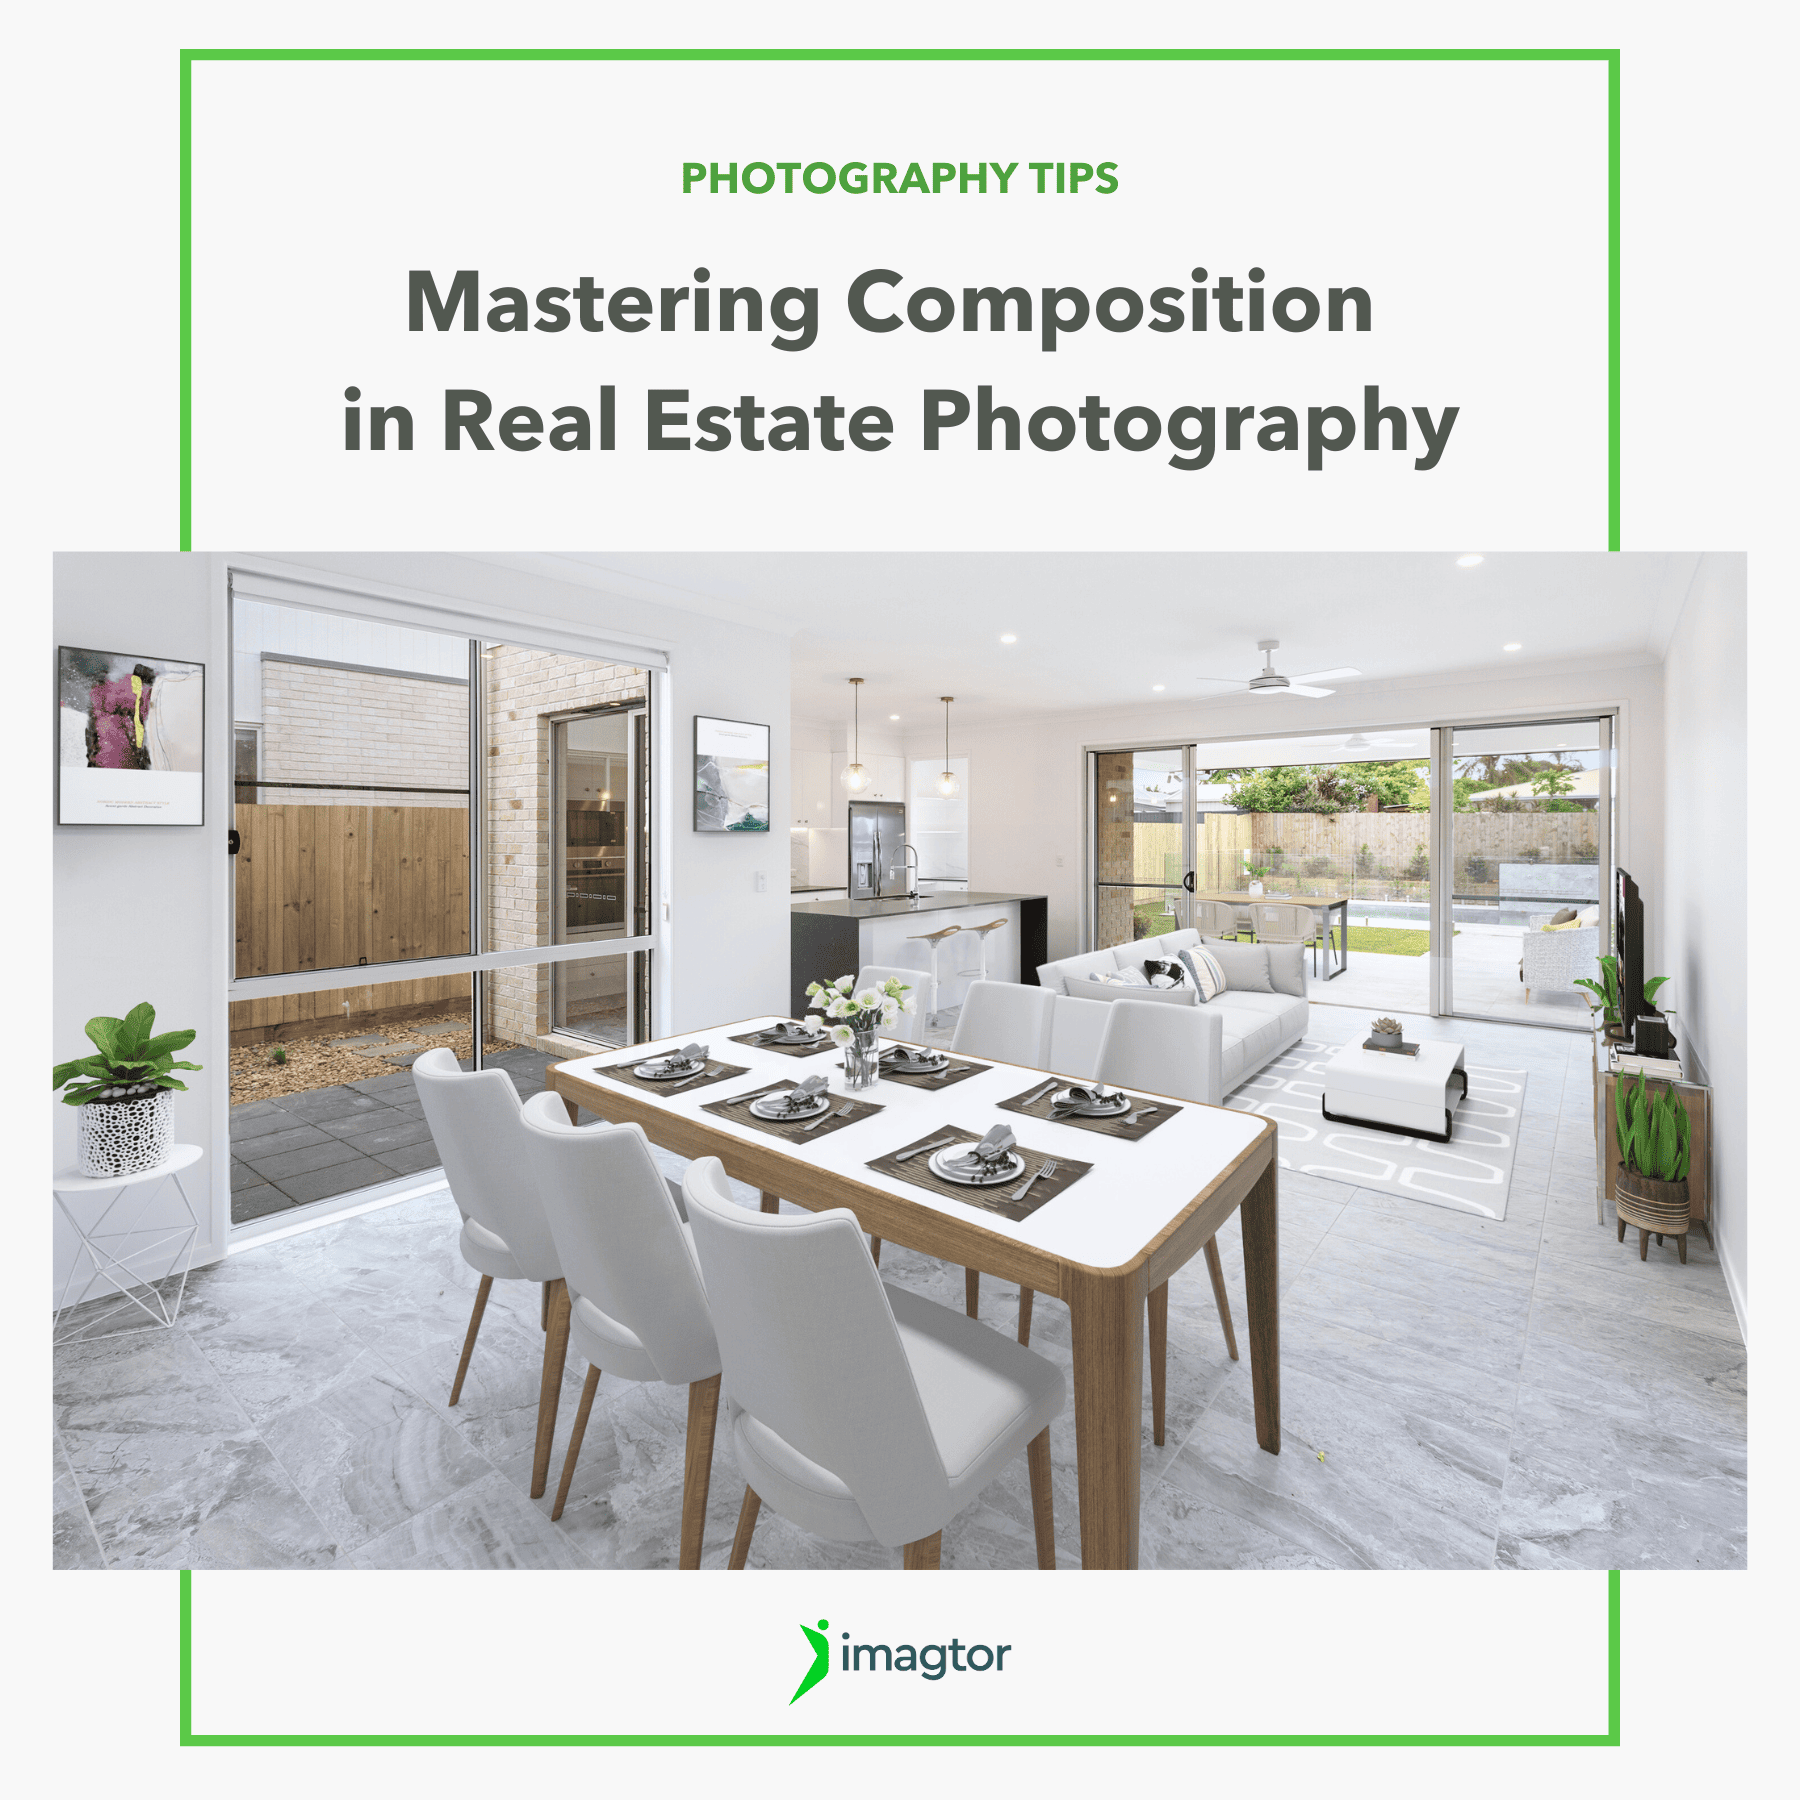
With over 97% of homebuyers browsing online listings, strong visuals in real estate photography are essential. A well-planned composition not only grabs attention but also drives faster sales and higher property value. Redfin reports that homes with professional photos sell 32% faster and for $11,000 more on average. But what makes a photo truly stand out?
In this guide, we’ll explore core composition techniques – from leading lines and symmetry to framing and depth. Each section includes practical tips and examples designed to elevate your real estate photography from good to exceptional.
Why Composition Matters in Real Estate Photography
Composition is the careful arrangement of visual elements within a frame. In real estate photography, strong composition highlights architecture, shows space accurately, and engages buyers emotionally. Poor composition, on the other hand, can distort layout, misrepresent scale, or fail to showcase a property’s best features.
The numbers prove its impact: the National Association of Realtors reports that 89% of buyers consider photos the most useful feature online, while Zillow finds listings with high-quality, well-composed images get 118% more views than average. In today’s digital-first market, mastering composition is not just artistic. It’s essential for success.
1. Leading Lines: Guide the Eye Naturally
Leading lines are visual pathways that guide the viewer’s eye through an image. In real estate photography, they can be hallways, staircases, countertops, or fences leading toward key selling points. This technique adds depth and flow while drawing attention to focal areas like open living spaces or scenic views.

How to Use It:
- Position yourself so architectural features (e.g., countertops, wooden beams, handrails) lead into the scene rather than across it.
- Use wide-angle lenses (14-24mm for full-frame sensors) to enhance linear depth.
- Shoot from lower angles to exaggerate lines on flooring or tile work.
Example: In an open-concept kitchen, shoot from the corner where the countertop edge creates a line pointing toward the backyard patio. This subtly pulls the viewer’s attention outward, showcasing indoor-outdoor living.
Tools:
- Use Lightroom’s Geometry and Transform panel to correct any distortion and ensure lines remain straight.
- DxO PhotoLab offers advanced perspective correction to reinforce linear emphasis.
2. Symmetry and Balance: Create a Sense of Order
Symmetry happens when both halves of a photo mirror each other, while balance is the even distribution of visual weight across the frame. These techniques appeal to our natural desire for harmony, creating calm and professional images – ideal for presenting organized, livable spaces.
How to Use It:
- For symmetrical shots, position the camera dead center in front of a bed, a bathroom mirror, or an entrance.
- For balanced compositions, ensure one side of the image isn’t too heavy. Use visual anchors like artwork, furniture, or lighting fixtures.
- Check horizon lines and verticals using a grid overlay to maintain stability.
Example: Photograph a living room with a fireplace in the center, flanked by identical chairs and lamps on either side. This symmetry draws the eye inward and centers attention on the key selling feature.
Tools:
- Use Capture One’s keystone tool to fine-tune verticals and maintain balance.
- Adobe Lightroom’s Auto Upright or Guided Upright tool helps correct skewed lines from wide-angle lens distortion.
3. Framing: Emphasize the Subject
Framing uses elements within a scene to surround or highlight the main subject. It draws attention to key features, adds depth, and guides the viewer’s focus, creating more intentional and dynamic photos.

How to Use It:
- Stand in doorways or corridors and use the frame to naturally contain your focal point (e.g., a bedroom or feature wall).
- Utilize natural light from windows to create shadows that border your subject.
- Use furniture or ceiling beams to create framing within the room.
Example: Photograph a home office by shooting through the open double doors of the hallway, creating a feeling of discovery and spatial transition.
Tools:
- In Photoshop, use layer masks to darken or soften the foreground for enhanced framing.
- Lightroom’s Radial Filter can help subtly highlight the subject by applying a controlled vignette effect.
4. The Rule of Thirds: Avoid Dead Center
The rule of thirds divides an image into a 3×3 grid, placing key elements along the lines or intersections. This creates more dynamic compositions than simple centering and encourages a natural visual flow.
How to Use It:
- Enable the grid in your camera’s viewfinder to align furniture, windows, or décor along the third lines.
- Keep important architectural features like door frames, pendant lights, or windows at intersection points.
- Consider both horizontal and vertical thirds for a multidimensional approach.
Example: Shoot a kitchen with the island aligned along the lower third, while the cabinetry fills the top third, drawing the eye naturally across the space.
Tools:
- Use cropping tools in Lightroom to apply Rule of Thirds if adjustments are needed post-capture.
- Skylum’s Luminar AI offers AI Composition Assistance to recommend best crop and alignment.
5. Depth and Layering: Add a 3D Feel
Depth and layering use elements in the foreground, middle ground, and background. This mirrors how we see space, making photos feel immersive. Adding layers creates context and helps buyers understand the layout and scale of a room.

How to Use It:
- Include foreground elements like a rug, plant, or doorway.
- Create visual layers by shooting from one room into another or from inside looking out.
- Use lighting to emphasize separation between layers.
Example: Frame a photo from the living room that includes part of a sofa in the foreground, a dining table in the mid-ground, and the kitchen in the background.
Tools:
- Luminar Neo’s AI Relight tool can help enhance perceived depth with intelligent exposure mapping.
- Use Adobe Lightroom’s gradient filters to draw attention through the depth layers.
6. Vertical Lines: Maintain Realism
Maintaining vertical lines ensures walls, windows, and doors appear straight. Distorted lines misrepresent room dimensions and make spaces feel off. Keeping realism builds trust and shows professionalism in listings.
How to Use It:
- Use a tripod with a built-in level to maintain accurate camera orientation.
- Avoid tilting your camera upward; instead, raise the height while keeping the sensor parallel to the ground.
Example: When photographing a hallway, keep all doorframes perfectly vertical to maintain proportional accuracy and prevent a fish-eye effect.
Tools:
- DxO ViewPoint provides powerful geometry correction tailored to architectural photography.
- Capture One offers extensive control over distortion and perspective.
7. Light and Shadow as Compositional Tools
Light is more than exposure – it shapes mood, highlights textures, and defines structure. Using shadows and highlights strategically guides attention and enhances detail.

How to Use It:
- Schedule shoots for early morning or late afternoon for softer, more directional light.
- Use strobes or off-camera flash to control artificial light without overpowering natural tones.
- Use natural shadows cast by blinds or plants as intentional design elements.
Example: Capture a dining room with sunlight pouring through shutters, casting defined shadows that draw attention to a wood table’s grain and finish.
Tools:
- Aurora HDR or Photomatix Pro for high-dynamic range merging.
- Lightroom’s brush and masking tools for controlled highlight/shadow editing.
Practical Composition Execution for Real Estate Photographers
Mastering composition isn’t about memorizing rules. It’s about making intentional choices to showcase each property. With buyers influenced by online visuals, real estate photographers must blend artistry with strategy. Use tools like Lightroom, Photoshop, or Capture One to refine compositions in post-production. Most importantly, practice often. Shooting with composition in mind builds intuition and helps you grow as a visual storyteller in real estate photography.
Tools and Platforms to Support Your Work:
- Adobe Lightroom & Photoshop: Industry staples for composition, color correction, and perspective adjustments.
- Capture One: Known for precision color grading and geometry control.
- DxO ViewPoint: Ideal for perspective correction and vertical alignment.
- Luminar Neo: AI-powered enhancements including sky replacement, depth mapping, and relighting.
Suggested Platforms for Learning and Inspiration:
- LinkedIn Learning: Offers advanced real estate photography courses.
- YouTube Channels: Nathan Cool Photo, Rich Baum, and Enes Yilmazer provide technique walkthroughs.
- Photofocus & Fstoppers: Blogs that regularly cover composition trends, gear reviews, and post-processing tips.
Want your listings to truly stand out? Let Imagtor handle your real estate photo editing so your compositions shine without the extra workload. Focus on shooting, leave the fine-tuning to our expert team, and enjoy consistent, polished results. Try us risk-free with a FREE TRIAL, and get a 10% BULK DISCOUNT when you scale.
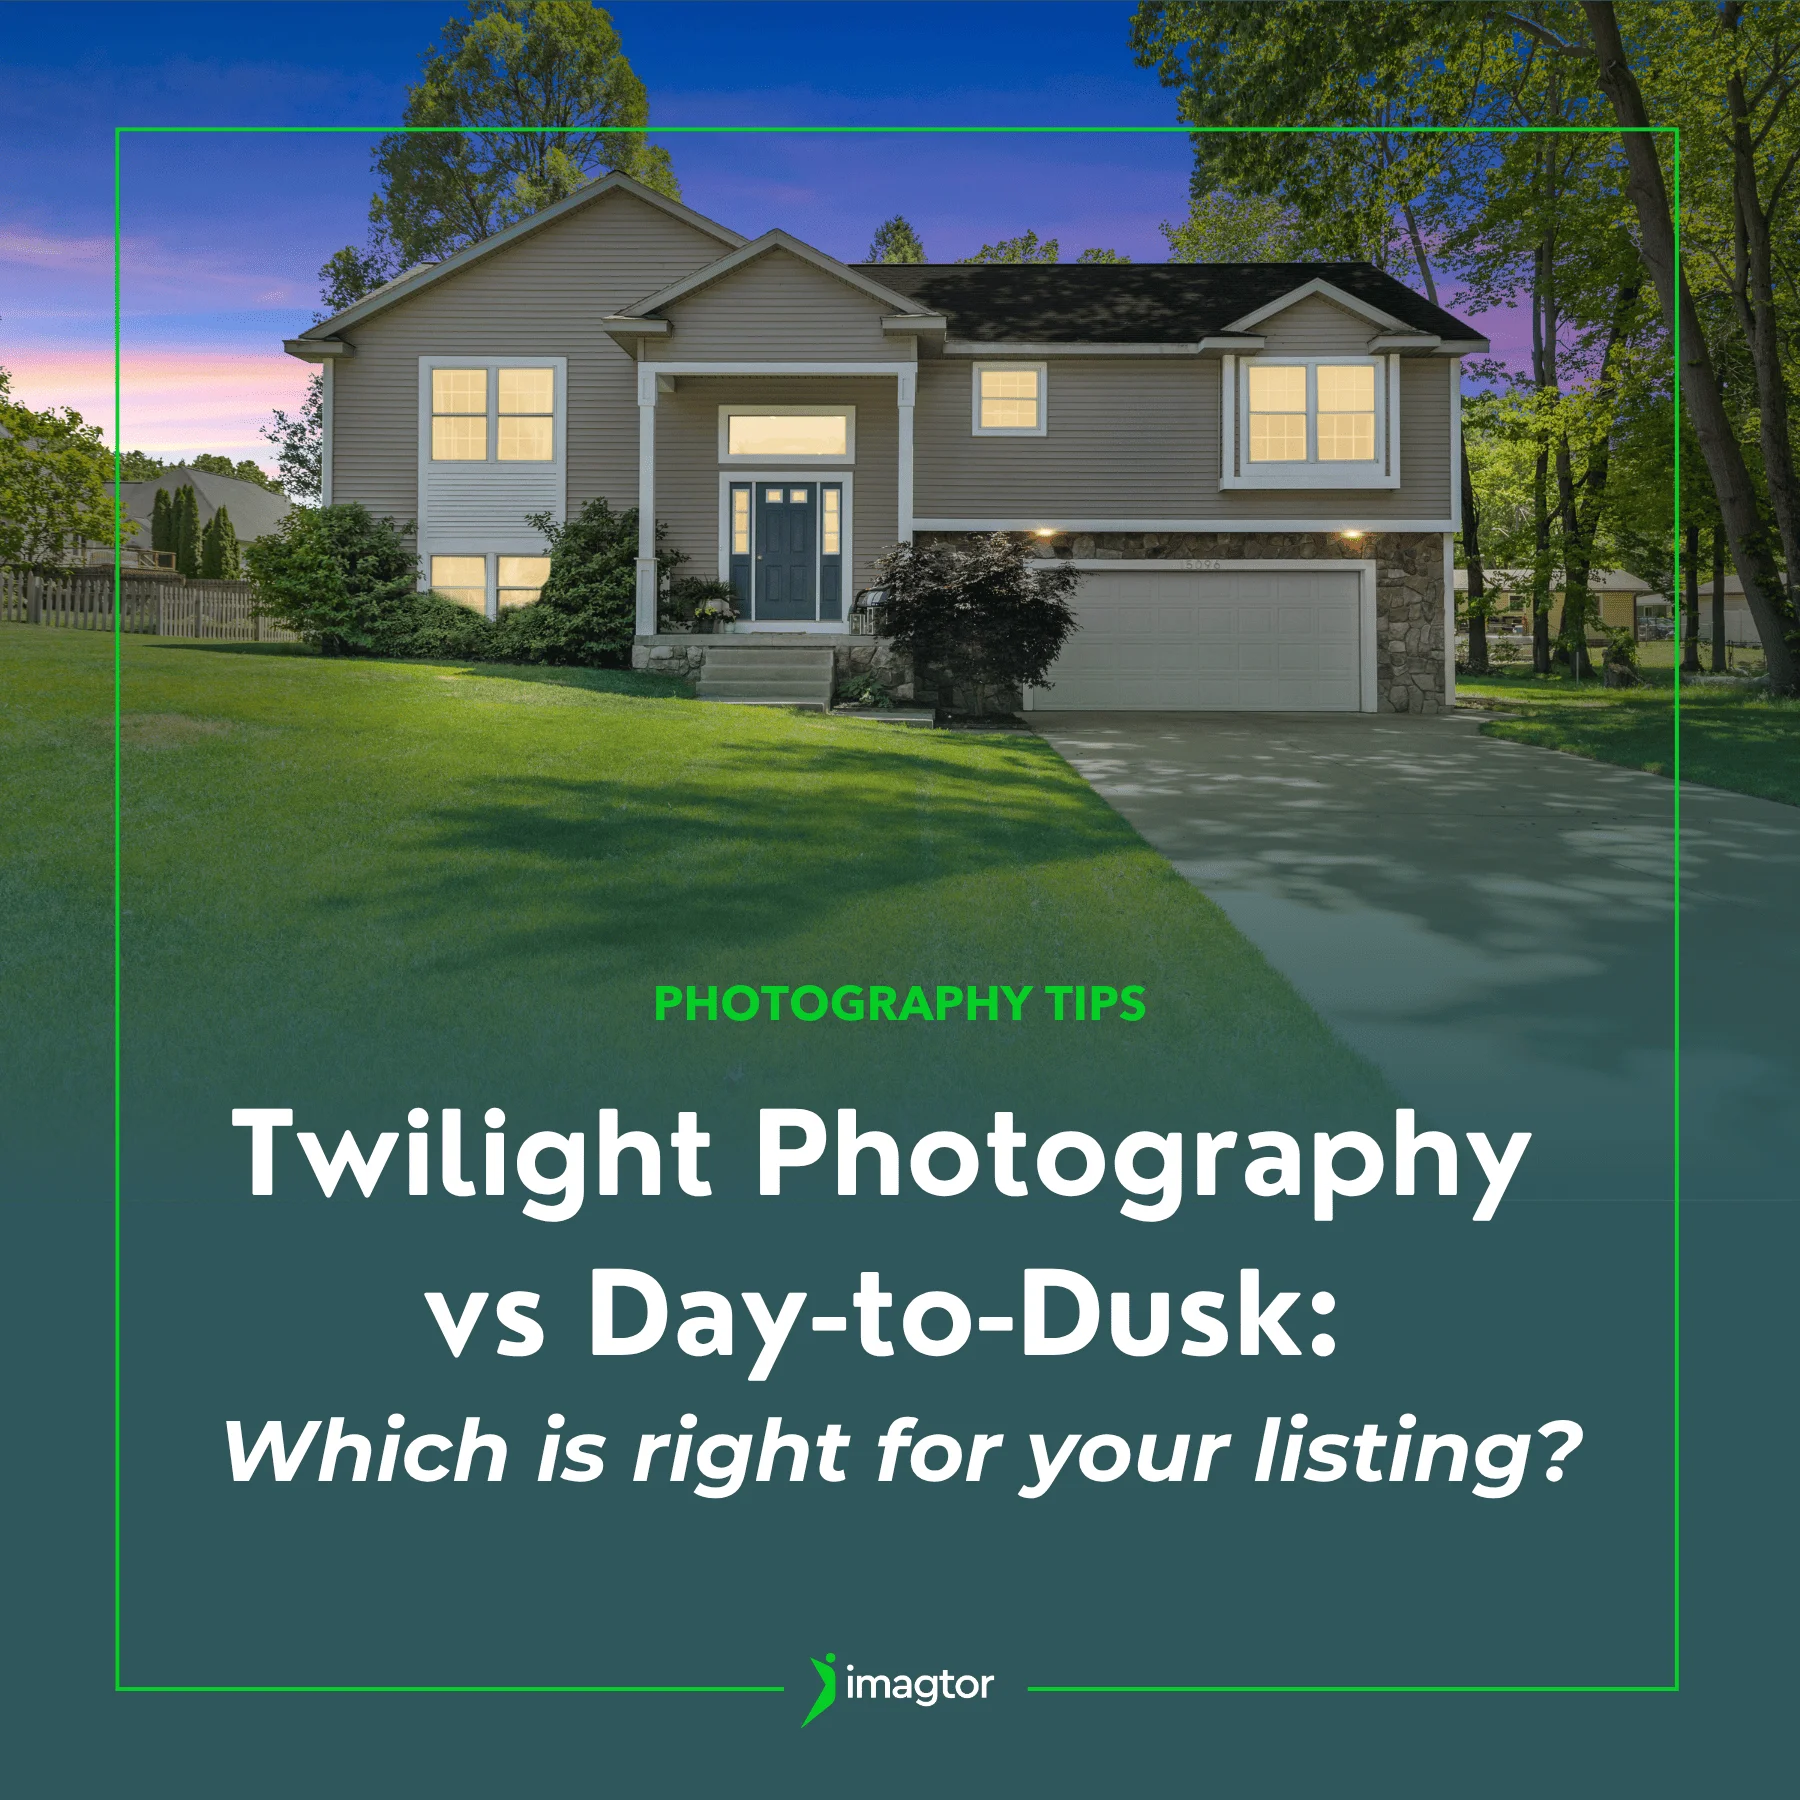
Twilight photography and day-to-dusk editing are two of the most popular ways to create striking exterior shots for property listings. Both approaches can produce beautiful results, but they work very differently and suit different situations. Knowing which one fits the property, the timeline, and your client’s goals can save you time and help you deliver …
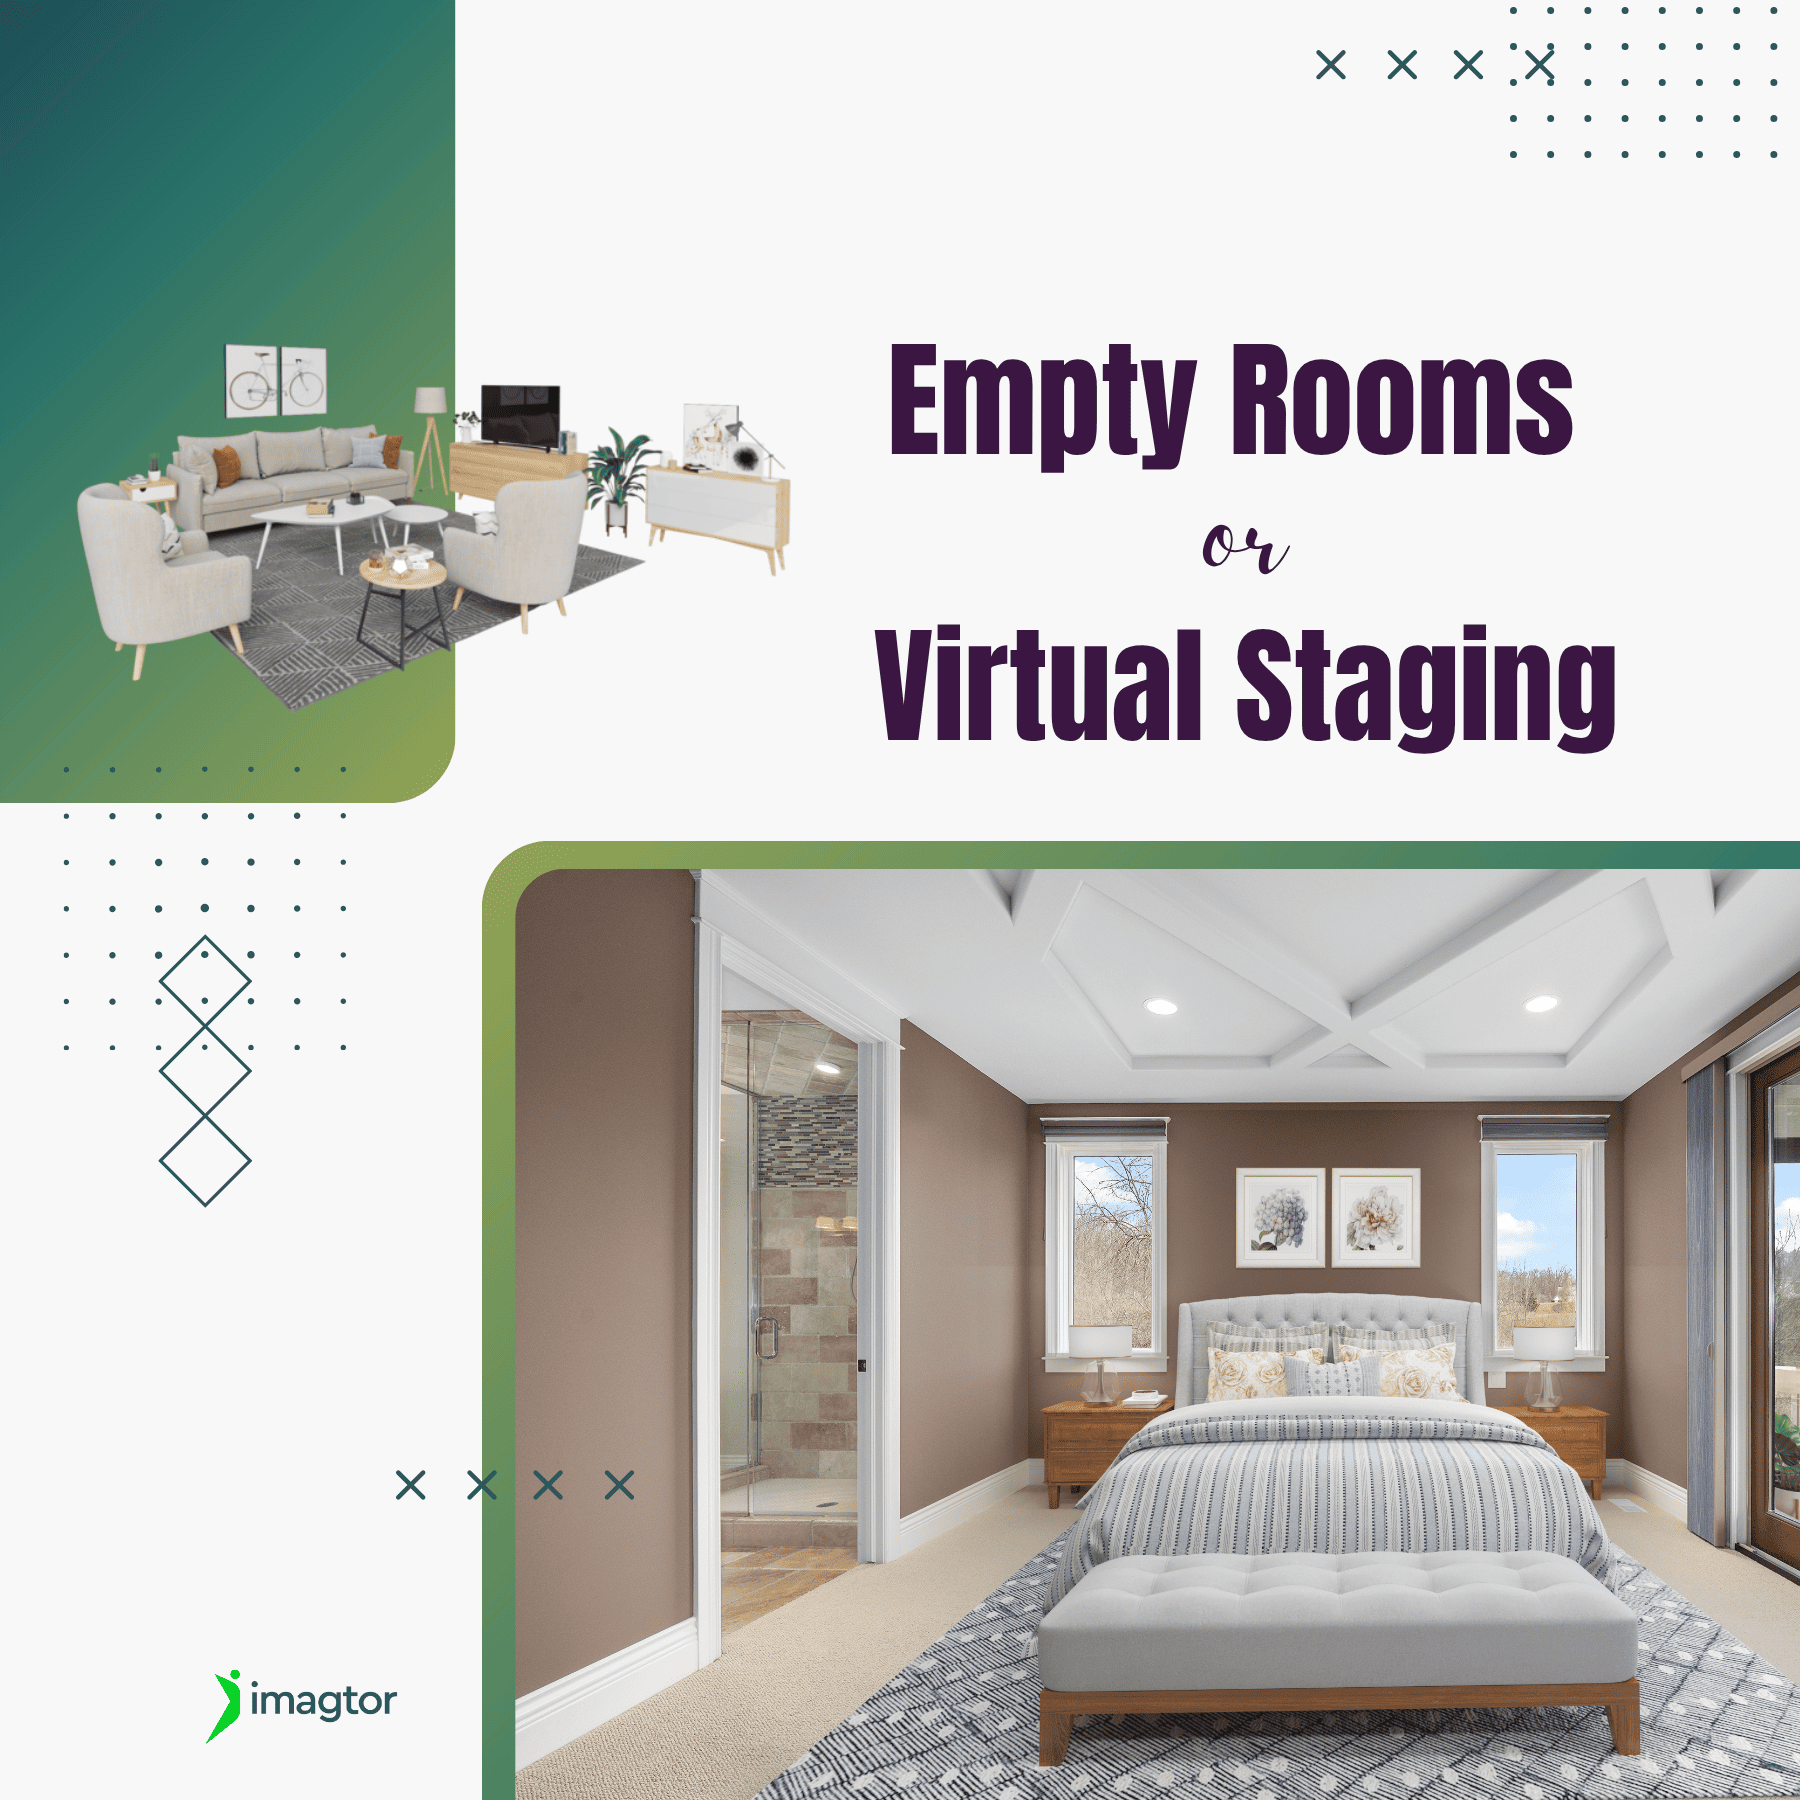
Virtual staging has become one of the most practical tools in property marketing, helping vacant spaces feel warmer and easier for buyers to connect with. But empty room photos still have their place. Knowing when to use each approach can make a real difference to how a listing performs. Why empty rooms can be challenging …