


Interior real estate photo editing is where most of the work happens after a shoot. Getting exposure, color, and detail right across a full gallery is what separates listings that actually get clicks from ones that get skipped past.
This guide covers the core techniques professionals use, in the order they actually matter, so every room in a gallery looks like it belongs to the same property.
Why interior real estate photo editing is harder than it looks
Shooting interiors is one thing. Editing them consistently is another.
Every room has its own lighting conditions. Kitchens often mix daylight with overhead LEDs. Bedrooms might run warm from tungsten bulbs. Living rooms shift depending on which windows are open. That mix of light sources pushes each room in a different color direction, and if editing does not correct for it, the gallery ends up looking disjointed even when individual shots are technically fine.
Buyers scroll through listing galleries fast. Inconsistency between rooms is something they notice immediately, even if they cannot name exactly what feels off.
Getting white balance right across every room
White balance is the foundation of consistent interior real estate photo editing. Get it wrong and no amount of exposure work will save the gallery.
Shooting in RAW gives the most flexibility to correct color temperature in post without losing detail. From there, the goal is not just to fix each room individually but to make all rooms feel like they were shot under the same light.
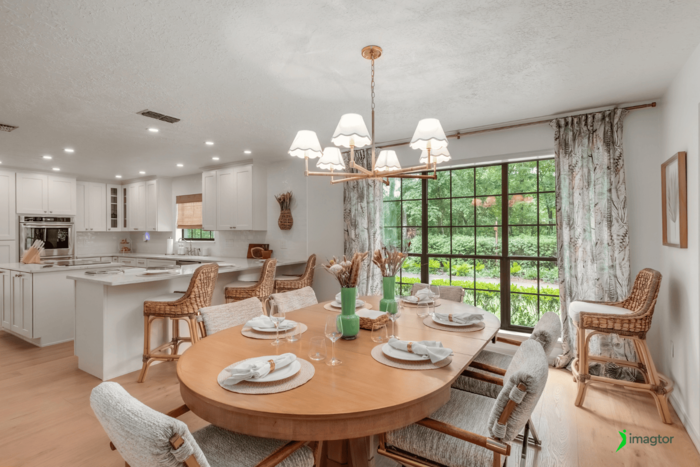
A few things that help:
- Set a neutral white balance target for the property and match every room to it
- Kitchens and bathrooms are usually the trickiest because of mixed light sources
- Avoid pushing white balance corrections too far. Rooms should look natural, not clinical
- Batch white balance correction in Lightroom speeds up the process significantly across a full gallery
HDR blending for balanced interior exposure
Single exposures cannot capture both a bright window and a dark corner in the same frame. That is just a camera limitation, not a shooting mistake.
Bracketed exposures give editors the full dynamic range to work with. HDR blending merges them into one image that holds detail in both the shadows and highlights. Done right, it looks like a naturally well-lit room. Done wrong, it looks like an overprocessed render that no real room actually looks like.
Flambient shooting, combining a bracketed HDR base with a flash frame, has become the cleaner approach for interior real estate photo editing in 2026. Flash removes mixed-light color casts and gives editors more accurate color to work with before blending.
Window pull editing: keeping outdoor detail
Blown-out windows are one of the most common revision requests agents send back to photographers. A completely white window area looks unfinished and wastes one of the best natural light sources in the image.
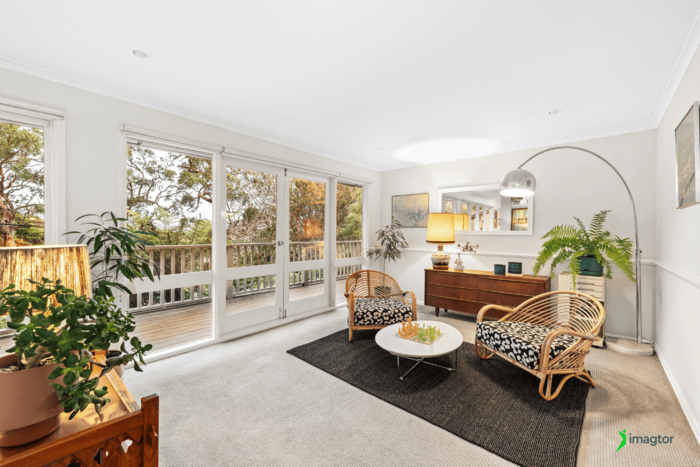
Window pull editing composites a properly exposed exterior shot into the blown-out window area of the interior frame. The result is a window that shows the outside view clearly while keeping the interior lighting natural.
Getting this right takes attention:
- Outdoor lighting direction needs to match the interior lighting in the final image
- Over-corrected windows that look too dark or too saturated look just as wrong as blown-out ones
- Shooting a dedicated window exposure on site, rather than trying to recover it in post, always produces cleaner results
Perspective correction for straight walls
Wide-angle lenses are standard in property photography, and they come with distortion. Walls lean, door frames tilt, and countertops curve when the camera is not perfectly level or the lens is pushed too wide.
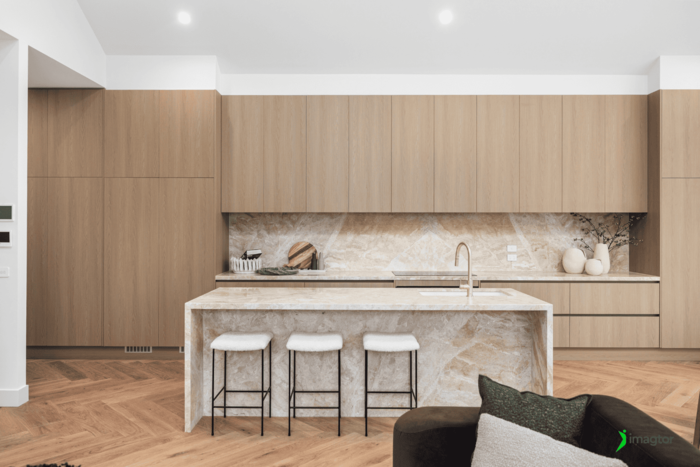
Perspective correction straightens those lines in post. It is one of the smaller adjustments in interior real estate photo editing but one of the most noticeable when it is missing. Leaning walls make a room feel unstable without buyers being able to explain why.
Hallways, bathrooms, and small bedrooms are where this gets missed most often because tight spaces make leveling harder on site. Catching it in camera saves time. Fixing it in Lightroom or Photoshop is straightforward when it does slip through.
>> Read more: Property photography composition mistakes that shrink rooms
Object removal and decluttering
Not everything distracting in a room can be moved before the shoot. Power cords, light switches with odd shadows, ceiling fixtures, stray furniture legs at frame edges, and personal items left behind all end up in the final image and pull buyer attention away from the property itself.
Object removal handles what the shoot could not. AI-assisted tools in 2026 have gotten genuinely useful for simple removals, but complex areas still need human judgment to look clean and believable. Automated removal on textured surfaces like carpet, wood floors, or tiled walls often needs a second look before the image goes out.
Less visual noise in the frame means more focus on the room. That is the whole point.
>> Read more: Decluttering Photo Editing: Why a Clean Image Sells Homes Faster
Color consistency across the full gallery
This is the part of interior real estate photo editing that separates a professional gallery from an amateur one, and it is the step most photographers rush at the end of a long editing session.
Buyers do not look at listing photos one at a time. They scroll through the whole gallery. If the living room leans warm, the master bedroom leans cool, and the kitchen sits somewhere neutral in between, the listing feels like three different properties.
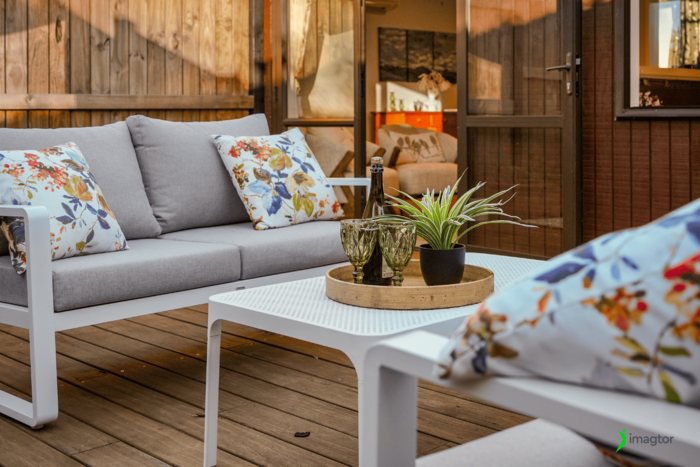
A few habits that keep galleries consistent:
- Grade the full set to one look before making per-room adjustments
- Compare similar rooms side by side before export
- Check that brightness levels feel consistent from room to room, not just color
- Use Lightroom’s reference view or copy-paste settings across rooms shot under similar conditions
Consistency is not about making every room identical. It is about making the gallery feel like one cohesive set.
When to outsource interior photo editing
Properly editing 40 to 60 interior images takes several hours per property. For photographers shooting multiple properties a day, that time stacks up fast and editing becomes the bottleneck that limits how much work can be taken on.
Outsourcing interior real estate photo editing removes that ceiling. A dedicated editing team handles HDR blending, window pulls, perspective correction, object removal, and color grading across every image, with fast enough turnaround for next-day delivery.
At Imagtor, we handle interior real estate photo editing for photographers and studios across the US, Australia, and Northern Europe. Consistent quality, fast turnaround, every property.
Interior editing done right makes the whole listing work
Interior real estate photo editing is not just about bright rooms. It is about making the whole gallery feel consistent and natural from the first photo to the last.
White balance, HDR blending, window pulls, perspective correction, object removal, and color consistency all serve the same goal. Photographers who get that right, whether in-house or through the right editing partner, consistently deliver listings that hold buyer attention and generate more inquiries.
Spend less time editing and more time shooting. Imagtor helps real estate photographers deliver consistent, professional interior photo editing with fast turnaround and reliable quality.
Start today with a FREE TRIAL and get a 10% BULK DISCOUNT on your first order.
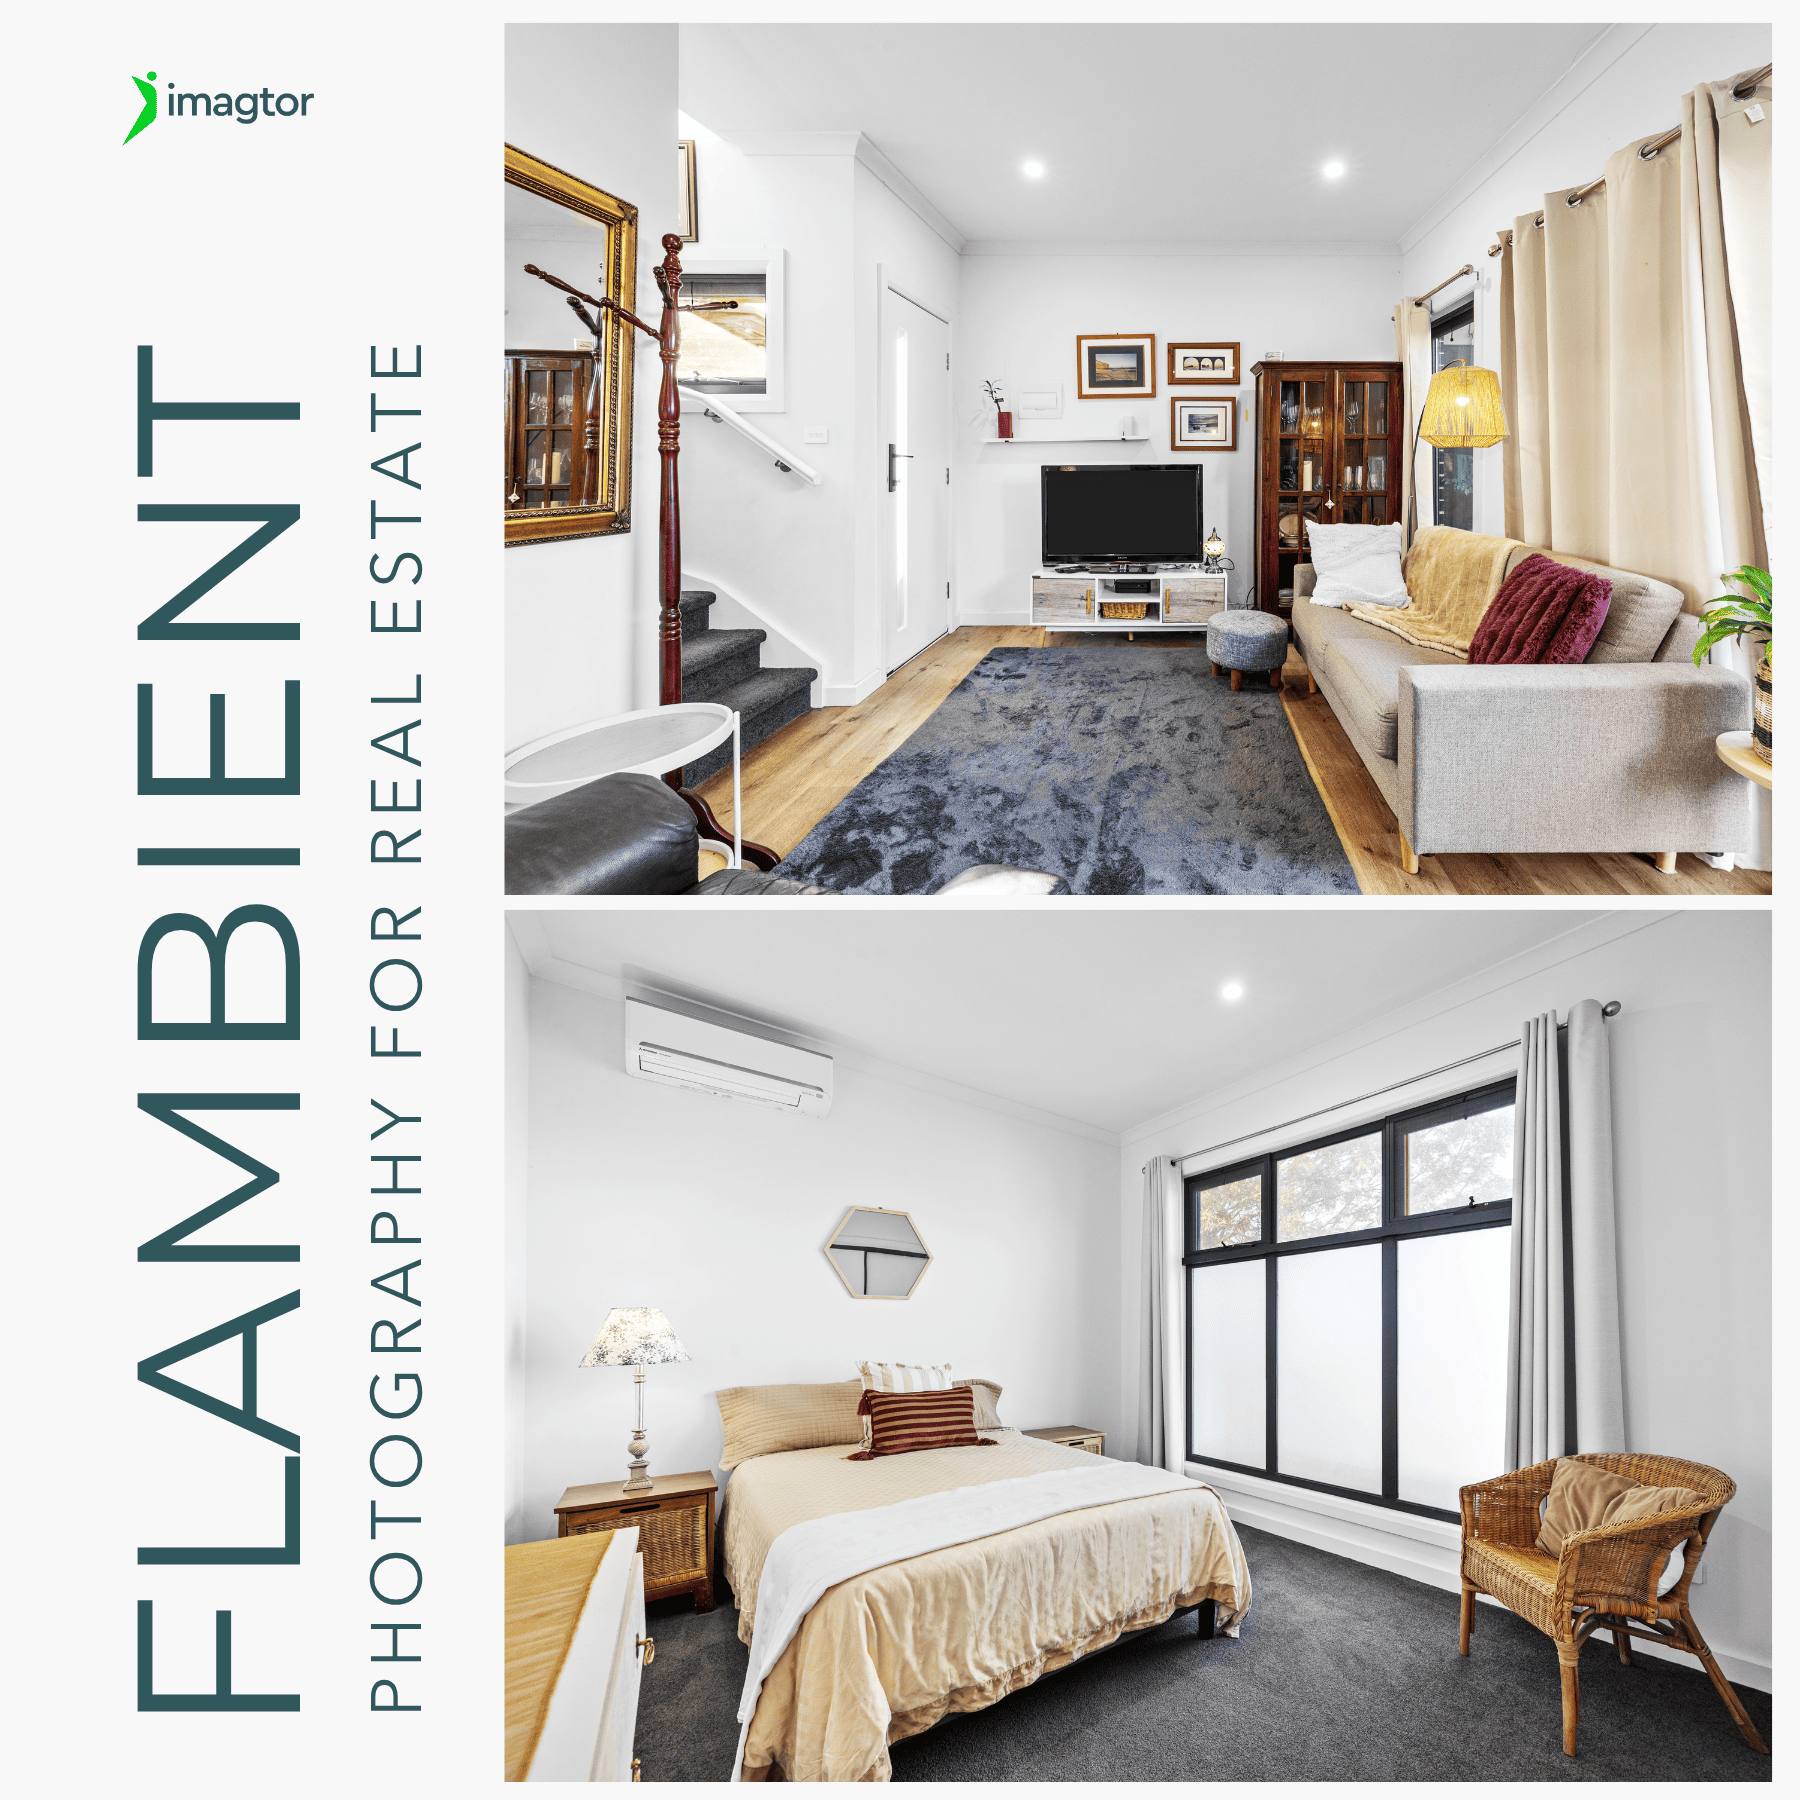
Flambient photography has become the go-to lighting technique for serious real estate photographers in 2026. It combines the natural light range of HDR with the color accuracy of flash, producing interior images that look clean, warm, and genuinely believable without the over-processed look that heavy HDR editing creates. This guide covers what flambient photography actually …
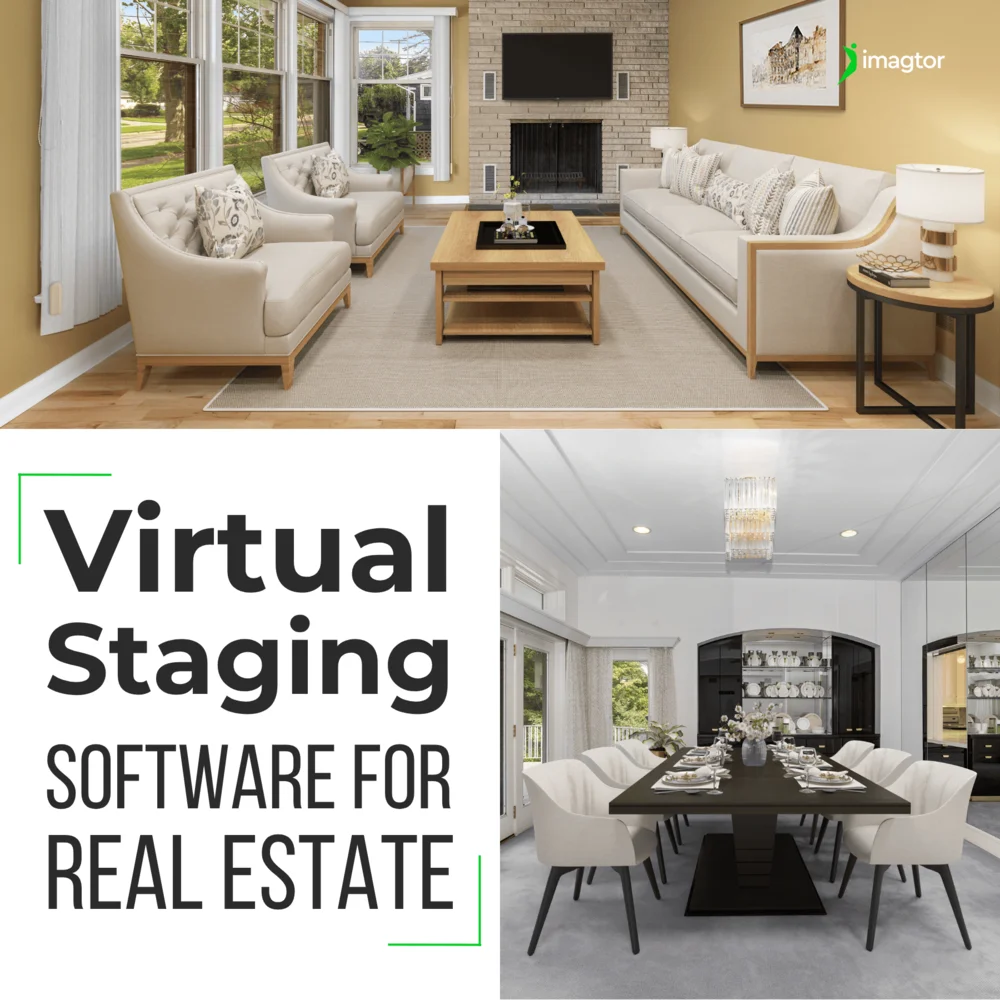
Virtual staging software has changed how photographers and agents handle vacant property listings. Instead of expensive physical staging, the right tool lets you add realistic furniture to empty rooms in minutes, at a fraction of the cost. Picking the wrong one wastes time and money. This guide covers what to look for, which tools professionals …