

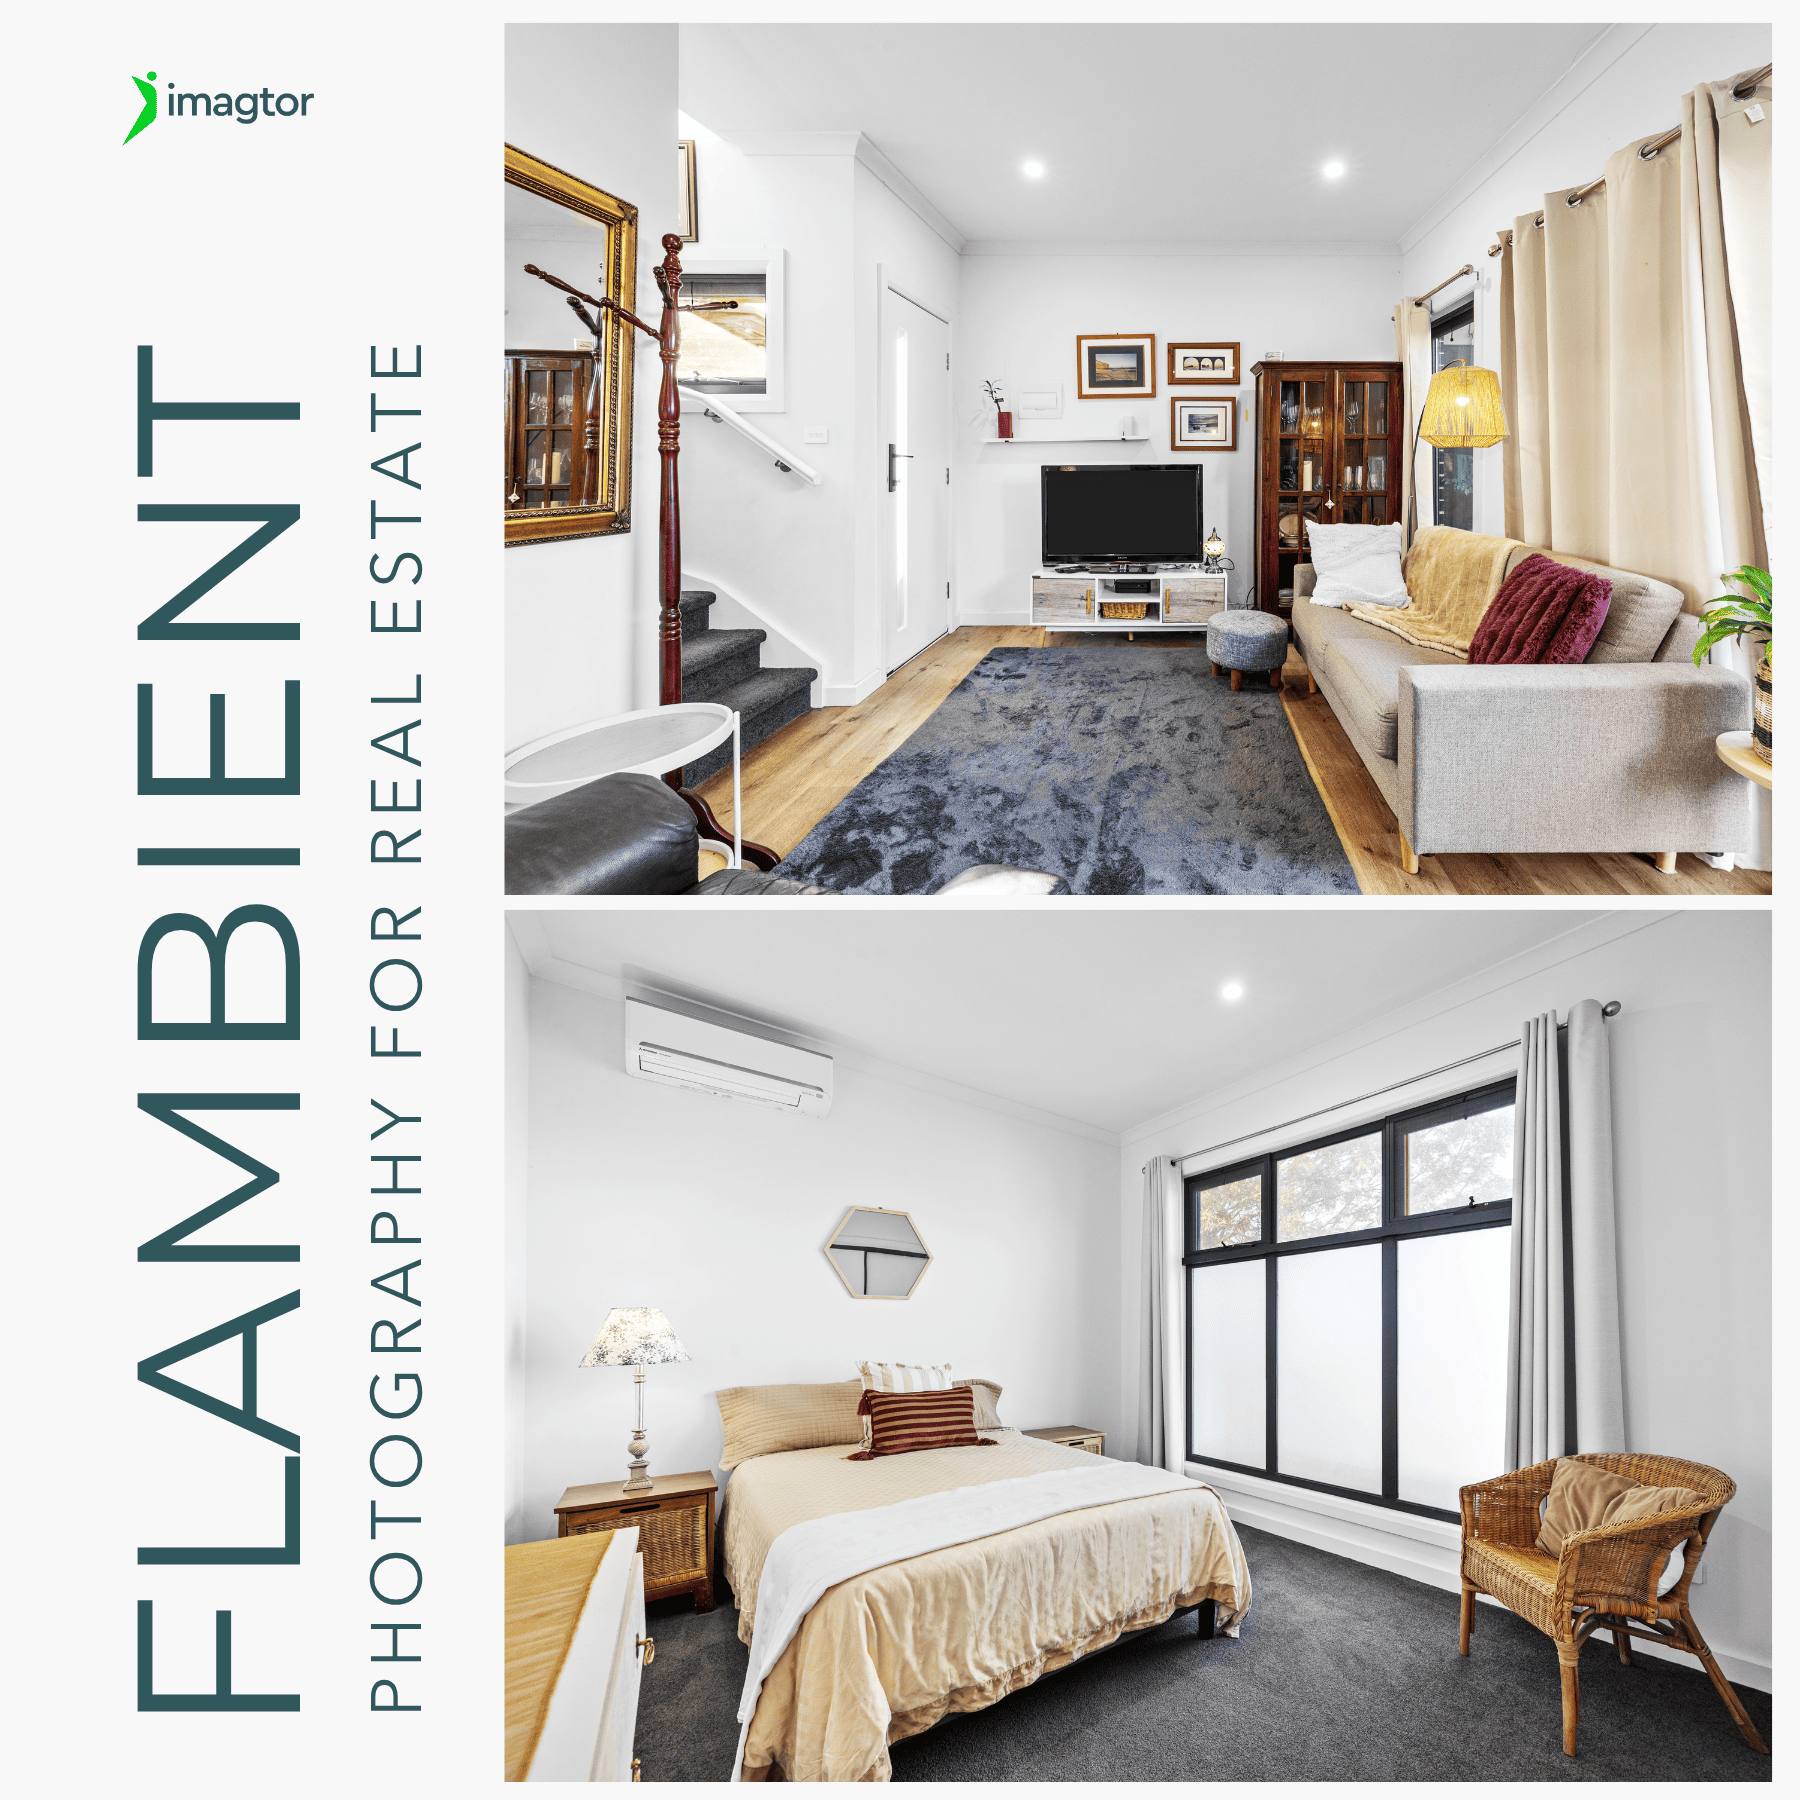
Flambient photography has become the go-to lighting technique for serious real estate photographers in 2026. It combines the natural light range of HDR with the color accuracy of flash, producing interior images that look clean, warm, and genuinely believable without the over-processed look that heavy HDR editing creates.
This guide covers what flambient photography actually is, how to shoot and edit it correctly, and where it makes the biggest difference in a property shoot.
What flambient photography actually is
Flambient = Flash + Ambient. That is the whole concept.
Instead of relying purely on bracketed exposures like standard HDR, flambient photography adds one or more off-camera flash frames to the workflow. Those flash frames are then blended with the ambient exposures during editing to produce a final image that holds the natural feel of ambient light alongside the color accuracy that flash provides.
It is not a new technique, but in 2026 it has become the benchmark for high-end interior work. The end result looks like a naturally well-lit room, not an edited one.
Why photographers are moving away from pure HDR
Heavy HDR processing creates problems that are hard to ignore once you know what to look for. Unnatural tones, color halos around window frames, and over-sharpened edges are all common outputs of aggressive HDR blending.
Warm orange color casts from tungsten and LED lighting are also notoriously difficult to fix in HDR alone. Pulling the white balance toward neutral often kills the warmth that makes a room feel inviting in the first place.
Flambient lighting has emerged as the professional answer as real estate photography trends in 2026 push listing images toward a cleaner, more restrained aesthetic. Buyers and agents are noticing over-processed images more than before, and flambient gives photographers more control without the visible editing artifacts that heavy HDR tends to leave behind.
The flambient photography shooting workflow
Getting flambient photography right starts on site, not in editing.
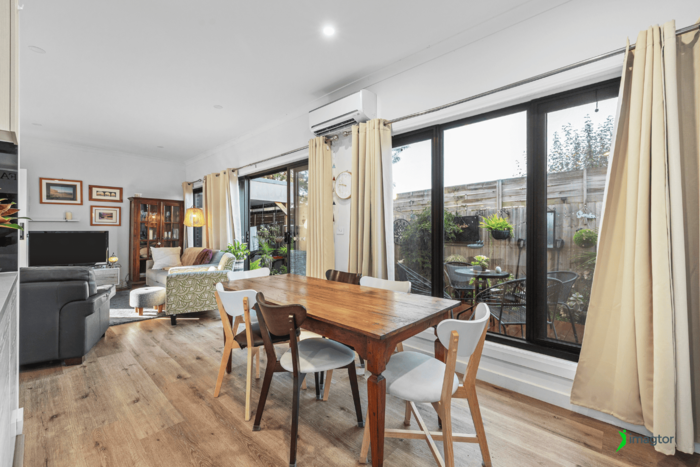
A typical room workflow looks like this:
- Capture 3 to 5 bracketed ambient exposures as the HDR base
- Set up off-camera flash and bounce it off the ceiling or a white wall for natural light spread
- Capture one or more flash frames at a power level that fills the room without overpowering the ambient light
- For rooms with large windows, take a dedicated window pull exposure
- Check for flash reflections in mirrors, glass surfaces, and appliances before shooting flash frames
Using a wireless trigger to separate the flash from the camera gives a more even, natural spread of light across the room. Direct on-camera flash creates flat, harsh results that are harder to blend convincingly in post.
Total captures per room usually run between 5 and 8 frames. More than that and editing gets unnecessarily complicated without meaningful improvement in the final result.
How to blend flambient images in editing
Shooting the right frames is half the job. Blending them well is the other half.
Here is the standard approach most editors use:
- Merge the bracketed ambient exposures into an HDR base image first
- Place the flash frame on top as a separate layer
- Set the flash layer blending mode to Luminosity. This keeps the color accuracy from the flash while retaining the natural light gradients from the ambient base
- Set opacity to around 50% for a balanced blend between the two light sources
- Use layer masks to apply the flash blending only where it is needed, like darker corners or areas with strong color casts
- Composite the window pull in as the final layer
End result should look like a room that was naturally well lit when the photo was taken. If the blending is visible, the flash layer is probably set too high or the opacity needs pulling back.
Where flambient photography works best
Not every property needs the full flambient workflow. Some spaces benefit from it more than others.
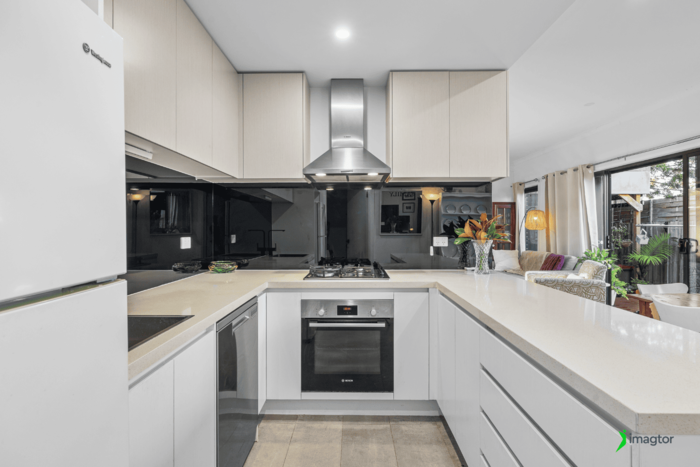
Flambient photography is most useful for:
- Luxury homes where expensive finishes and accurate material tones are non-negotiable
- Kitchens and bathrooms with mixed light sources that create color inconsistency
- Living rooms with large windows and challenging dynamic range
- Rooms with reflective surfaces like polished floors, glossy cabinetry, or stone countertops
- Any interior where standard HDR consistently produces orange color casts or unnatural tones
For standard residential volume work with straightforward lighting, HDR-only is still a fast and reliable option. Flambient makes the most sense where the extra effort produces a visibly better result.
Common flambient photography mistakes
These are the issues that come up most often, especially for photographers trying flambient for the first time:
- Flash power too high. When flash overpowers the ambient light, the room loses its natural feel and starts looking like a product shoot rather than a home.
- Flash pointed directly at the subject. Direct flash creates harsh shadows and flat lighting. Always bounce off a ceiling or white wall.
- Inconsistent white balance between frames. If ambient and flash frames have different color temperatures, blending becomes noticeably patchy in the final image.
- Missing the window pull exposure. Trying to recover a blown-out window from the ambient frames rarely produces clean results. Shoot the dedicated exposure on site.
- Over-blending the flash frame. Too much flash influence flattens the image and removes the natural depth that makes flambient results look good.
- Not checking for reflections before shooting. Flash hotspots on mirrors, glass splashbacks, and appliance surfaces are time-consuming to remove in editing.
How flambient editing compares to standard HDR
| HDR editing | Flambient editing | |
|---|---|---|
| Base material | Bracketed ambient only | Ambient + flash frame |
| Color accuracy | Can shift under mixed light | More neutral and accurate |
| Natural feel | Can look processed | Cleaner, more believable |
| Editing complexity | Simpler, one merge | More layers, more control |
| Best for | Standard residential volume | Luxury, mixed light, complex rooms |
>> Find out more: HDR vs Flambient For Real Estate Photography
When outsourcing flambient photo editing makes sense
Flambient editing takes longer than standard HDR because of the extra blending steps. Every room needs the ambient merge, the flash layer, the masking, and the window composite handled separately. For photographers shooting several properties a day, that extra time per room adds up fast.
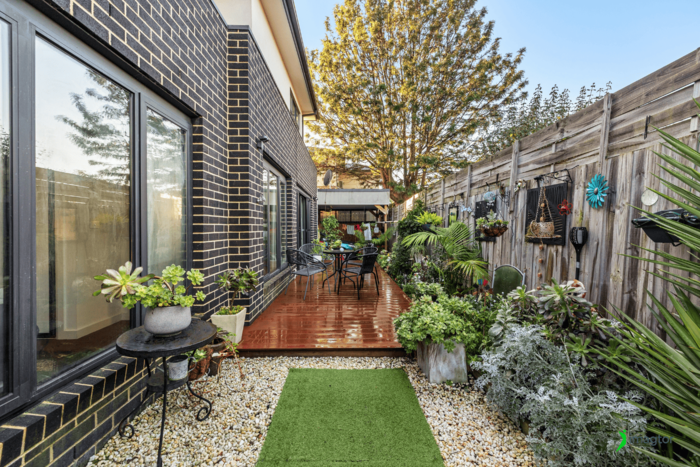
Outsourcing the editing side keeps turnaround fast while still delivering flambient-quality results. A good editing partner understands how to blend ambient and flash frames without making the final image look processed or unnatural.
Photographers can shoot the full flambient workflow on site and hand off the blending, compositing, and color work entirely. That separation of shooting and editing is what lets high-volume photographers offer a premium product without it costing them an extra two hours per property.
At Imagtor, our editors work with flambient workflows every day. We handle the ambient merge, flash blending, window compositing, and color consistency across the full gallery so every room looks like it belongs to the same property.
Flambient photography is the new standard
Flambient photography is not going away. In 2026, warm styling, flambient lighting, and hybrid AI-plus-human editing have become the baseline for competitive listing photos. Photographers who shoot the right captures on site and either edit well or work with the right editing partner will consistently produce results that hold buyer attention and hold up under agent scrutiny.
Heavy HDR had its moment. Flambient photography is what comes next.
Spend less time editing and more time shooting. Imagtor helps real estate photographers deliver professional flambient photo editing with consistent quality and fast turnaround.
Start today with a FREE TRIAL and get a 10% BULK DISCOUNT on your first order.
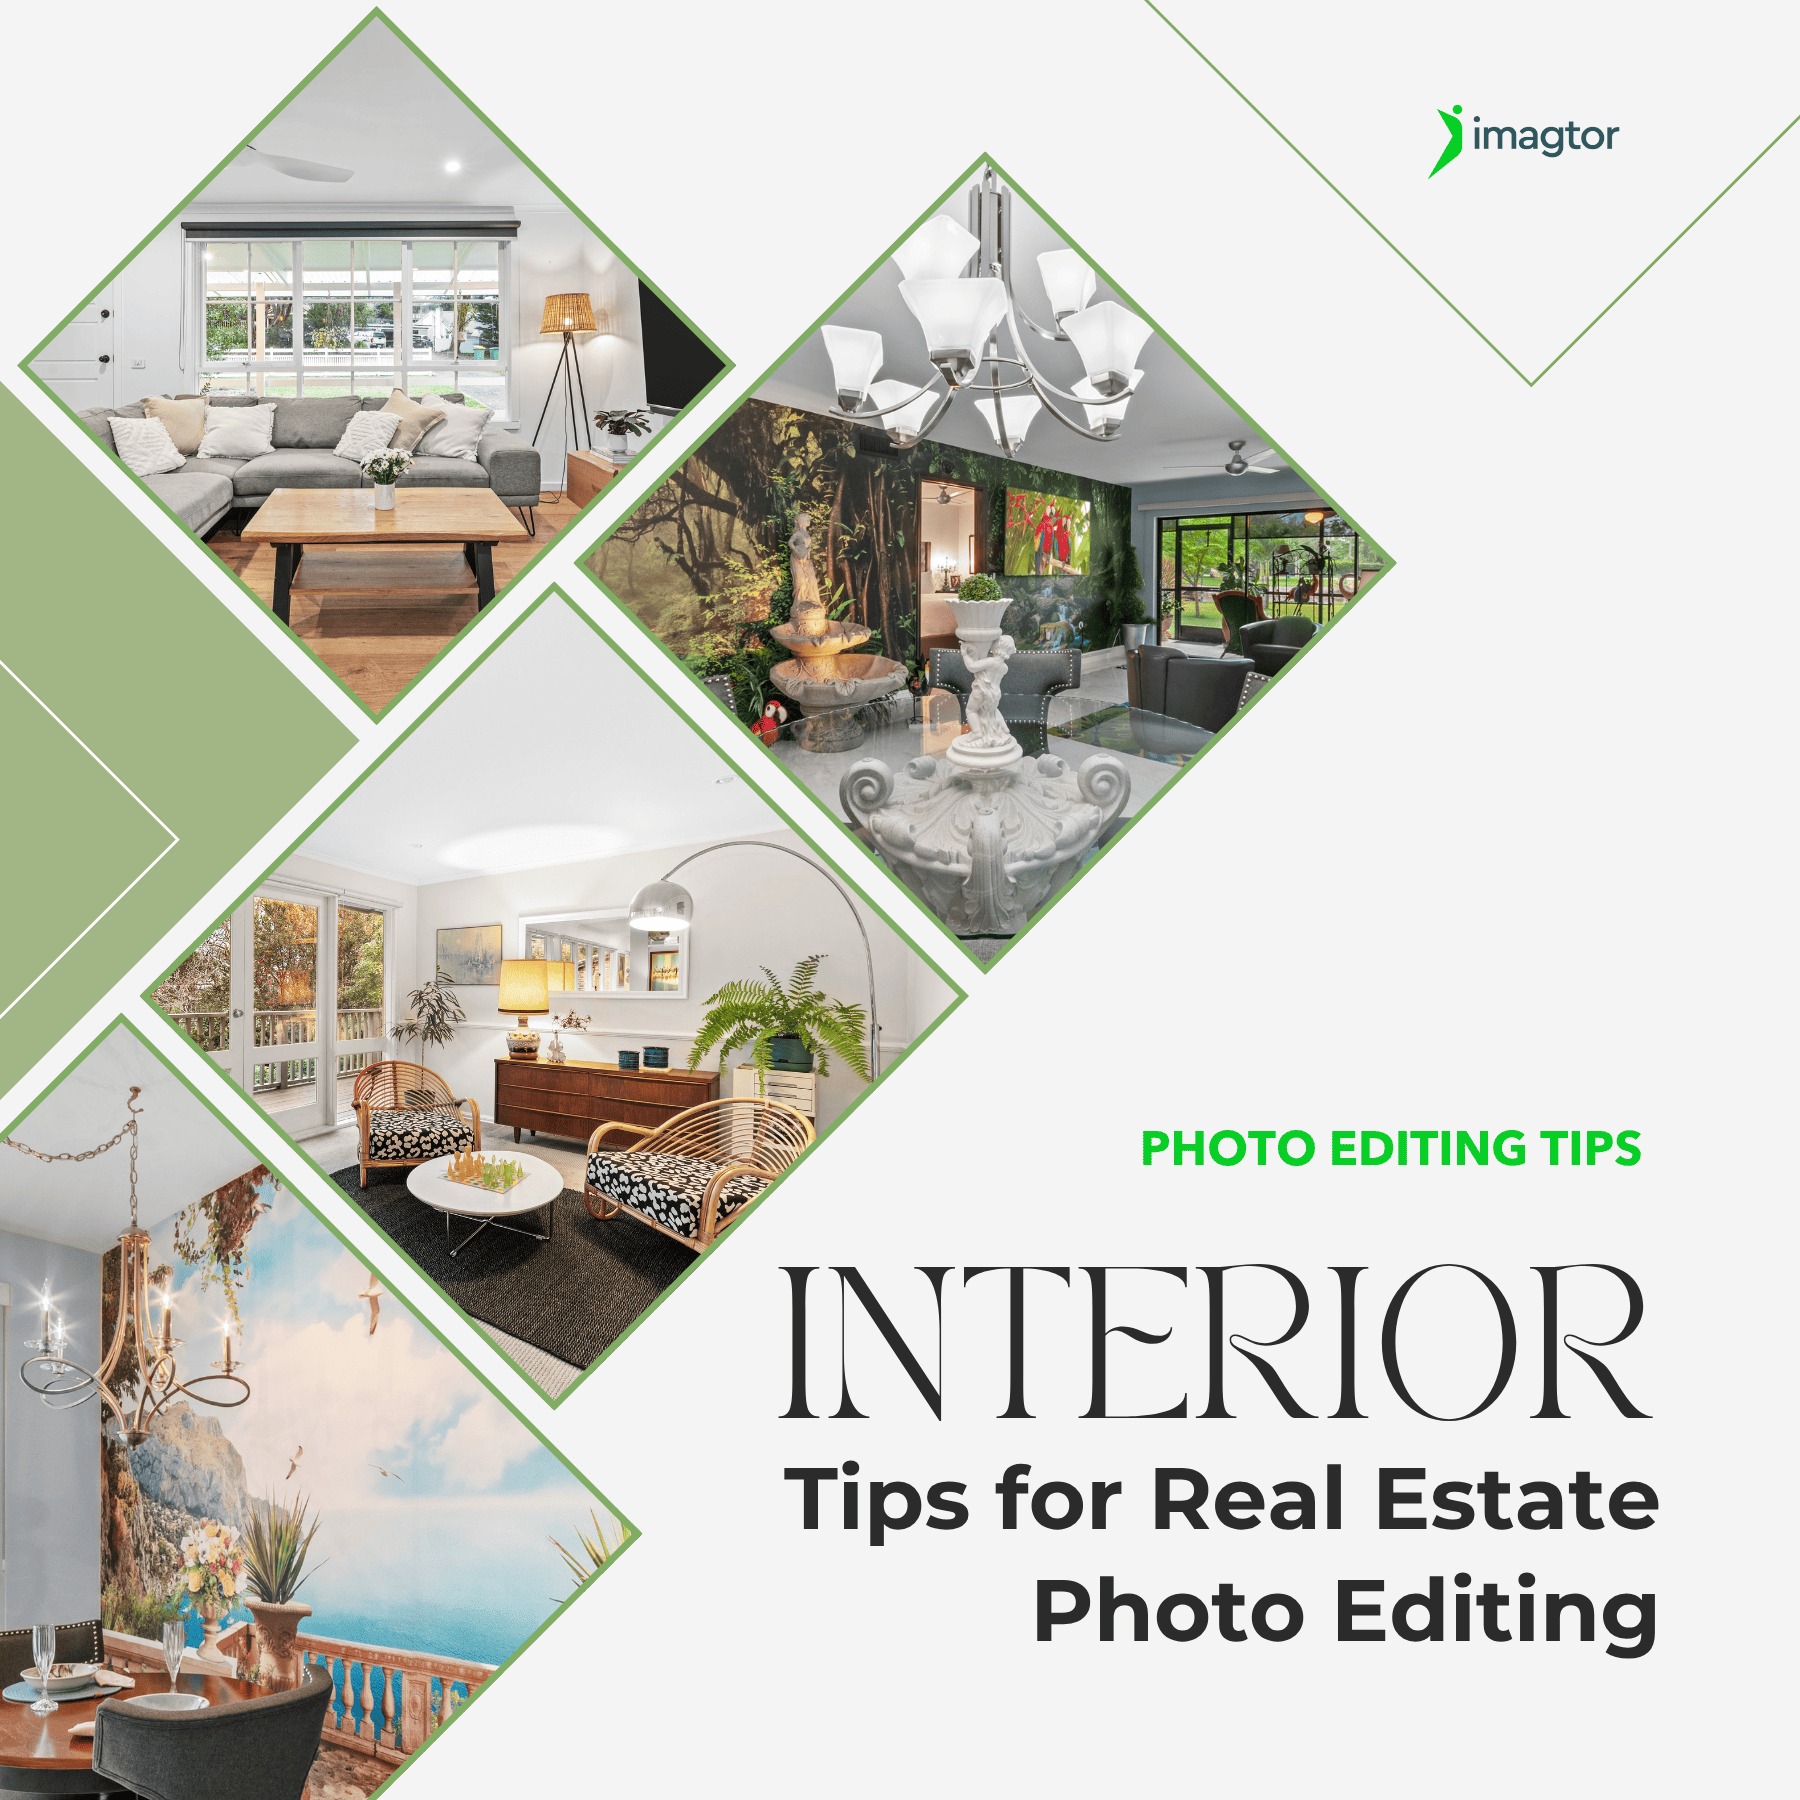
Interior real estate photo editing is where most of the work happens after a shoot. Getting exposure, color, and detail right across a full gallery is what separates listings that actually get clicks from ones that get skipped past. This guide covers the core techniques professionals use, in the order they actually matter, so every …
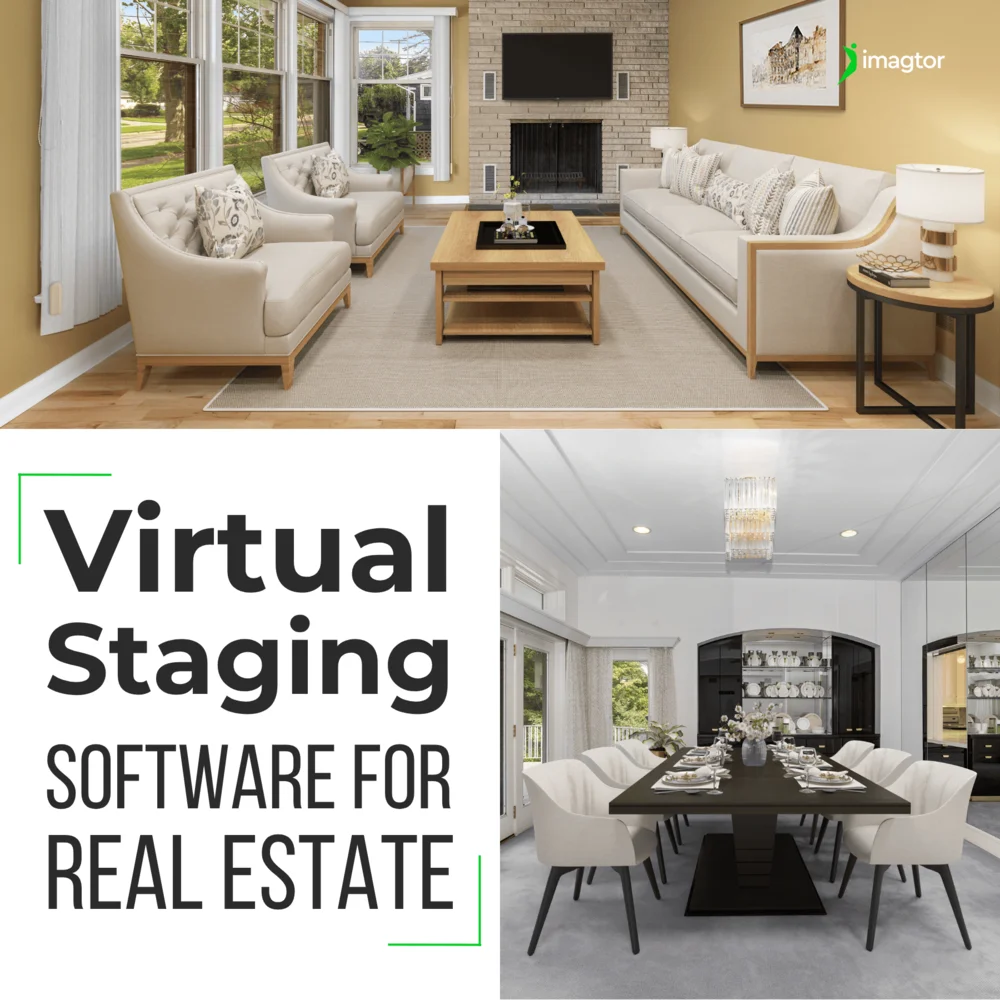
Virtual staging software has changed how photographers and agents handle vacant property listings. Instead of expensive physical staging, the right tool lets you add realistic furniture to empty rooms in minutes, at a fraction of the cost. Picking the wrong one wastes time and money. This guide covers what to look for, which tools professionals …