How to Choose Angles and Focal Lengths for Real Estate Photography

In real estate photography, angles and focal lengths are the foundation of compelling images. The right combination not only captures rooms accurately but also creates a sense of depth and space that resonates with buyers. For any real estate photographer, understanding how to balance perspective, lens choice, and composition can mean the difference between average photos and listing images that sell.
Why Angles and Focal Lengths Matter
In real estate photography, the first impression comes from images, not descriptions. Studies show buyers spend about 60% of their browsing time on photos, making every shot critical. The right angles and focal lengths determine whether a room feels open and welcoming or cramped and distorted.
With today’s high-resolution screens and mobile browsing, precision in composition has never been more important. Properties photographed with correct focal lengths (14 – 24mm on full-frame) consistently generate more engagement and lower bounce rates. Wide angles highlight exterior hero shots and twilight scenes, while interior photos captured from corners with perspective correction work best for virtual tours – keeping viewers swiping longer.
For any real estate photographer, mastering angles and focal lengths is essential to producing images that attract attention and help sell homes faster.
Focal Length Fundamentals
In real estate photography, focal lengths control field of view, perspective, and depth compression. They shape whether a space feels natural and open or distorted and cramped.

- Short focal lengths
- 14 – 16mm (full-frame), 10 – 12mm (APS-C)
- Capture small bathrooms, powder rooms, or compact apartments.
- Risk: heavy distortion, bowed verticals, leaning walls – must be corrected in photo editing.
- Medium focal lengths
- 20 – 24mm (full-frame), 14 – 16mm (APS-C)
- The “sweet spot” for most interiors: living rooms, kitchens, and bedrooms.
- Balance between wide coverage and natural perspective.
- Long focal lengths
- 24 – 35mm+ (full-frame), 16 – 24mm (APS-C)
- Best for exteriors, facades, or outdoor spaces.
- Add compression, symmetry, and highlight design details.
Practical Ranges
- Full-frame cameras: 14 – 35mm is ideal. Wider than 14mm creates excessive distortion, while beyond 35mm reduces spaciousness.
- APS-C sensors: Equivalent range is ~10 – 24mm due to crop factor, important since many beginner real estate photographers start with crop bodies.
By mastering these ranges, a real estate photographer can deliberately present spaces as open, balanced, and inviting – never distorted or misleading.
Tips to Choose Suitable Lenses
Lens design in 2025 has made wide-angle real estate photography more accessible than ever. Modern zoom lenses now feature rectilinear correction, ensuring straight lines stay straight and reducing the fisheye effect. For specialized architectural projects, tilt-shift lenses remain invaluable since they allow perspective correction in-camera. However, for most real estate photographers, wide zoom lenses provide the best balance of flexibility and usability across different angles and focal lengths.

Key considerations when selecting lenses:
- Sharpness & Corner Clarity: Wide lenses can lose edge detail; always test performance across different focal lengths.
- Distortion Control: High-quality lenses minimize bowing lines, cutting down on time spent in photo editing.
- Weight & Handling: Portability matters for a real estate photographer shooting multiple properties in one day.
- Filter Compatibility: Exterior and twilight shots often require ND or polarizer filters for balanced exposure.
Angle Fundamentals
If focal lengths control coverage, angles decide how a space is perceived. In real estate photography, angles shape depth, balance, and flow. The wrong choice can make a large room feel cramped or distort proportions, leaving buyers disappointed. For any real estate photographer, mastering angles is as vital as lens choice or photo editing.
- Camera height: The foundation of good angles. Too high, countertops dominate; too low, floors and furniture legs overwhelm. The universal guideline is 1.2 – 1.4 meters, close to eye level. Go slightly lower for kitchens and baths, slightly higher for large open areas.
- Corner vs. straight-on: Corners add depth by showing multiple walls. Straight-on shots highlight symmetry – ideal for exteriors, halls, or feature walls – but can flatten perspective.
- Line management: Tilting the camera breaks verticals. Keep level for natural perspective and professional quality.
- Leading lines: Angles guide the eye. Shooting along the long edge of a room or aligning with beams and kitchen islands creates natural flow.
- Balance: Avoid cutting off furniture or leaving awkward empty corners. A small camera shift often fixes composition.
Common Angles for Each Room

Kitchens & Bathrooms: Shoot near countertop height (1.1 – 1.2m). Use the widest corner for depth. Focal lengths of 16 – 18mm (full-frame) capture layout without distortion. Keep framing level to maintain verticals.
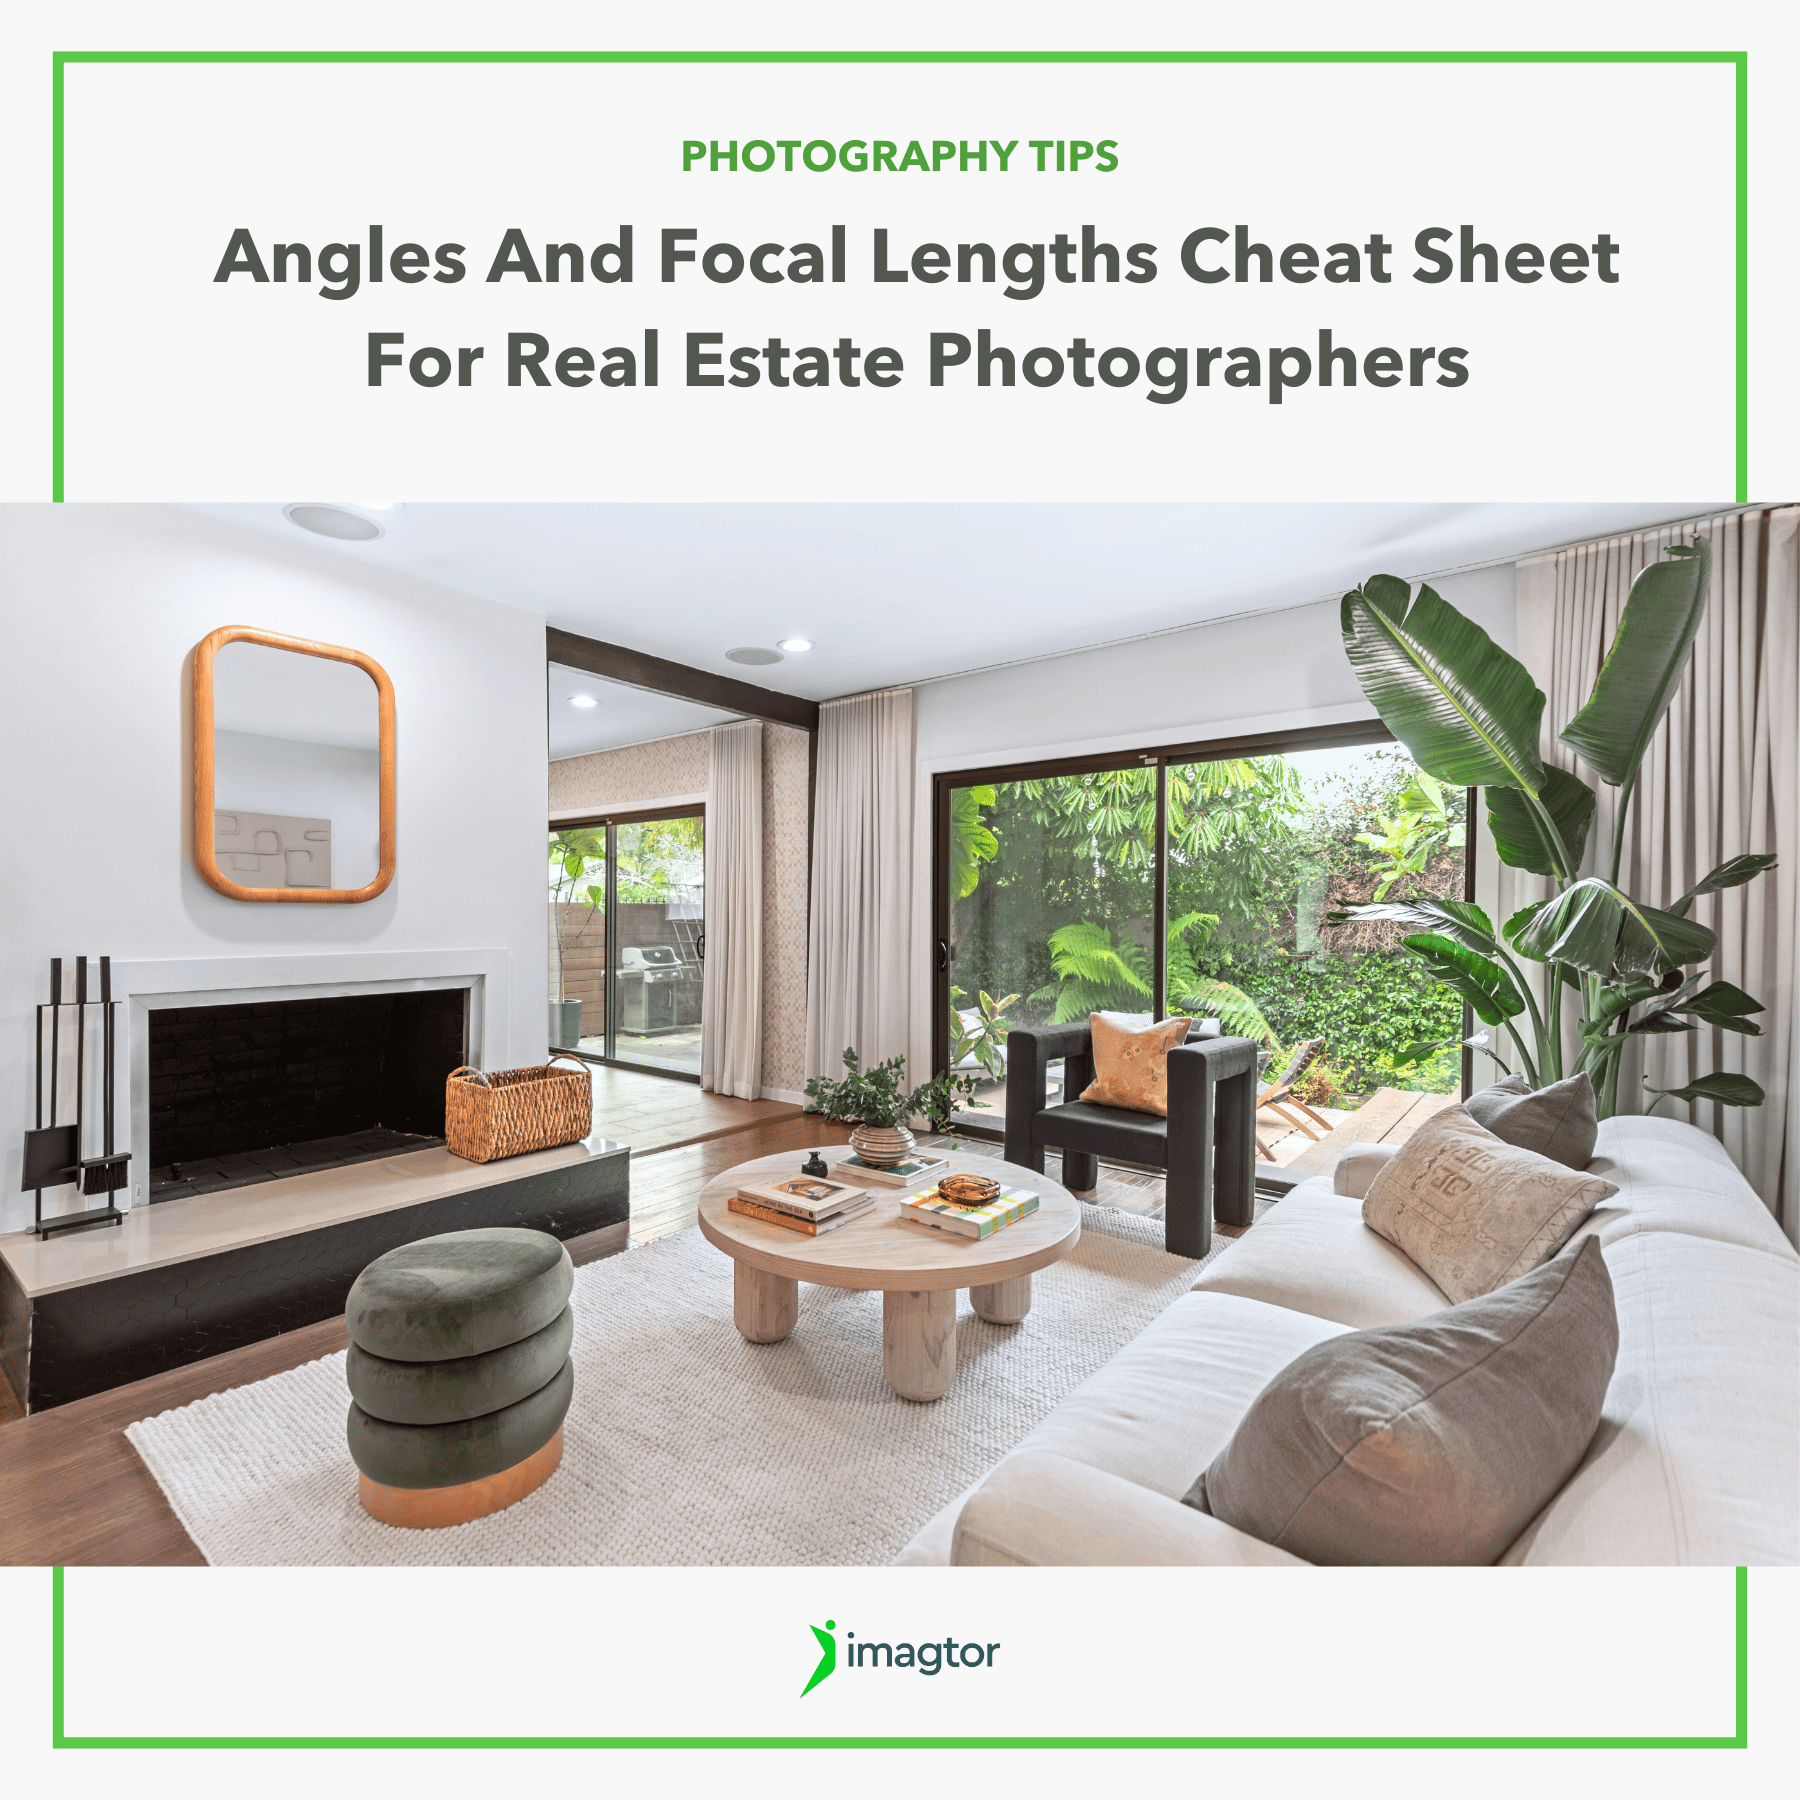
Living Rooms & Bedrooms: Position at eye level (≈1.4m). Corners show multiple walls and depth. In rectangular rooms, angle along the long edge for flow. 20 – 24mm focal lengths give a natural perspective.
Hallways & Transitional Spaces: Keep verticals straight and framing centered. Use ~20mm for proportionate depth. Avoid <16mm, which exaggerates narrow halls.
Exteriors & Facades: Shoot straight-on with level horizon. 24 – 35mm focal lengths minimize distortion. Step back to fit the full building and use foreground (paths, lawns) for framing. At dusk, include ambient light and bracket exposures for balance.
Practical Tips to Master Angles and Focal Lengths
- Standardize Height: Keep the camera at 1.2 – 1.4m (slightly lower for kitchens/baths). Mark tripod legs for consistency.
- Bracket Smartly: Use 3 – 5 exposures, two stops apart, with the middle frame preserving window detail for natural light balance.
- Stay Level: Keep tilt and roll at zero. Use a bubble level or electronic horizon to maintain straight verticals.
- Check Edges: Scan for cut-off furniture or awkward empty space. Small shifts improve balance and depth.
- Shoot for Editing: Leave space around subjects for cropping or distortion fixes later.
- Include Verticals: Take at least one vertical shot per main room for social media and versatile client use.
- Use Natural Light First: Maximize daylight, add artificial only for shadows, ensuring consistent color and less editing.
- Clean Your Lens: Wide-angles reveal every smudge, wipe before each room.
- Work with a Shot List: Plan room types and angles to save time and maintain consistency.
- Export Variations: Deliver high-res for print, optimized MLS files, and social-media crops.
Conclusion
Angles and focal lengths form the backbone of real estate photography. They shape perception, build trust, and ultimately drive sales. For a real estate photographer, mastering these elements means producing images that inspire confidence in agents and buyers alike. Whether capturing interiors, exteriors, or aerial views, balancing angles with focal lengths ensures every listing stands out in today’s competitive market.
At Imagtor, we help real estate photographers deliver stunning results with expert photo editing support. From distortion correction to sky replacement, our team ensures your angles and focal lengths always shine. Start today with a FREE TRIAL and 10% DISCOUNT on your first order.
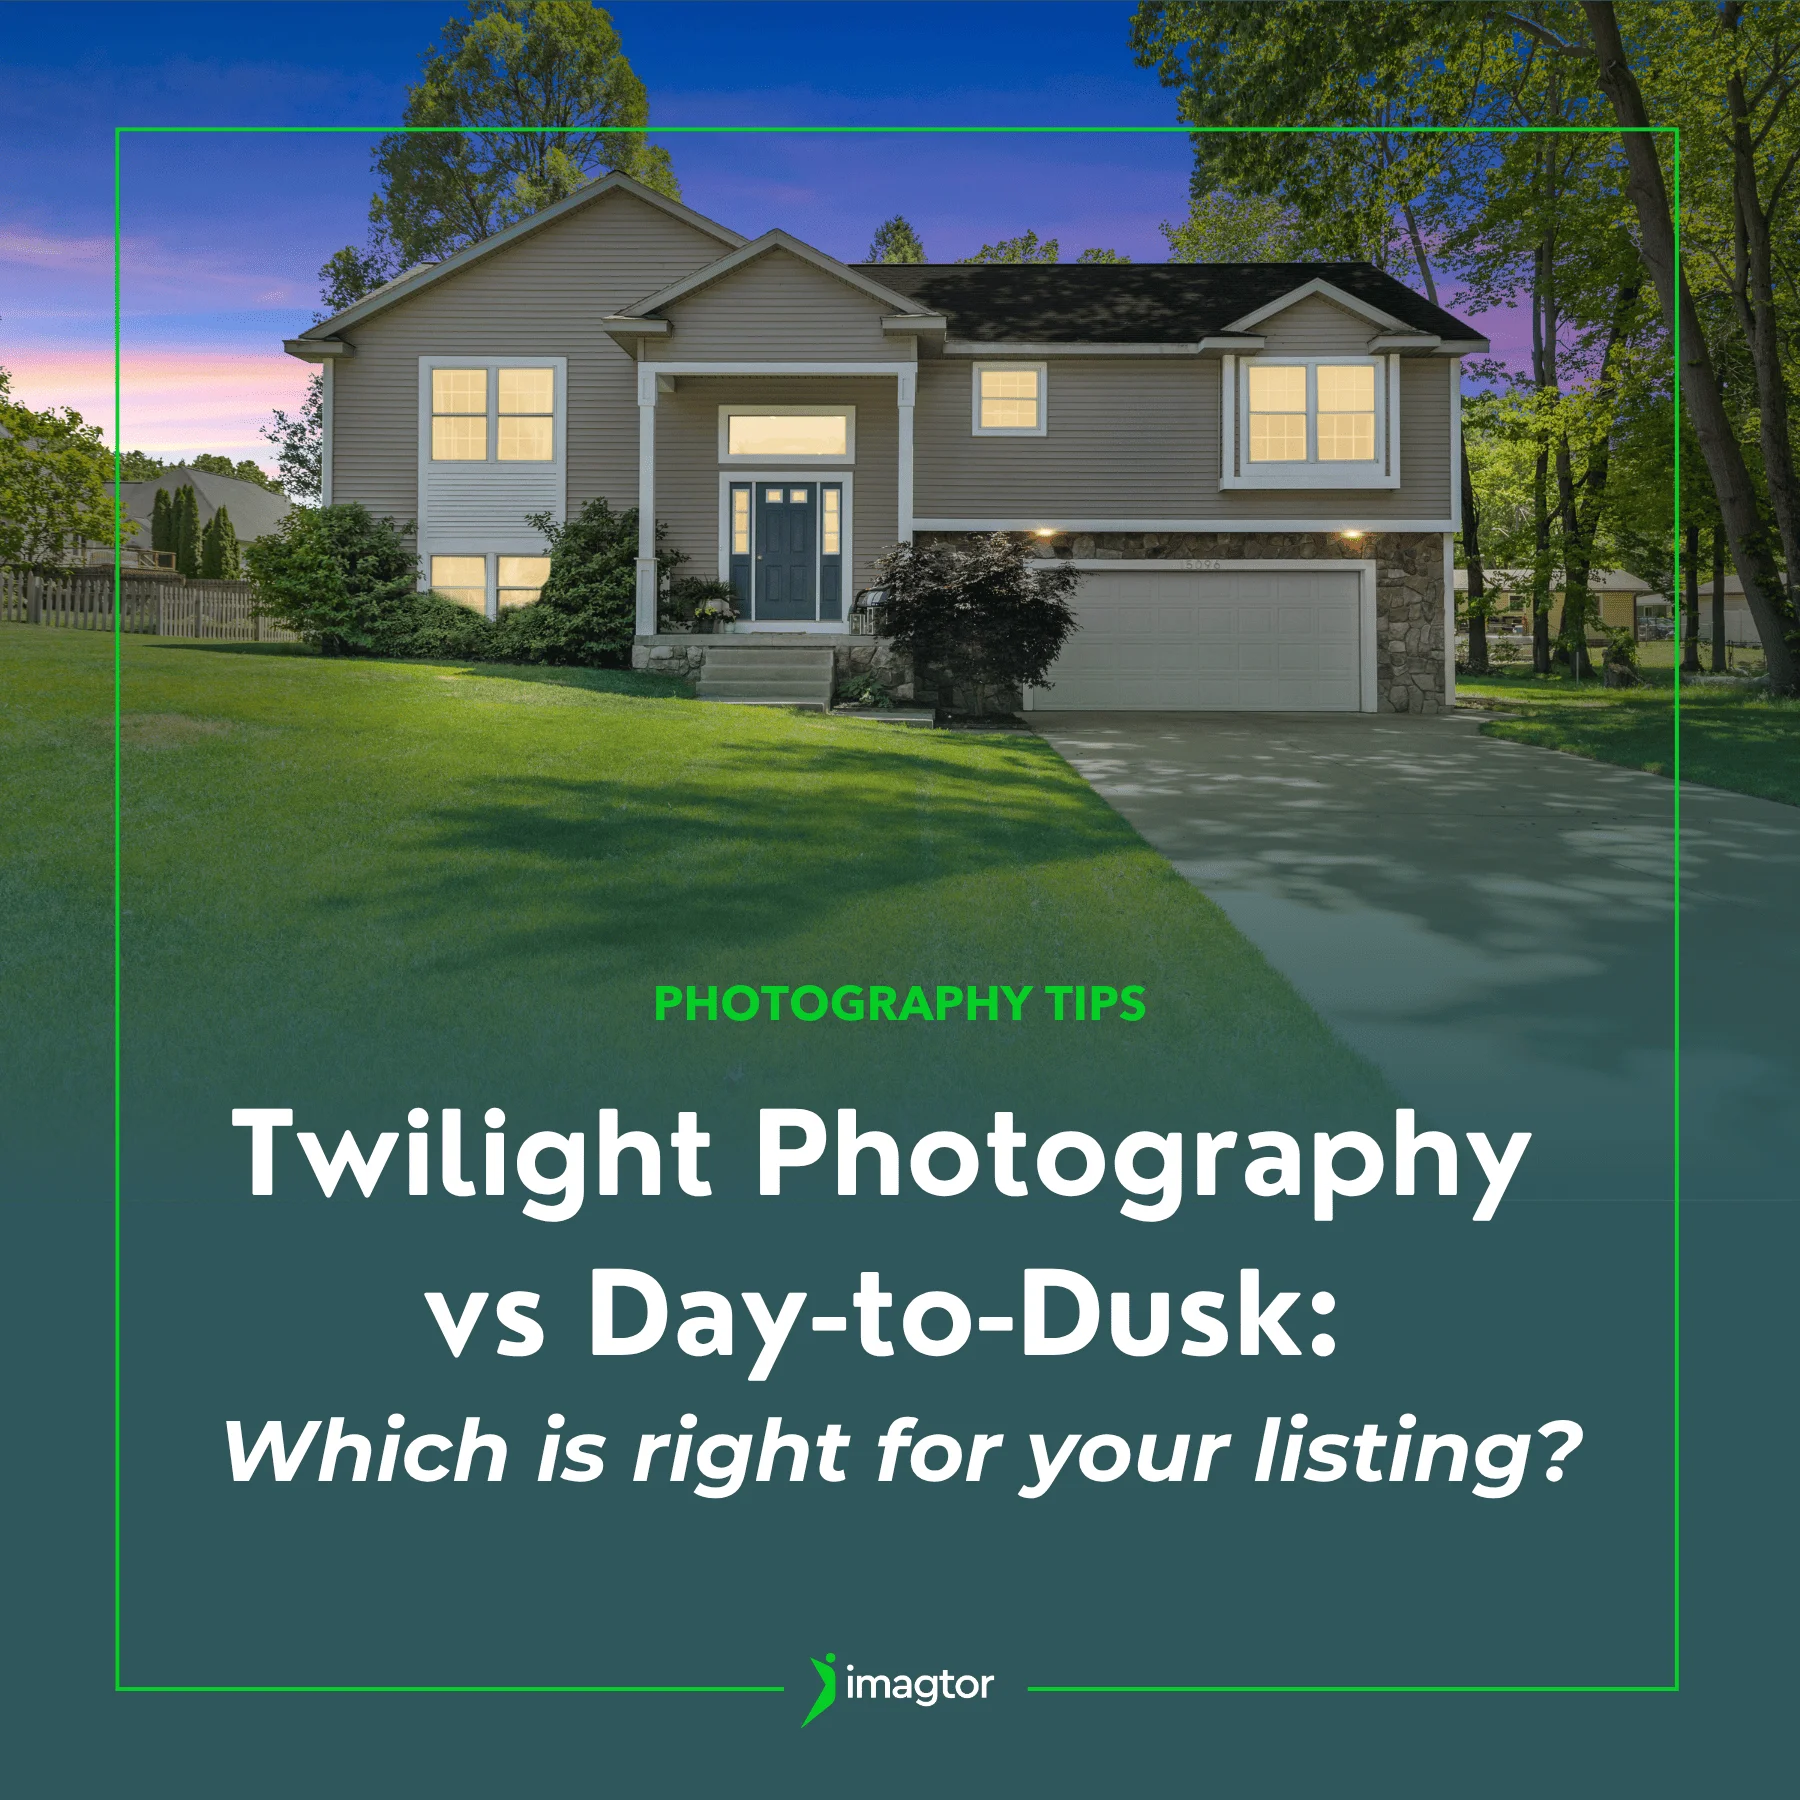
Twilight photography and day-to-dusk editing are two of the most popular ways to create striking exterior shots for property listings. Both approaches can produce beautiful results, but they work very differently and suit different situations. Knowing which one fits the property, the timeline, and your client’s goals can save you time and help you deliver …
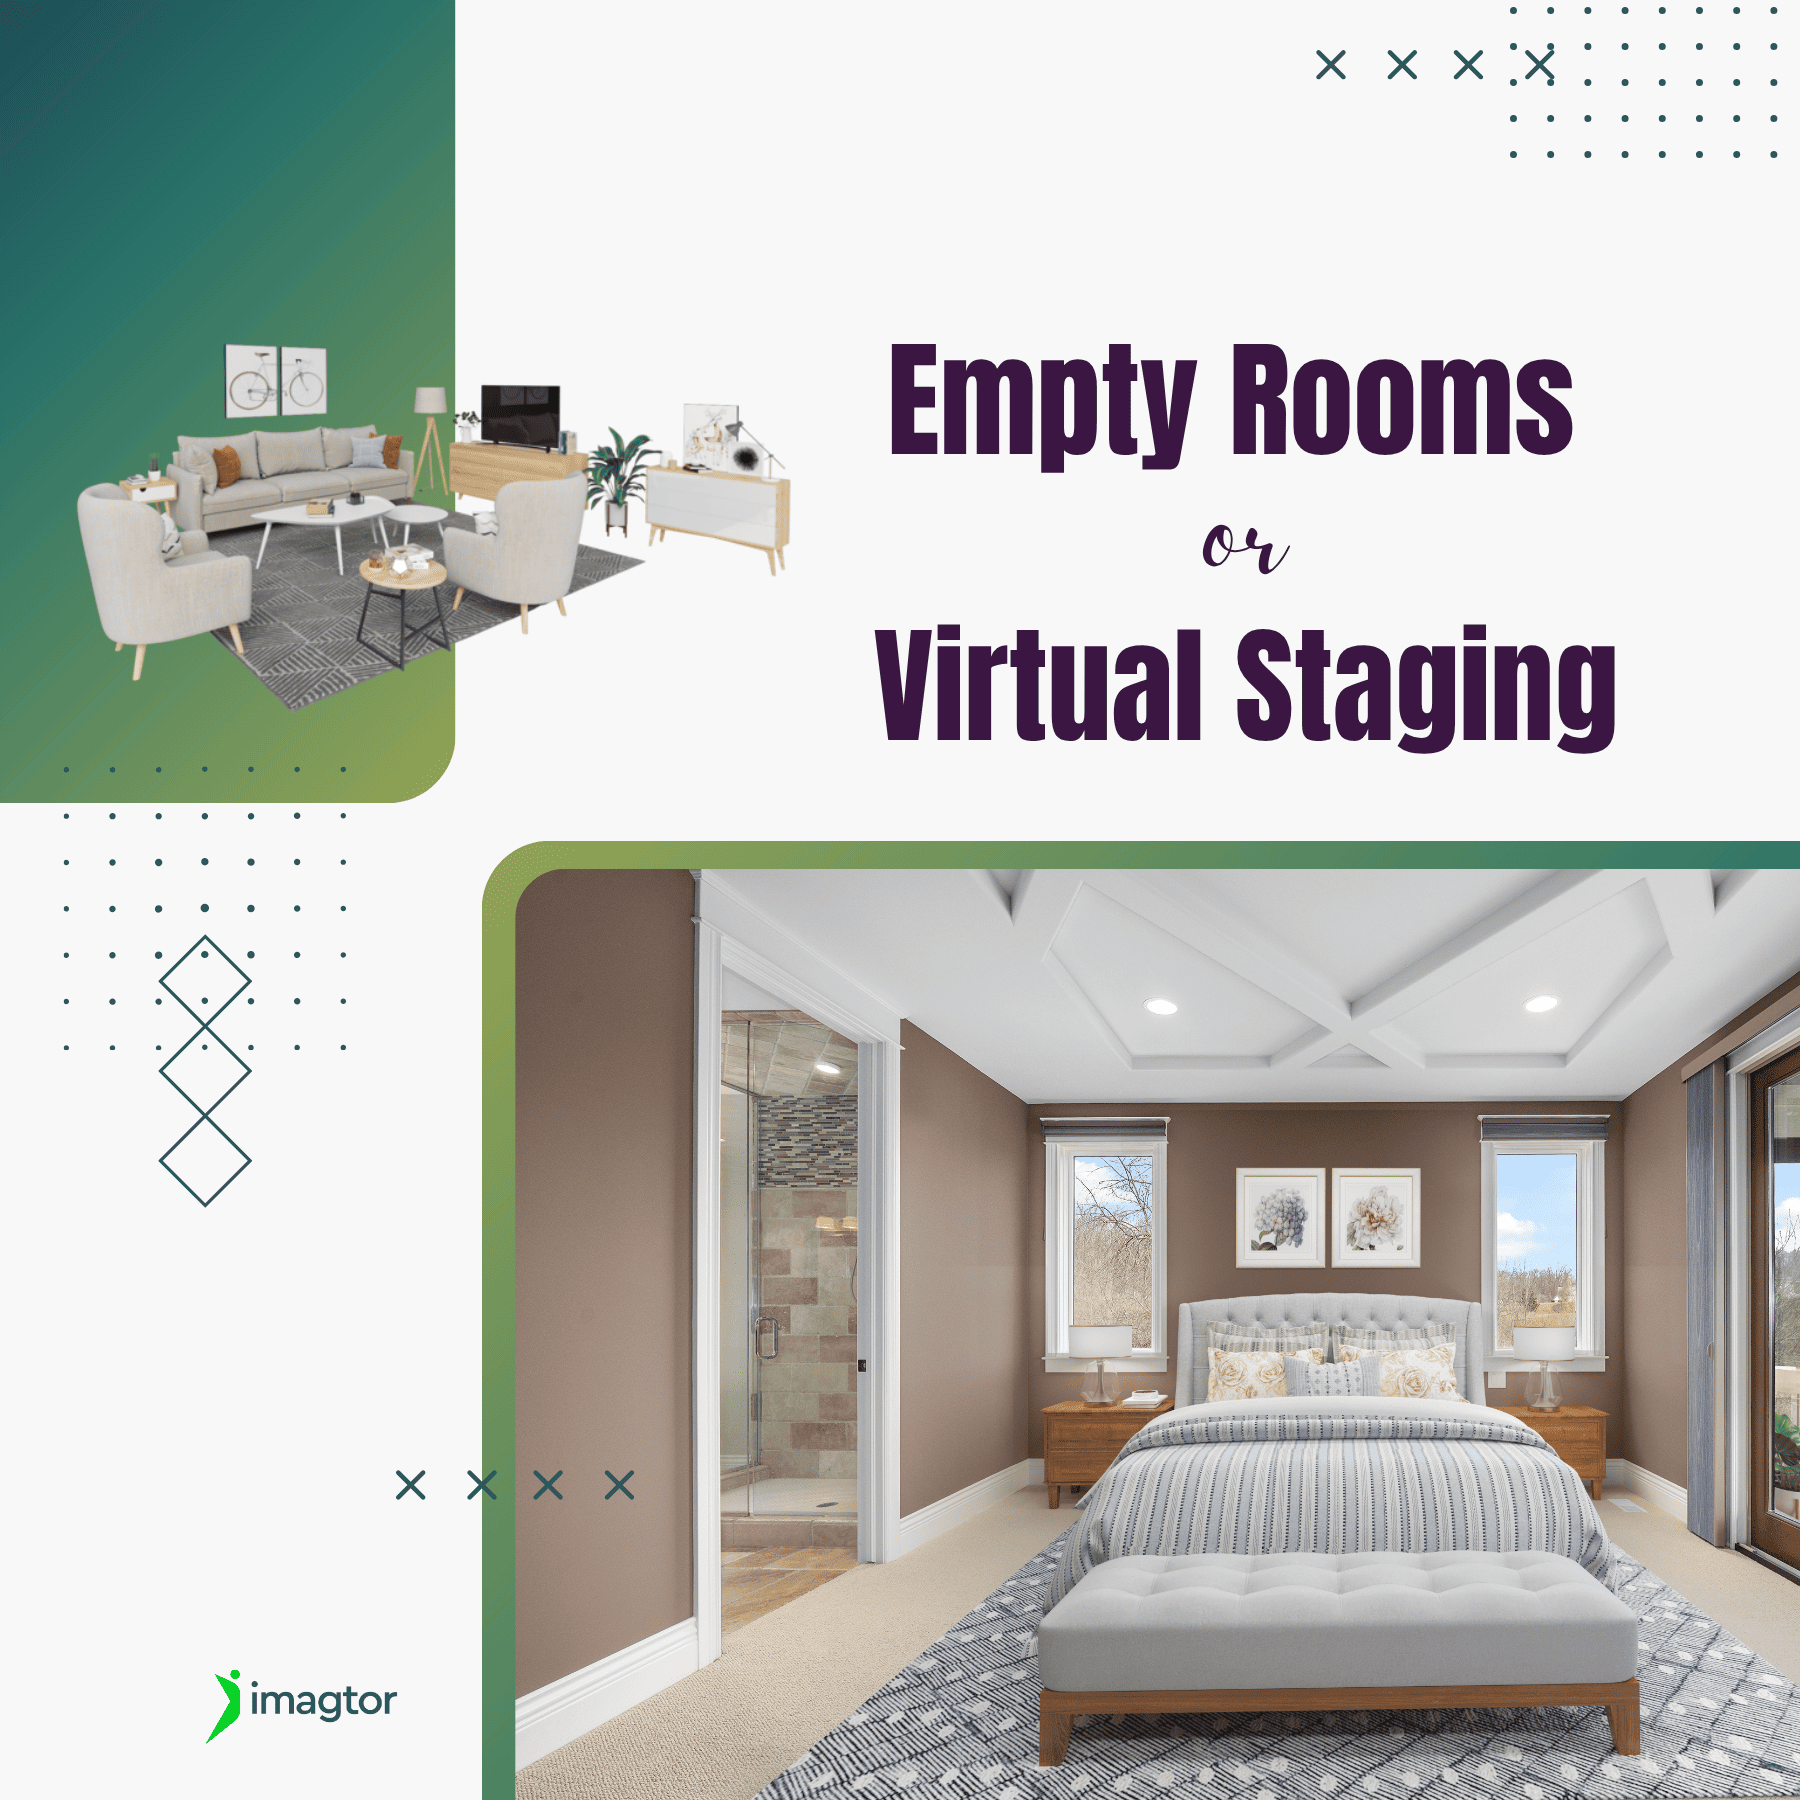
Virtual staging has become one of the most practical tools in property marketing, helping vacant spaces feel warmer and easier for buyers to connect with. But empty room photos still have their place. Knowing when to use each approach can make a real difference to how a listing performs. Why empty rooms can be challenging …