
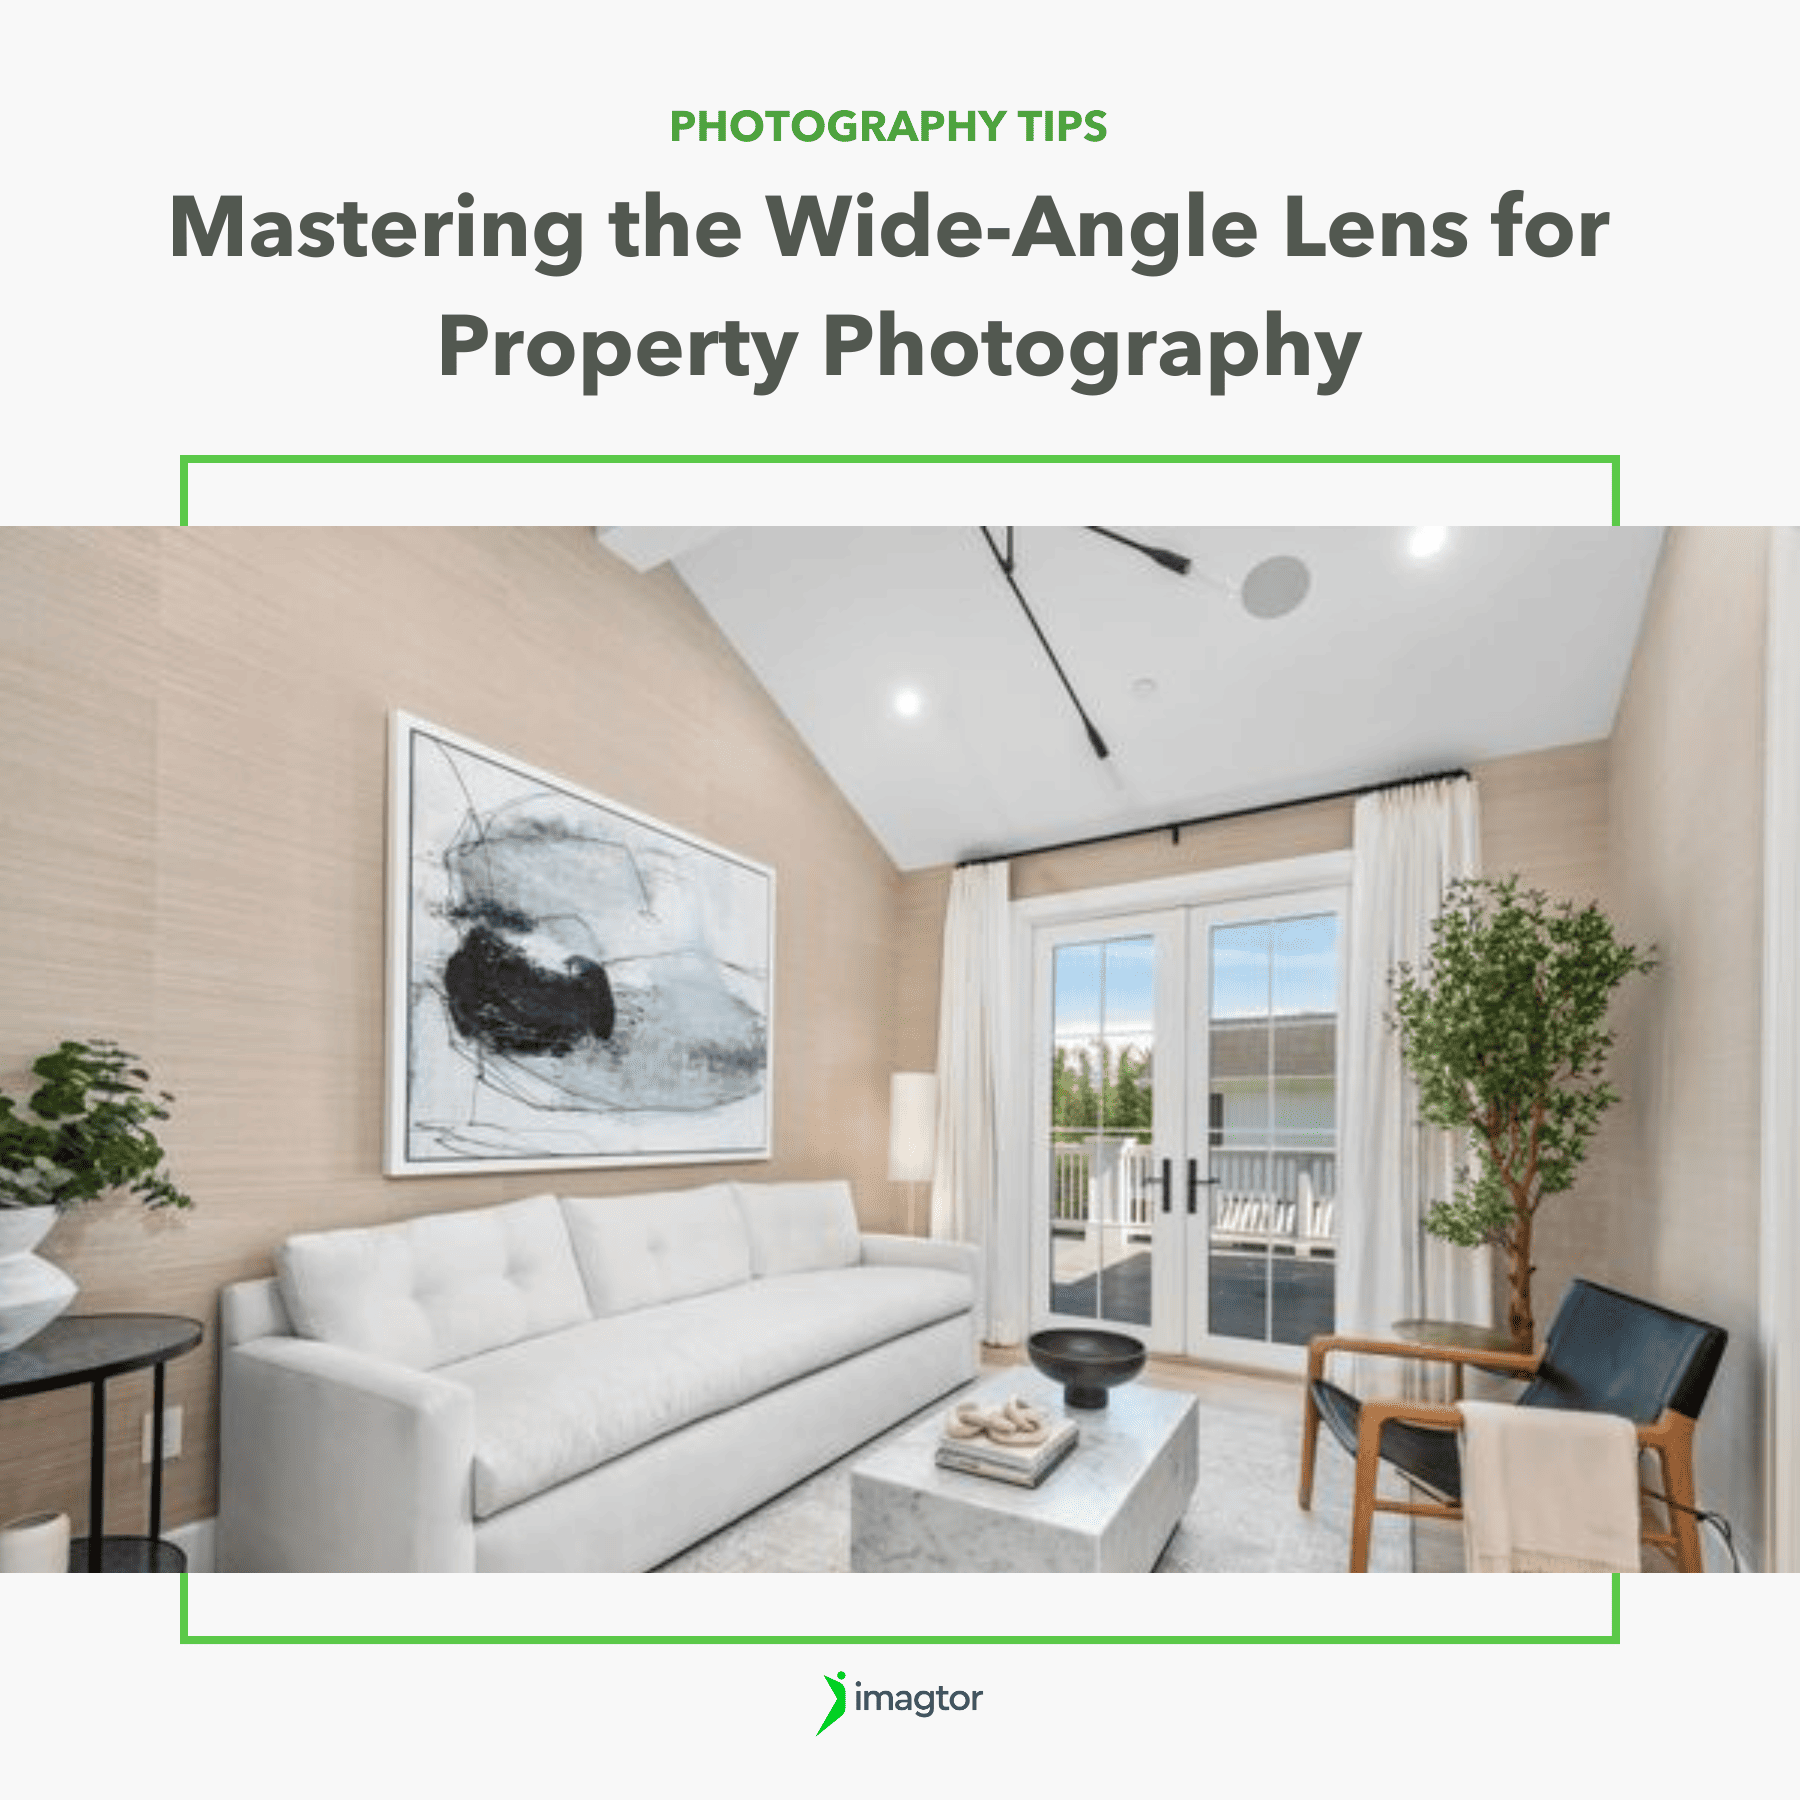
Real estate photographers often struggle to capture small rooms in a way that makes them appear open and inviting. A properly used wide-angle lens can enhance depth and maximize space perception, but poor technique can cause distortion, unrealistic proportions, or distracting composition. This guide provides practical techniques to ensure wide-angle shots look natural, balanced, and effective for property photography.
1. Choosing the Right Wide-Angle Lens
Selecting the correct lens is the foundation of effective real estate photography. A high-quality wide-angle lens captures an expansive field of view without excessive distortion.
- Ideal Focal Lengths: For full-frame cameras, use a 16–24mm lens; for crop sensors, 10–18mm works best. Going wider than 14mm (full-frame) often introduces noticeable distortion.
- Best Lens Type: A zoom lens (like 16–35mm) offers flexibility, while a prime lens (like 20mm) delivers sharper images with minimal distortion.
- Correcting Distortion: Avoid ultra-wide lenses under 14mm unless necessary. If distortion occurs, use Lightroom’s Lens Correction tool.
- Use a Tilt-Shift Lens for Accuracy: This helps correct perspective distortion in-camera, reducing time spent in post-processing.

Case Example: A photographer shooting a 300 sq. ft. studio with a 16mm lens captured both depth and accurate proportions, increasing listing clicks by 42% compared to previous photos taken with a 10mm lens that caused visible distortion.
2. Camera Placement and Angles for Maximum Space
Camera placement dramatically affects how large a space feels. Even the best wide-angle lens cannot compensate for poor positioning.
- Set the Right Height: Keep the camera between 3.5–5 ft (1–1.5 m) high to balance floor and ceiling proportions.
- Best Shooting Positions: Corners or diagonal angles create more depth, while straight-on shots work well for kitchens and bathrooms.
- Keep Vertical Lines Straight: Use a built-in level or gridlines to maintain proper alignment.
- Experiment with Angles: Adjusting slightly off-center can emphasize space flow.
- Avoid Standing Too Close to Furniture: This ensures furniture stays proportionate and does not overpower the composition.
Example: A real estate photographer repositioned their camera from 2 ft to 4 ft high, improving room balance and reducing post-edit time by 30% due to fewer perspective corrections.
3. Lighting Techniques for Spacious-Looking Interiors
Lighting dictates how spacious a room appears. Poor lighting can make a room feel small; balanced lighting creates a sense of airiness.
- Natural Light First: Open curtains to maximize sunlight. Use exposure bracketing to balance bright windows and dark corners.
- Supplemental Lighting: Use soft LED panels or bounced flash for even, natural-looking light.
- Adjust White Balance: Keep color consistent to avoid mixed lighting effects.
- Turn on Interior Lights When Needed: Adds warmth, but be mindful of color temperature differences.
- Use Reflectors: Bounce light to fill dark areas without introducing harsh shadows.

Case Study: Listings with balanced natural and artificial light saw 21% higher engagement rates compared to poorly lit interiors, according to Zillow’s photography insights.
>>> Read more: Composition & Lighting Mistakes in Real Estate Photography
4. Composition Techniques to Enhance Space
Composition determines how inviting your images feel. Strategic framing helps create flow and visual balance.
- Use Leading Lines: Elements like floor tiles or countertops guide the viewer’s eye deeper into the room.
- Declutter for Openness: Remove unnecessary décor to emphasize layout and spaciousness.
- Utilize Reflective Surfaces: Mirrors and glass bounce light, visually enlarging the area.
- Frame with Context: Show how rooms connect to emphasize flow.
- Consider Furniture Placement: Arrange pieces to direct attention naturally through the space.
- Rule of Thirds: Align key elements with the grid for visual balance.
- Vertical vs. Horizontal Shots: Horizontal for overall layout; vertical for showcasing high ceilings or tall furniture.

Example: A photographer used reflective coffee tables and mirrors to enhance perceived room depth, boosting inquiry rates by 18% on property listings.
5. Post-Processing to Refine and Perfect the Image
Editing refines wide-angle shots and ensures accurate yet appealing representations of space.
- Correct Lens Distortion: Use Lightroom’s Transform Tool or Photoshop’s perspective warp.
- Merge Exposures for HDR: Blend highlights and shadows to achieve balanced brightness.
- Enhance Brightness & Contrast: Maintain a bright, clean look without overexposure.
- Apply Dodge & Burn: Add subtle light shaping to create depth.
- Remove Color Casts: Fix unwanted tones from mixed light sources.
- Sharpen Carefully: Apply moderate sharpening for clarity.
- Use Noise Reduction: Clean up low-light images while retaining texture.
- Crop with Intent: Keep framing spacious and balanced.
Example: HDR merging improved clarity in shadow-heavy interiors by 35%, making images more consistent across online listings.
Conclusion
A wide-angle lens is one of the most powerful tools in a real estate photographer’s kit, but only when used with precision. From selecting the right focal length to managing distortion, lighting, and composition, every detail contributes to how a property is perceived. Mastering these techniques not only improves your technical skills but also enhances client trust and the marketability of your listings. In a competitive real estate market where first impressions matter, even a 10% improvement in photo quality can translate to faster sales and higher engagement. Take control of your perspective, refine your wide-angle shots, and turn every space – no matter how small – into a compelling visual experience.
Ready to make your property photography stand out? Let Imagtor handle the editing and optimization to ensure every wide-angle shot looks sharp, balanced, and professional. Start your journey with a FREE TRIAL + 10% DISCOUNT today. Elevate your listings with Imagtor.
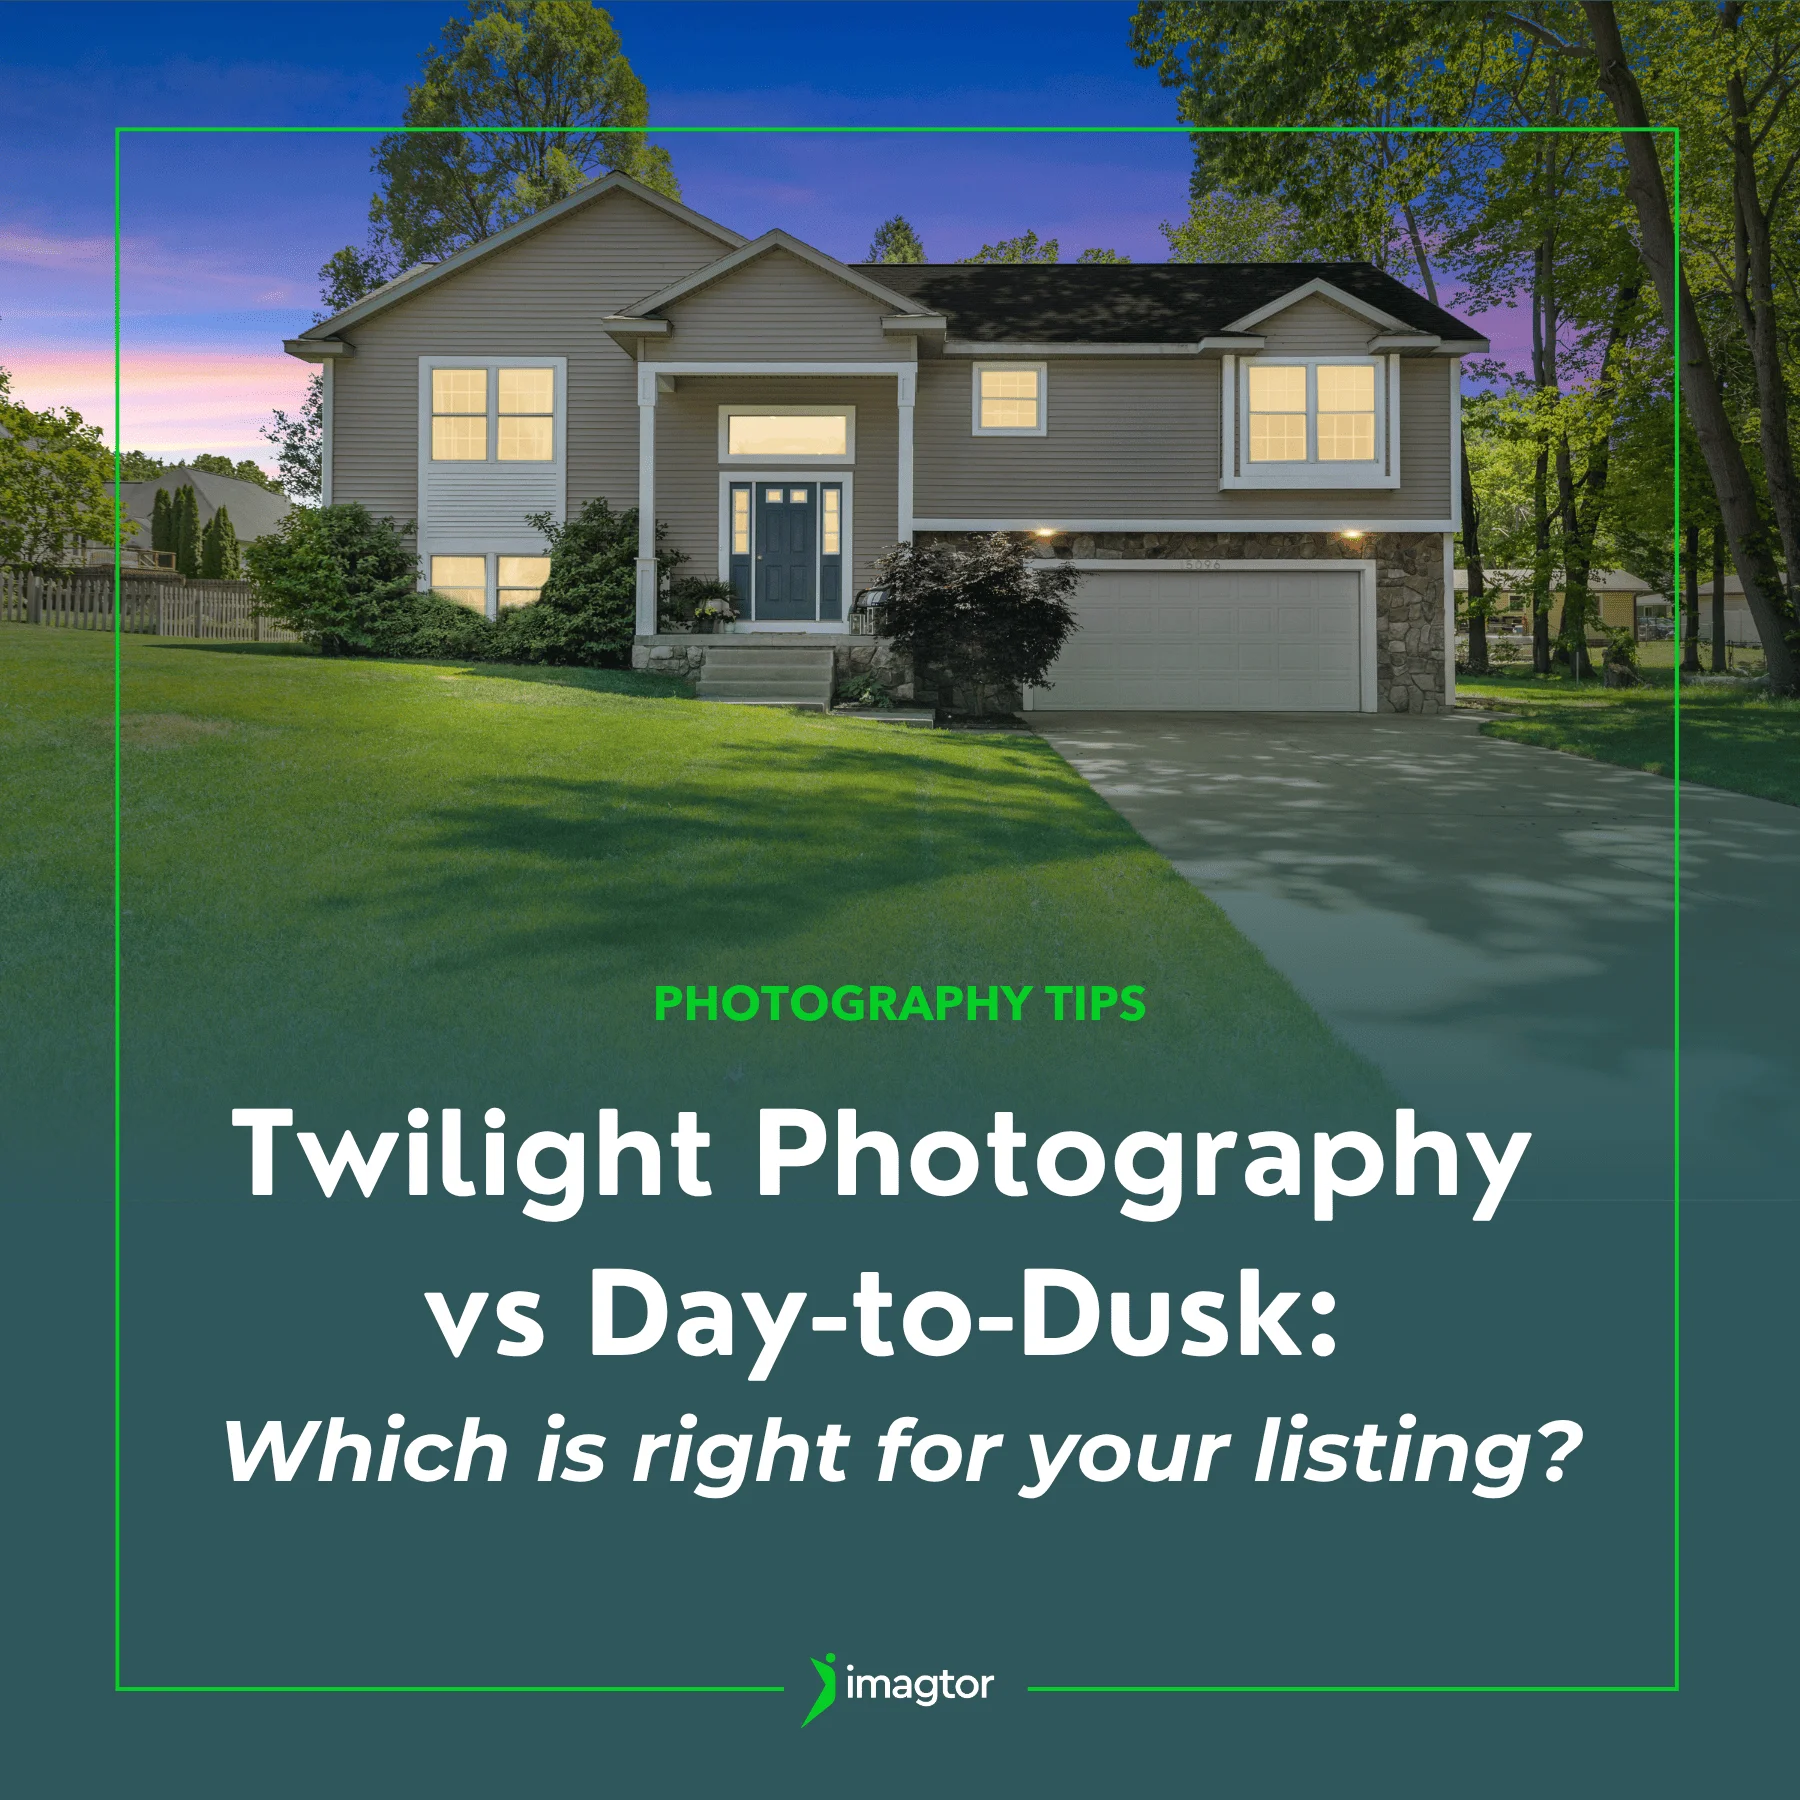
Twilight photography and day-to-dusk editing are two of the most popular ways to create striking exterior shots for property listings. Both approaches can produce beautiful results, but they work very differently and suit different situations. Knowing which one fits the property, the timeline, and your client’s goals can save you time and help you deliver …
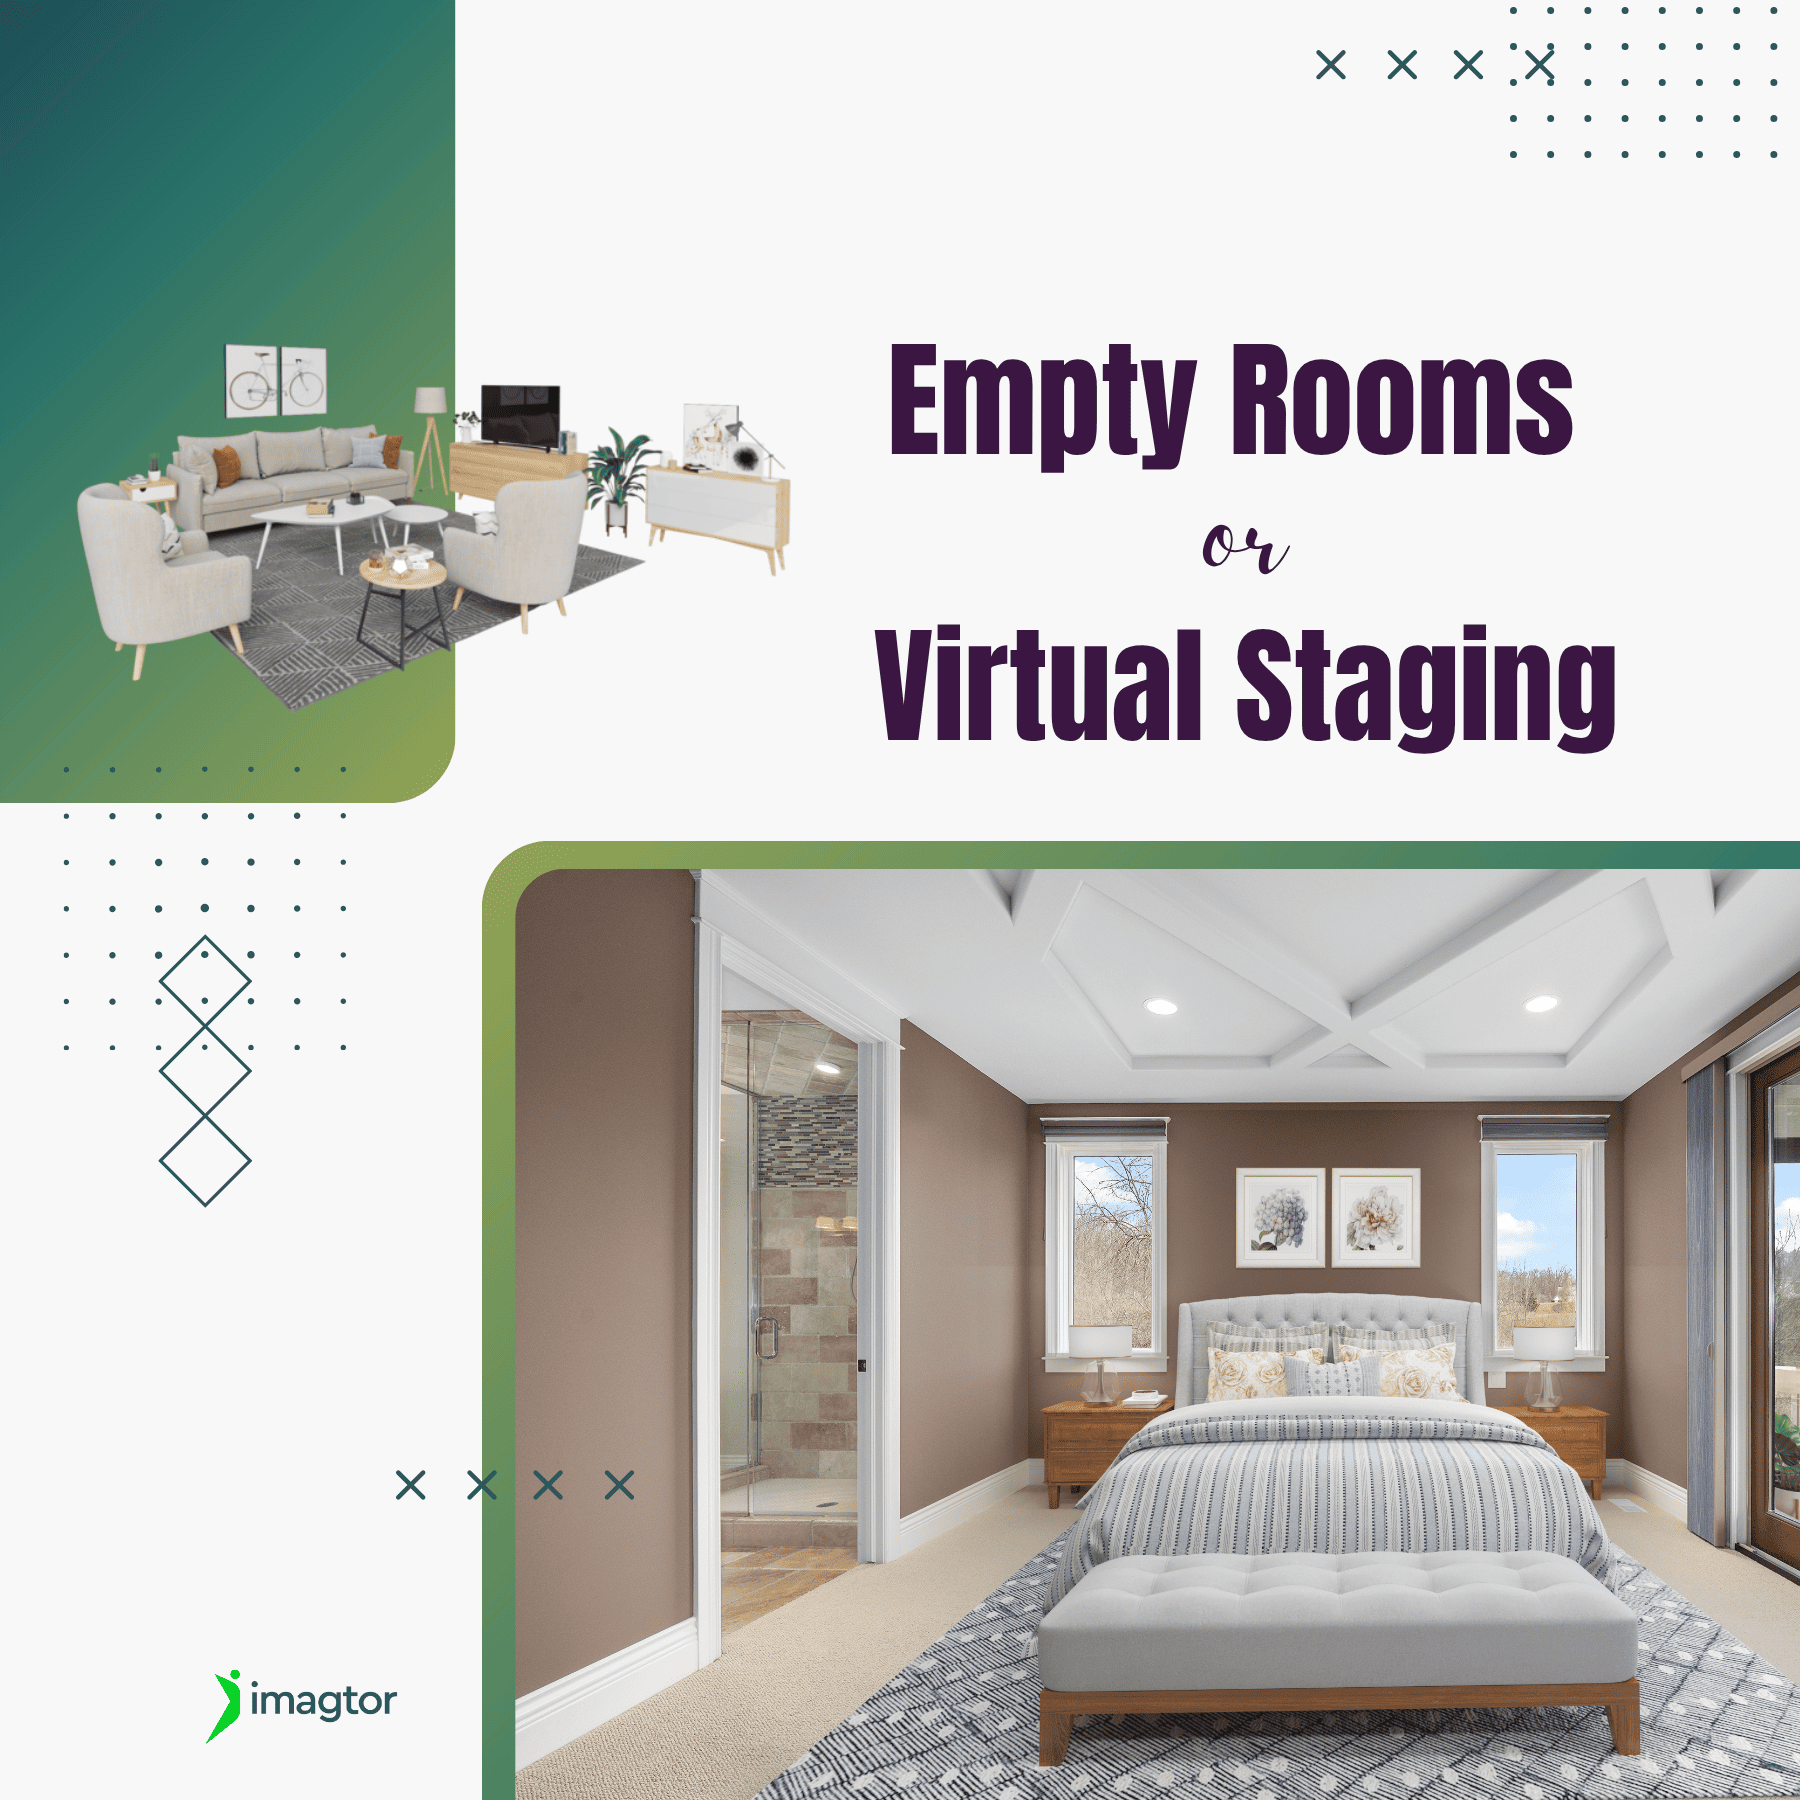
Virtual staging has become one of the most practical tools in property marketing, helping vacant spaces feel warmer and easier for buyers to connect with. But empty room photos still have their place. Knowing when to use each approach can make a real difference to how a listing performs. Why empty rooms can be challenging …