
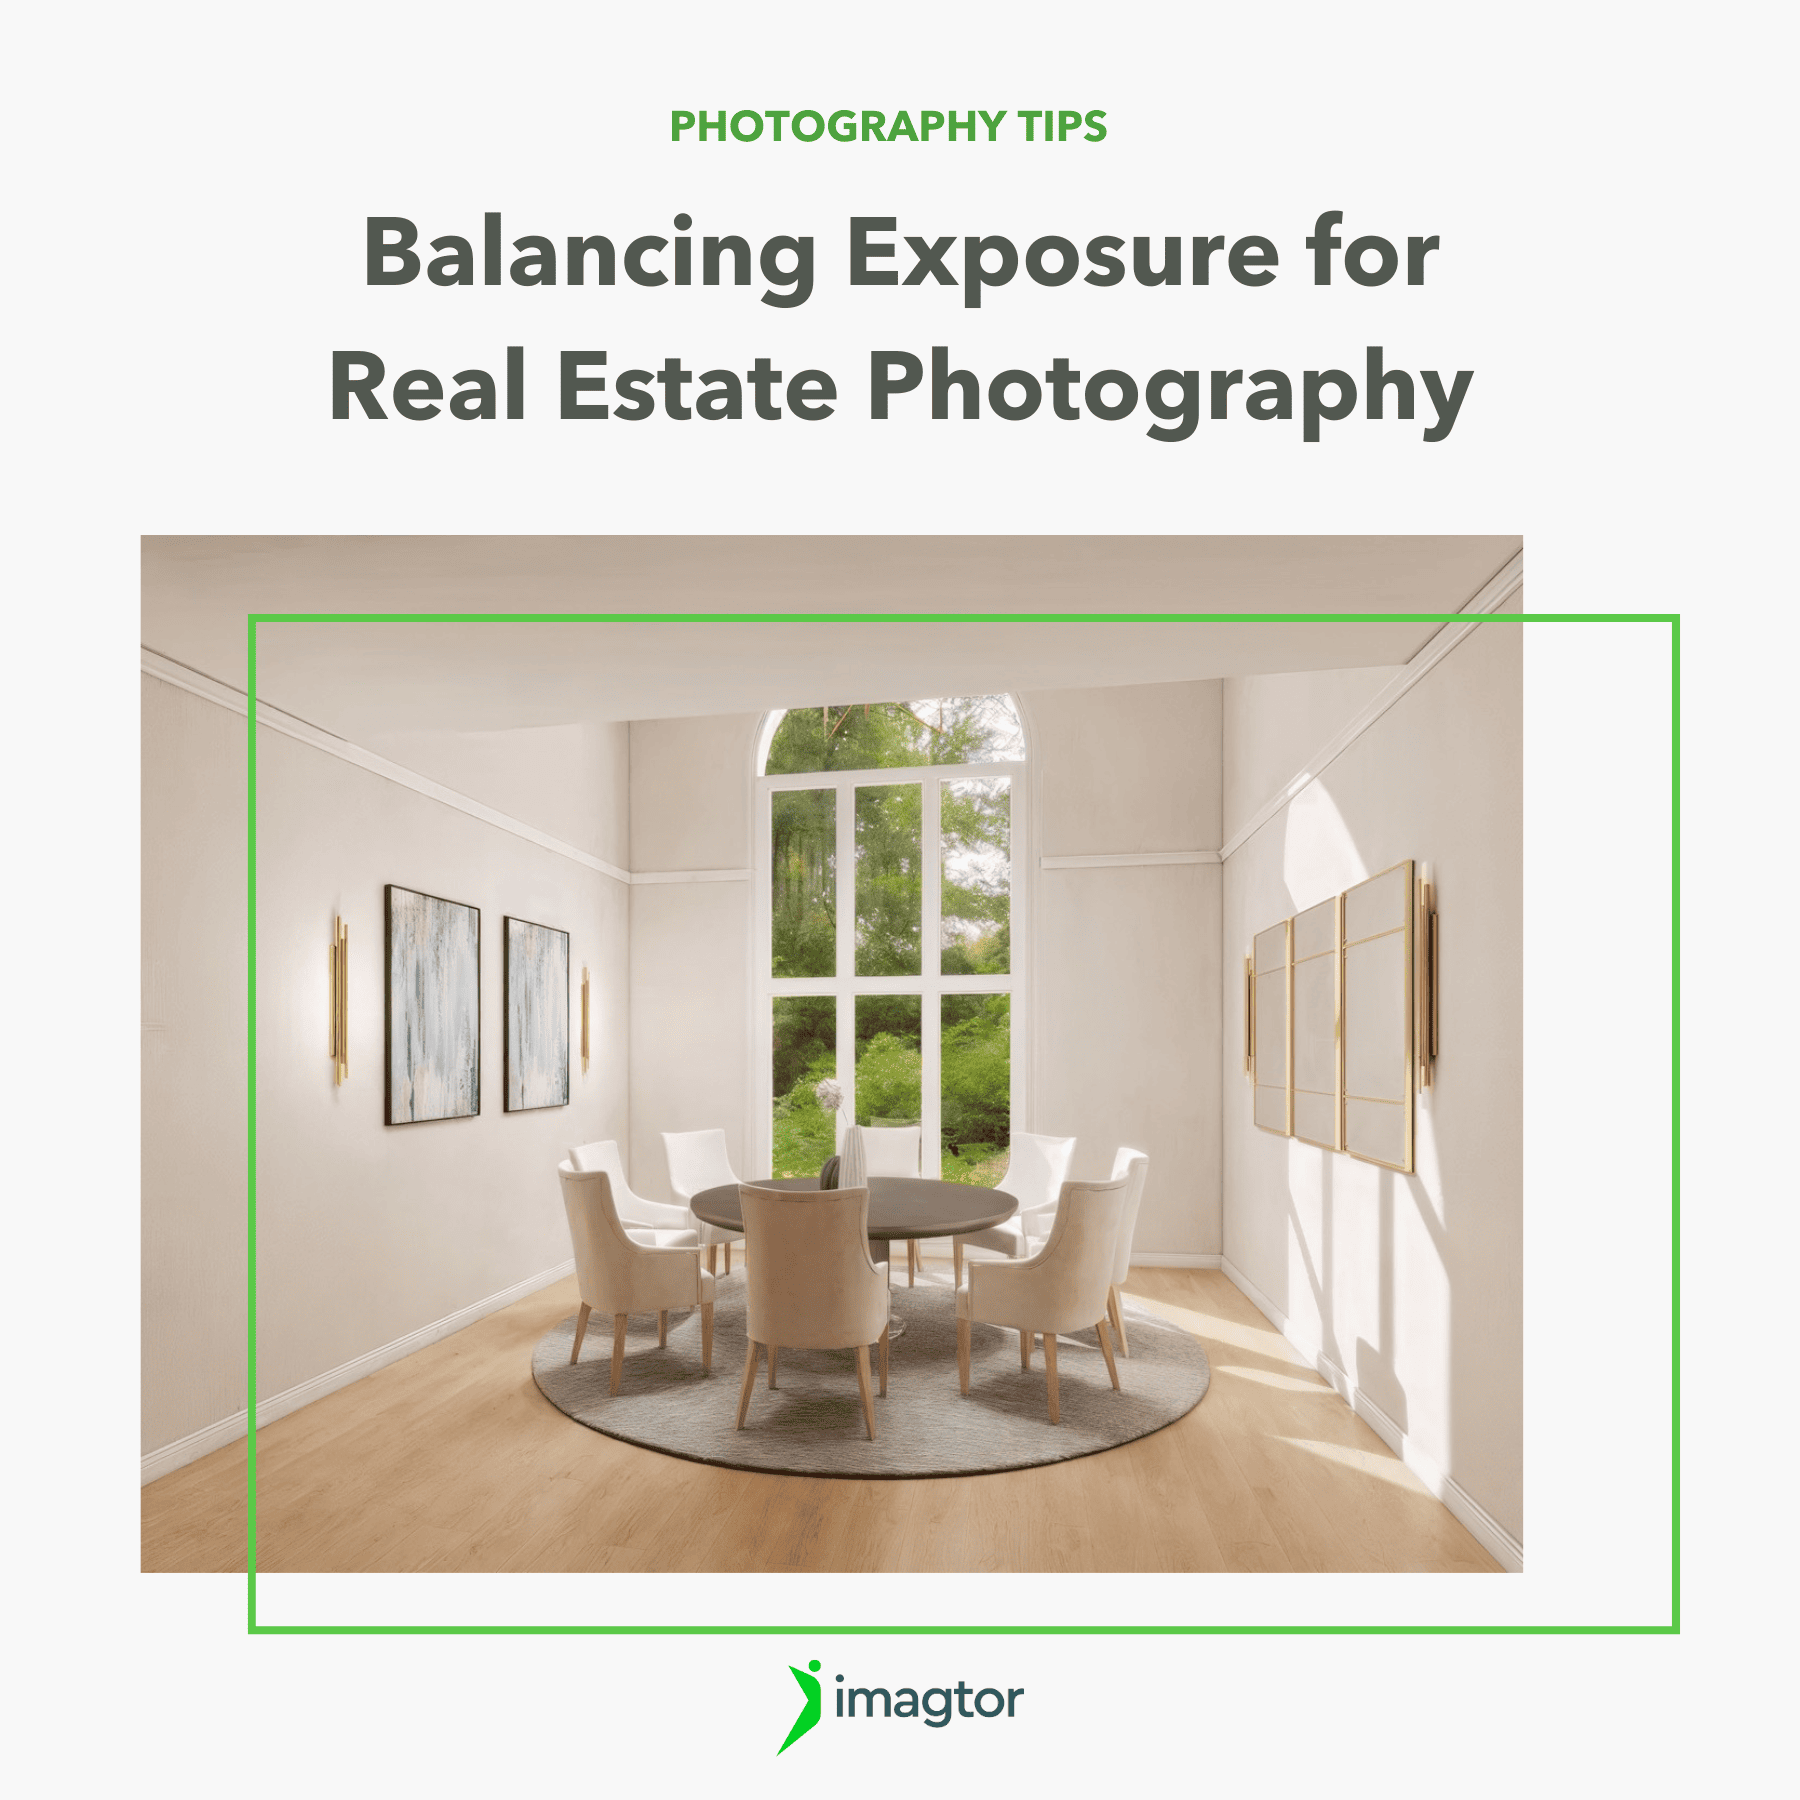
Capturing the perfect exposure is the foundation of professional real estate photography. Whether it’s the bright light streaming through windows or the subtle shadows in a cozy living room, balancing exposure determines how natural and inviting your photos look.
This guide explains how to balance these two key elements, whether you’re shooting with a DSLR or a mirrorless camera. By mastering these techniques, you’ll elevate your photos from ordinary to truly market-ready.
1. Understanding the Challenge of Exposure: Interiors vs. Windows
The heart of real estate photography lies in managing contrasting light levels. Indoor areas are usually dimmer compared to the bright daylight visible through windows. When you expose the window, the interior becomes too dark. When you expose the room, the exterior view may turn into a white blur.

To fix this, photographers must learn to blend exposures creatively and use tools that help control light. The goal is to achieve a balanced photo that reflects how the human eye naturally sees both the room and the outdoor view.
2. Shoot in RAW for Maximum Flexibility
Always shoot in RAW format. Unlike JPEG, RAW files preserve far more visual information. This extra data gives you the flexibility to adjust exposure, recover shadows, and pull back highlights without losing quality.
For example, if a window appears washed out, a RAW file allows you to recover up to 2–3 stops of highlight detail. This means your photo can look both bright and realistic with minimal editing artifacts.
3. Use Bracketing for HDR Photography
Exposure bracketing is a cornerstone of professional real estate photography. It involves capturing several images at different exposure levels and merging them into one balanced photo.
Here’s how to do it:
- Take at least three shots: one underexposed, one properly exposed, and one overexposed.
- Merge them in post-processing using tools like Adobe Lightroom or Photomatix.
- Adjust tone mapping to bring out both interior and exterior details evenly.
HDR photography helps prevent blown-out windows while keeping the room naturally bright. Studies show that HDR photos can increase listing engagement by up to 35% because they appear more lifelike.
>>> Read more: HDR vs Flambient For Real Estate Photography
4. Use Additional Lighting for Interiors
Natural light doesn’t always provide enough balance. Adding flash or continuous lighting can help illuminate darker interiors while maintaining outdoor brightness.

Use a speedlight, softbox, or strobe to fill in shadows. A technique called “dragging the shutter” combines flash with a slower shutter speed. This lets in more ambient light, producing a natural mix of window light and interior illumination.
When done correctly, the result is a clean, well-balanced photo that captures every corner clearly without overexposing the windows.
5. Adjust White Balance for Consistency
When working with mixed lighting sources – sunlight from the windows and warm bulbs inside – color temperatures can clash. Daylight has a cooler tone (around 5500K) while indoor light can be warmer (around 3000K).
Manually adjust your white balance in-camera or fine-tune it later in Lightroom. Consistent color balance ensures the entire photo feels cohesive and professional. This small step can reduce editing time by 20% and significantly improve visual quality.
6. Use a Graduated ND Filter
A graduated ND (Neutral Density) filter is an excellent tool for handling bright windows and skies. It darkens the bright portion of the frame while keeping the interior properly lit.
If your camera allows filter attachments, use a soft-edge ND filter when photographing rooms with large windows. It helps reduce harsh contrasts, especially during midday shoots when sunlight is at its peak. This method is especially effective for high-end listings with expansive glass walls or scenic outdoor views.
7. Fine-Tune Exposure During Post-Processing
Post-processing is where real estate photographers perfect their work. In Lightroom or Photoshop, adjust highlights, shadows, and mid tones to even out the exposure.

Lower the highlights to recover window details, lift shadows to brighten interiors, and use gradient filters for selective exposure control. With careful editing, you can make each element – furniture, walls, and outdoor views – appear naturally cohesive.
An important tip: avoid over-processing. Buyers respond better to realistic imagery. Overly bright or oversaturated photos can feel artificial and may reduce buyer trust.
8. Take Multiple Shots for Flexibility
When in doubt, take multiple shots with varying exposures and angles. Having several versions gives you flexibility in post-production. You can blend images manually or choose the most balanced one later.
This approach ensures that you capture both bright and dim elements accurately, even if lighting conditions change during the shoot.
Outsourcing Your Real Estate Photo Editing
Even with skill and technique, post-processing can take hours. Many professionals now outsource their real estate photo editing to save time and ensure consistent quality.
For instance, a Florida-based photography team recently outsourced editing and virtual staging to Imagtor. They reported a 60% faster turnaround and 40% lower editing costs compared to in-house work. This allowed them to focus on capturing more listings while delivering higher-quality images.
By outsourcing, you gain:
- Professional retouching with expert color and lighting correction.
- Faster delivery time for client projects.
- More energy for growing your business and marketing your services.
If you want to enhance your workflow and present every listing at its best, partner with Imagtor today. You’ll receive a FREE TRIAL + 10% DISCOUNT to experience our precision editing and quick delivery firsthand.
Conclusion
Balancing interior and window exposure is one of the defining skills in real estate photography. It requires a mix of technical know-how, artistic eye, and post-production expertise. By applying HDR techniques, mastering lighting, and refining your edits, you’ll produce photos that impress agents and attract buyers.
And when you’re ready to scale your business, let Imagtor handle your editing. Focus on capturing beautiful properties. We’ll take care of the rest.
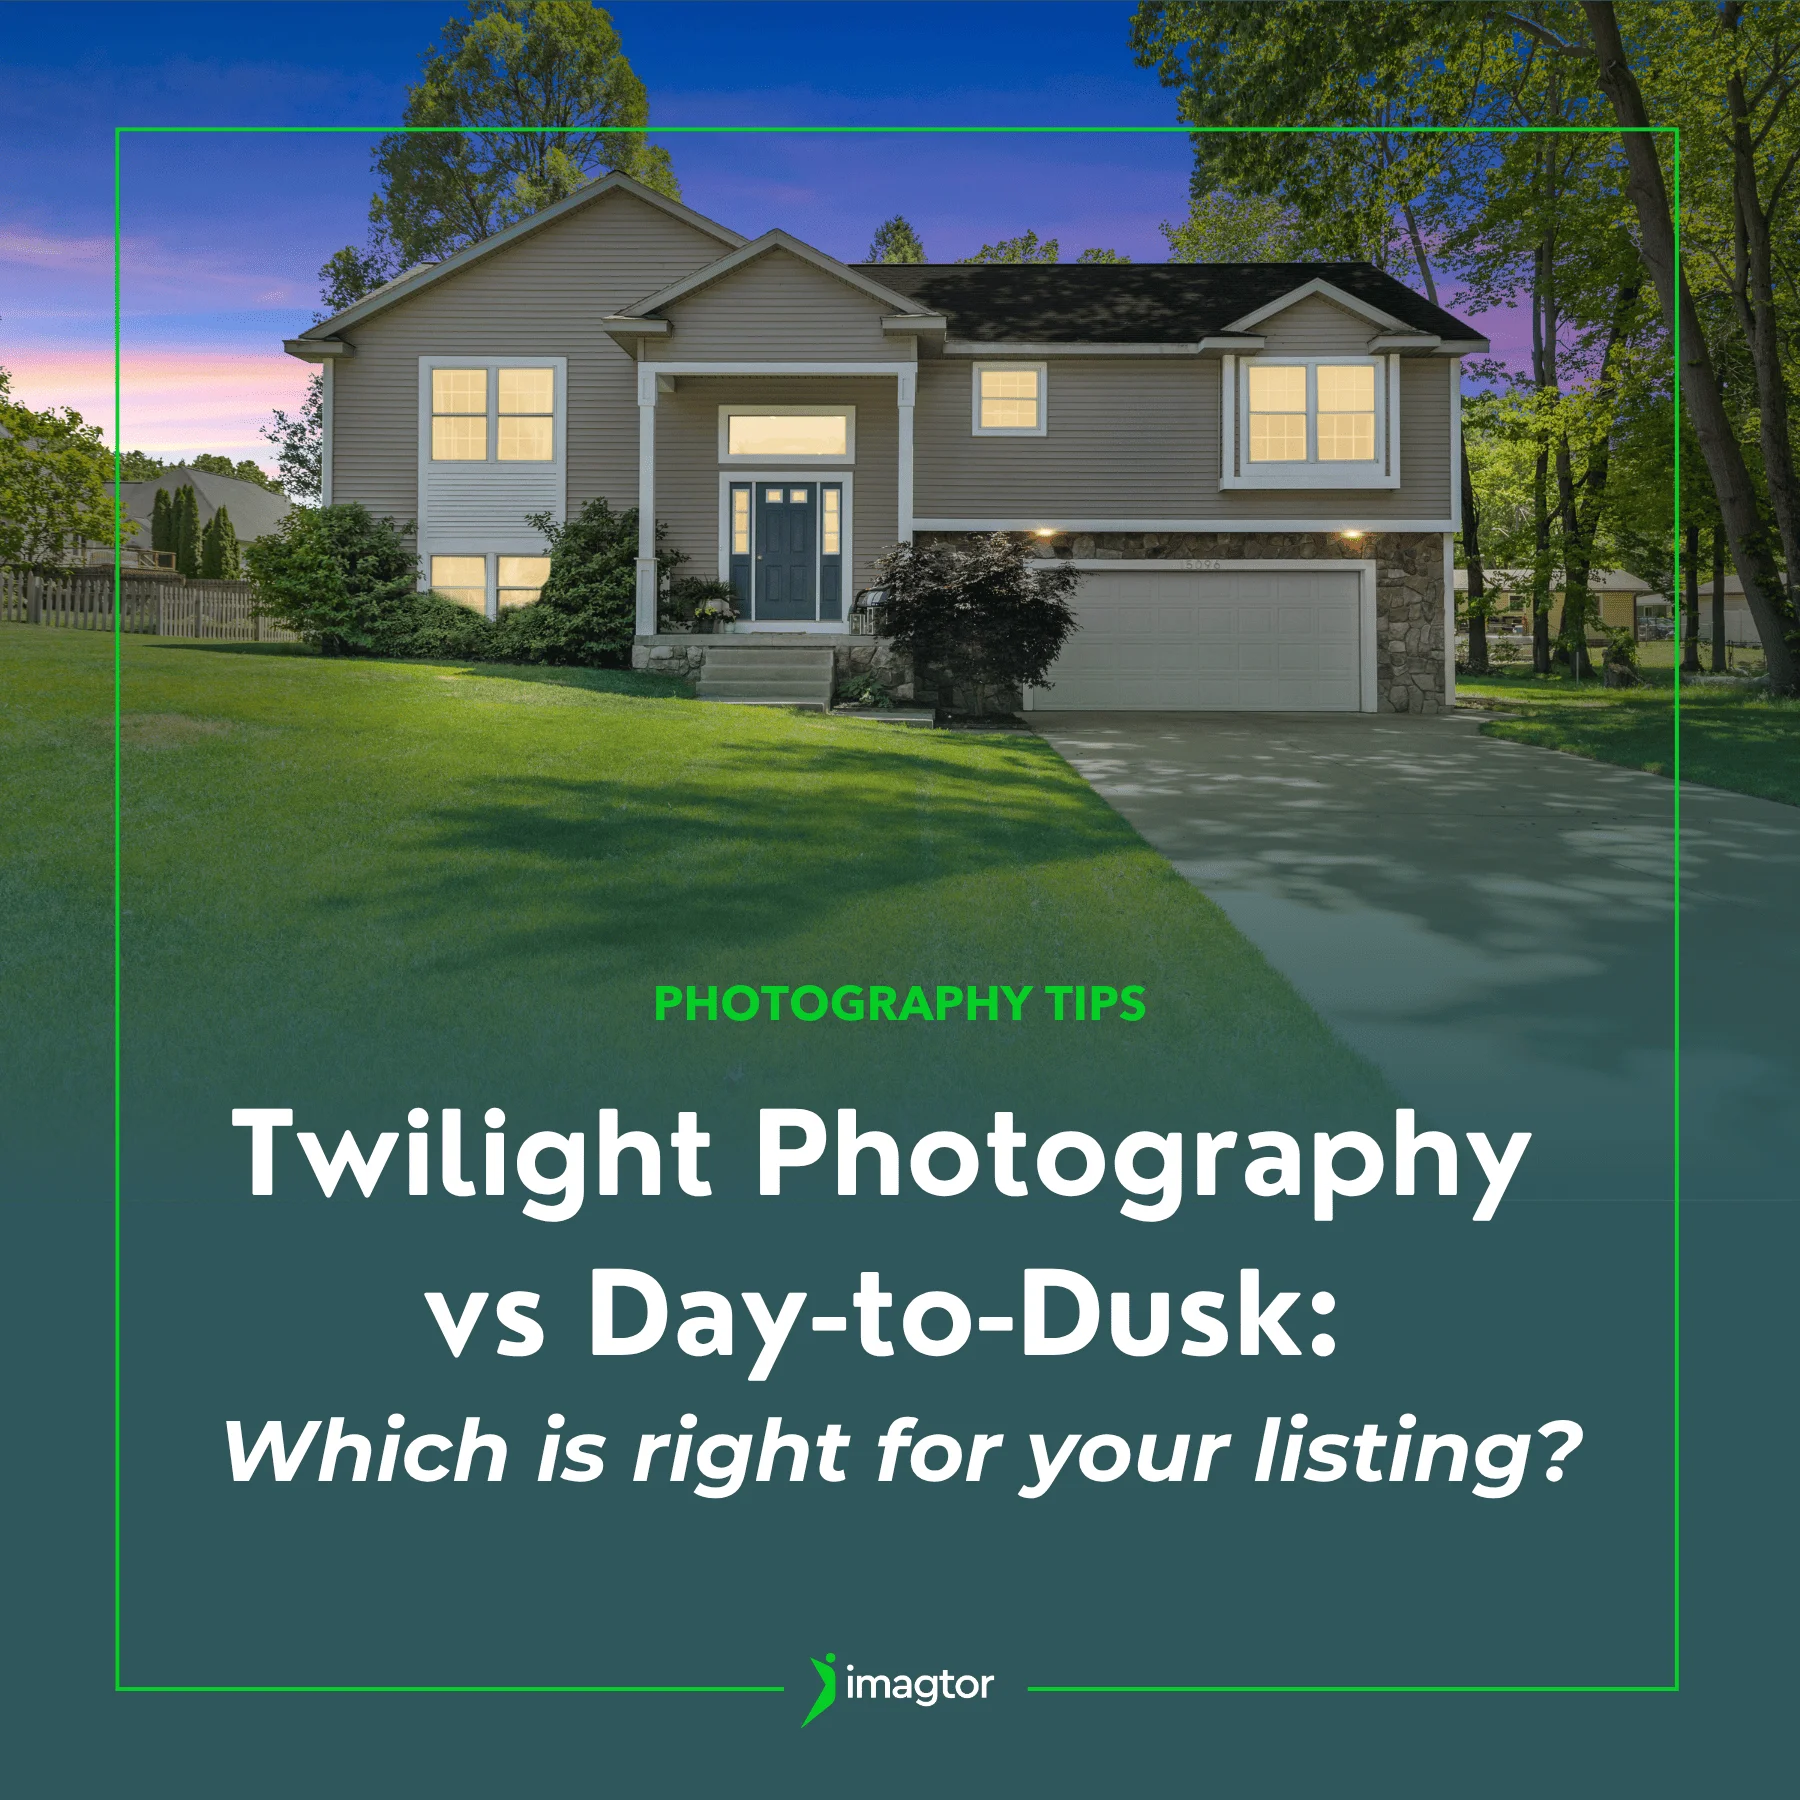
Twilight photography and day-to-dusk editing are two of the most popular ways to create striking exterior shots for property listings. Both approaches can produce beautiful results, but they work very differently and suit different situations. Knowing which one fits the property, the timeline, and your client’s goals can save you time and help you deliver …
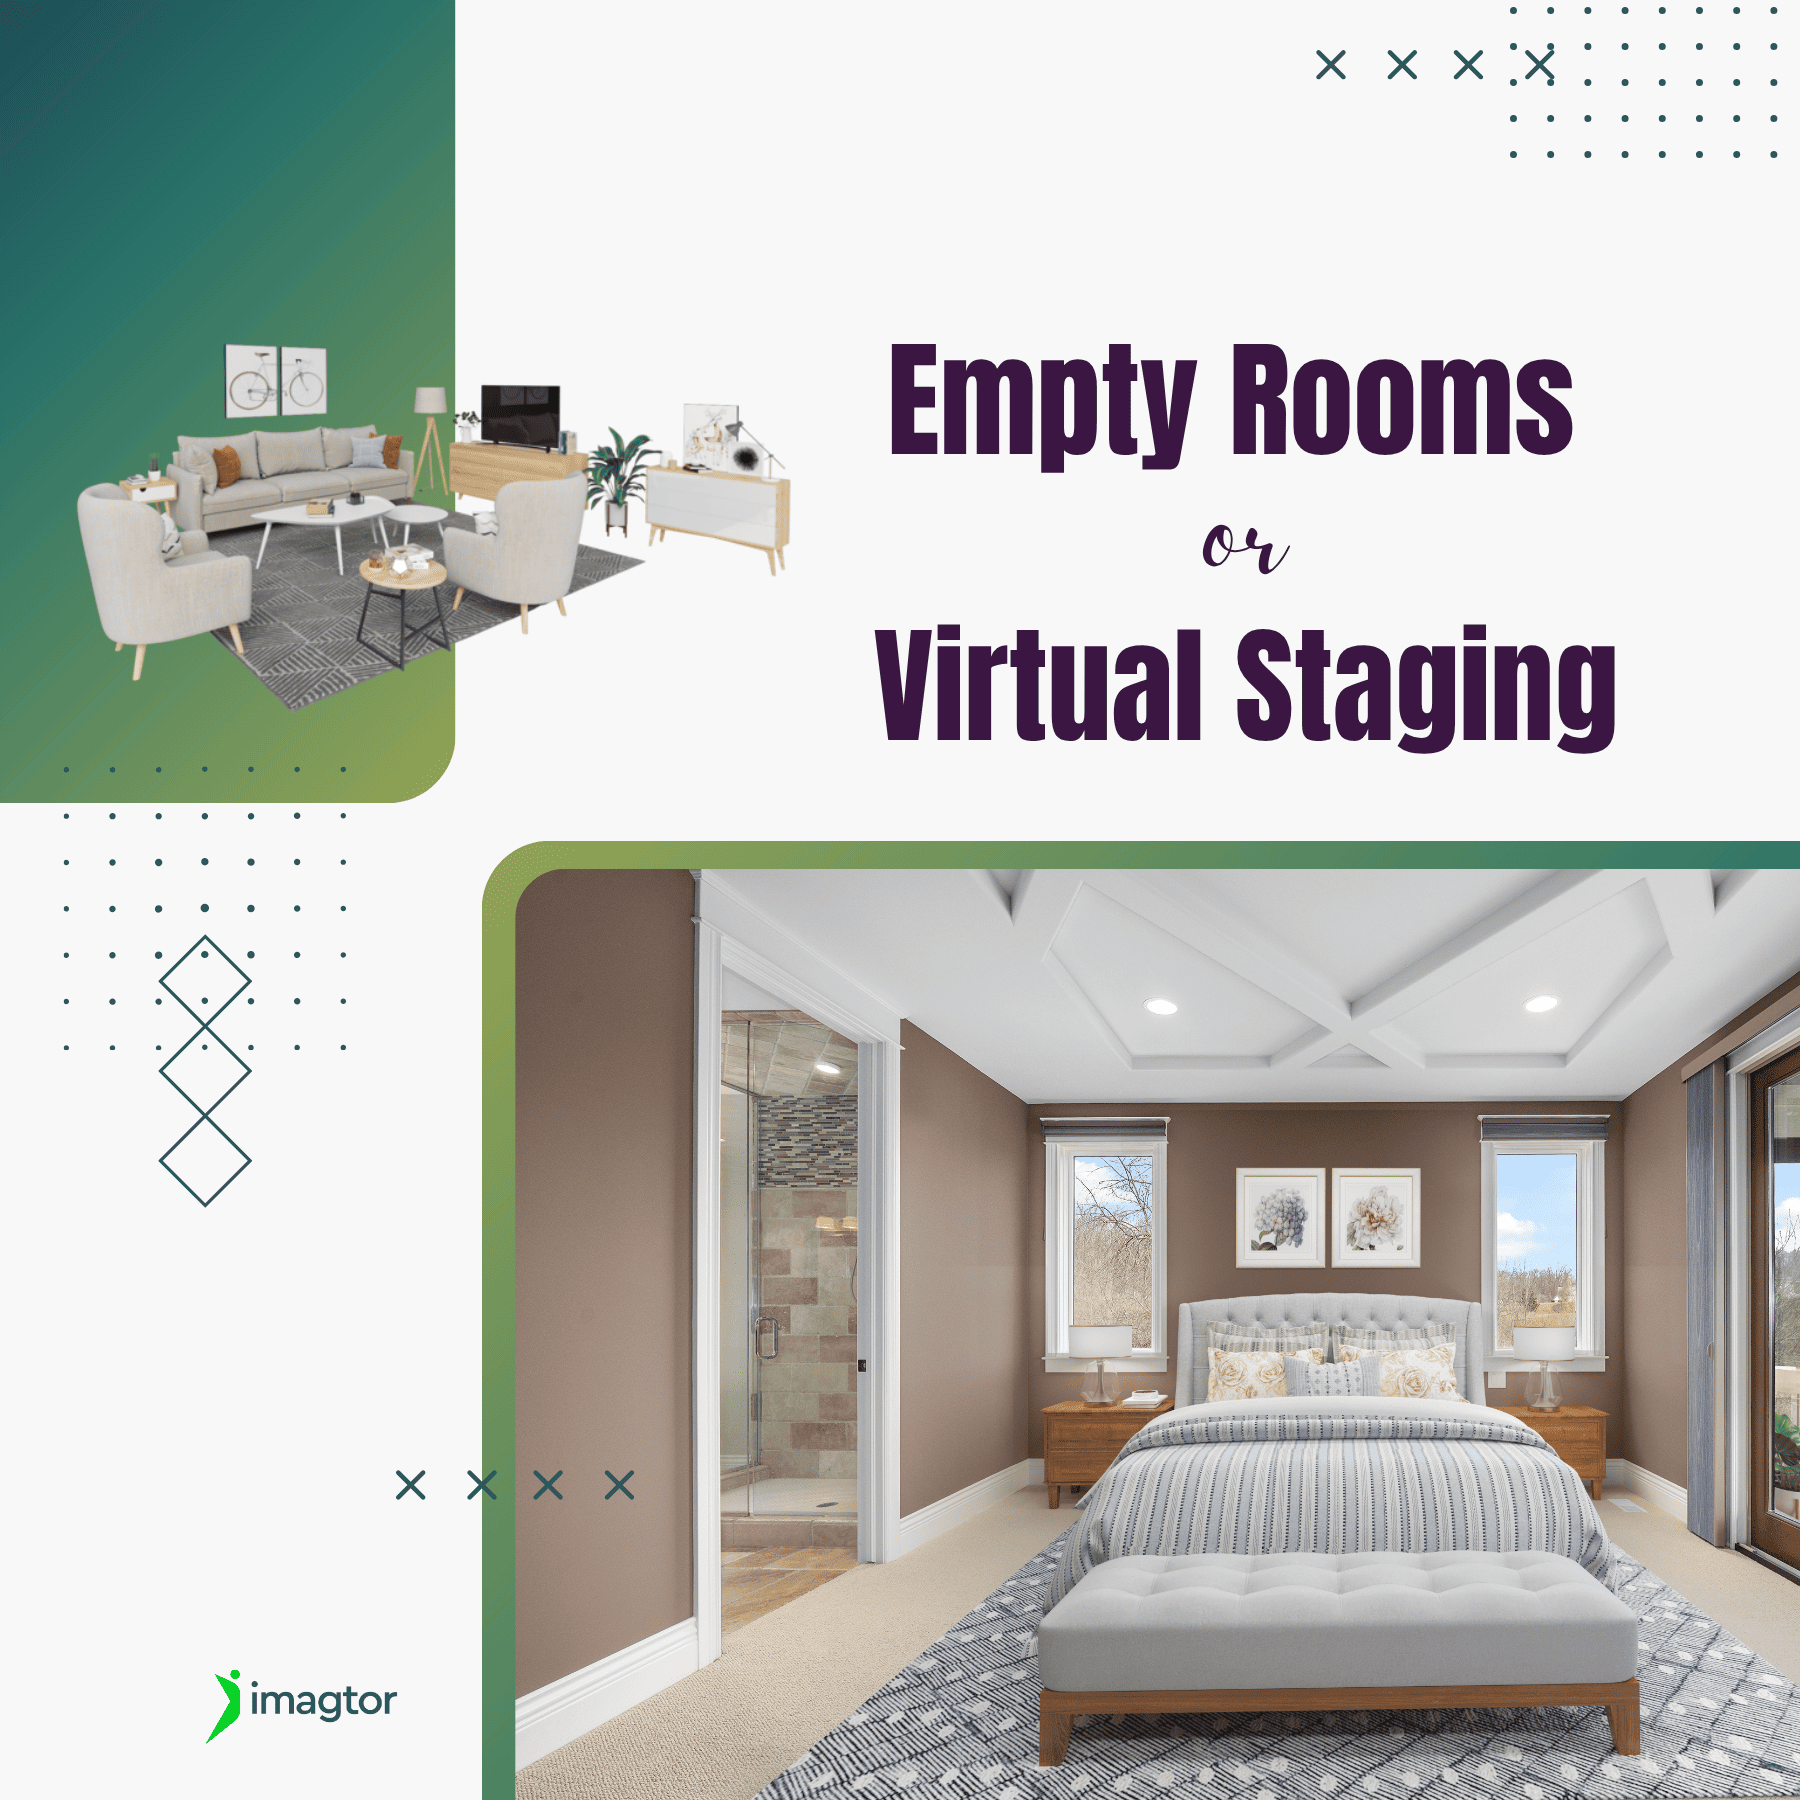
Virtual staging has become one of the most practical tools in property marketing, helping vacant spaces feel warmer and easier for buyers to connect with. But empty room photos still have their place. Knowing when to use each approach can make a real difference to how a listing performs. Why empty rooms can be challenging …